Youre probably familiar with bay laurel, most commonly known for its bay leaves, which are a popular herb for flavoring in cooking. What you may not know is what it takes to care for your own bay laurel plants and the benefits of growing them yourself. Letâs dive into everything you need to know about this unique herb and how you can grow your own spice garden, starting with this aromatic plant!
Exploring the Different Stages of Bay Laurel Plant Growth A Comprehensive Guide
Bay laurel (Laurus nobilis) is an aromatic evergreen plant that has been used for centuries for culinary and medicinal purposes. Its glossy green leaves impart a wonderful herbal flavor to soups, stews, and other dishes. Beyond the kitchen, bay laurel also has a long history of use in traditional medicine.
If you want to grow your own bay laurel, it’s helpful to understand the different stages of the plant’s growth cycle. In this comprehensive guide, we’ll explore the life stages of bay laurel from seed to maturity.
Seed Germination
Bay laurel is grown from seed. The seeds are small and oval-shaped. When starting bay laurel from seed it’s important to note that the seeds have a very slow and sporadic germination rate. It can take anywhere from 2 to 6 months for bay laurel seeds to sprout. Here are some tips for getting bay seeds to germinate successfully
-
Start the seeds in pots indoors. Bay laurel needs warm temperatures of at least 70°F to germinate.
-
Use a well-draining growing medium. Mix in sand or perlite to prevent sogginess.
-
Soak the seeds in water overnight before planting. This helps kickstart the germination process.
-
Plant the seeds just below the surface of the soil. Bay seeds need light to germinate.
-
Maintain even moisture in the soil until the seeds sprout. The soil should never be allowed to dry out completely.
Once sprouted, bay seedlings need ample warmth and light to grow strong. Gradually acclimate them to direct outdoor sunlight.
Seedling Stage
In the seedling stage, bay laurel grows rapidly and puts on substantial height. You’ll notice the stem thickening and leaves getting larger. Fertilize lightly to encourage growth. Bay laurel seedlings need to be kept well watered but not soaked. Proper drainage is key to prevent fungal issues.
Watch for pests like aphids and scale that can attack young bay plants. Apply horticultural oils or insecticidal soaps if an infestation occurs. With attentive care, bay laurel seedlings can grow 1-3 feet tall in their first year.
Vegetative Growth
The vegetative stage begins once bay laurel becomes established. This phase involves rapid leaf and branch development. The plant puts on most of its height and girth during this time.
Prune back leggy stems and any dead wood to shape the plant. Fertilize in early spring and midsummer. Water deeply and allow good drainage. Bay laurel thrives in slightly acidic, fertile soil amended with compost.
In a suitable climate, bay can grow up to 40 feet tall. But annual pruning keeps it trimmed to a more manageable size. Vegetative growth continues for 5-10 years until the plant approaches maturity.
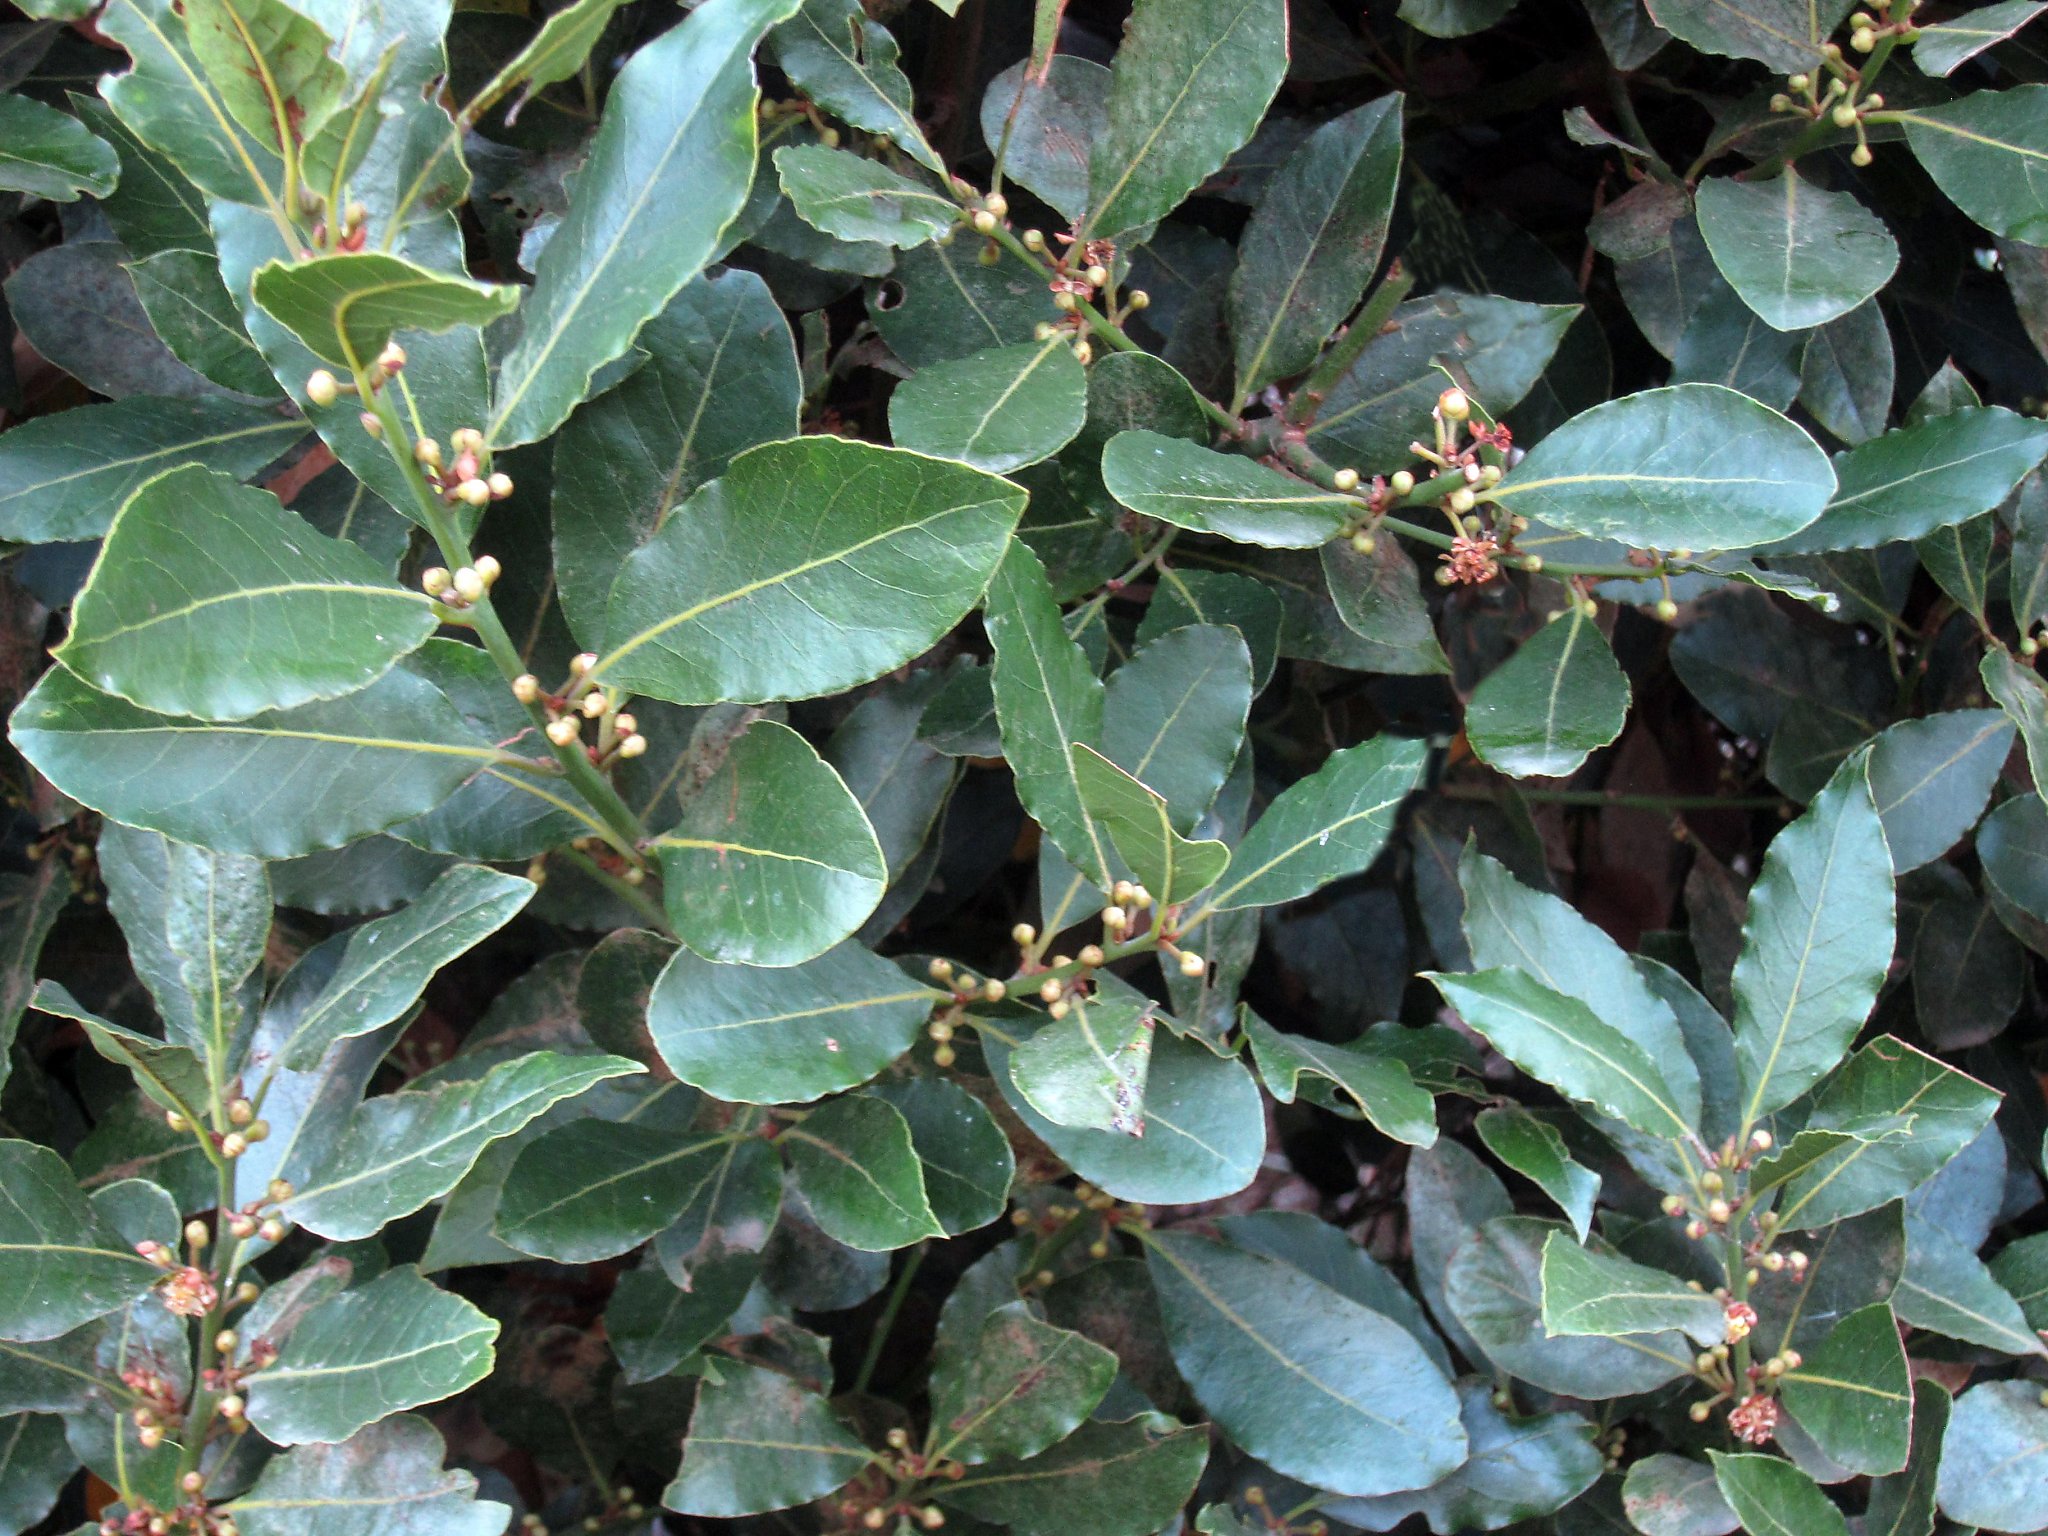
Flowering
Bay laurel is dioecious, meaning male and female flowers bloom on separate plants. The small, pale yellow flowers appear in spring once the plant is 3-5 years old. The inconspicuous flowers give way to small black fruits on the female plants.
You don’t need to do much to encourage bay laurel flowering. Simply meeting the plant’s basic care needs in terms of sun exposure, soil, water, and nutrition is enough. Pruning just after flowering removes spent blooms and keeps the plant shapely.
Fruiting
The berry-like fruits that form after successful pollination ripen in mid to late summer. Bay laurel fruits are about 1⁄4 inch long and turn from yellow-green to dark purple or black when mature. These aromatically scented berries were used in ancient Greece to create laurel berry wine and laurel-infused olive oil.
You can harvest bay berries once the color darkens and they detach easily from stems. Dry the fruit or use it fresh in teas, extracts, and culinary creations. The fruits contain 1-2 brown seeds each that can be collected and planted.
Maturity
A bay laurel tree is considered mature once it reaches its full height and width, which takes 5 to 10 years. Growth slows after this point but the plant keeps producing abundant foliage and yields moderate fruit.
With its mature root system and vascular tissues, bay laurel is quite drought resistant. Mature bay trees are hardy in USDA zones 7-10 and can handle summer heat. Continue occasional pruning, fertilization, and ample water to keep a mature plant thriving.
Caring for Bay Laurel Through the Growth Stages
Now that we’ve covered the phases of bay laurel growth, let’s recap the key care tips for supporting the plant through each stage:
-
Germination – Start seeds indoors and provide constant warmth and moisture.
-
Seedling – Allow plenty of light and ventilation. Watch for pests.
-
Vegetative Growth – Prune regularly. Fertilize in spring and summer.
-
Flowering – Meet water and nutrient needs. Prune after blooms fade.
-
Fruiting – Harvest ripe berries in summer. Collect seeds for planting.
-
Maturity – Prune minimally. Fertilize in spring. Water during droughts.
With the right growing conditions, bay laurel is a long-lived plant, often reaching 60 years or more. This aromatic herb tree makes a lovely addition to any garden. Understanding its growth cycle helps ensure your bay laurel thrives through every stage.
Growing Bay Laurel Indoors
In addition to growing outdoors, bay laurel also does quite well as a container plant that can be kept indoors. Here are some tips for cultivating bay inside:
-
Choose a large pot, at least 12 inches wide. Bay laurel has an extensive root system.
-
Use a quality potting mix and add drainage material like stones or pebbles.
-
Site the plant near a sunny window. Bay needs full sun to thrive indoors.
-
Maintain moderate watering. Check soil frequently and water when the top inch is dry.
-
Prune periodically to contain size and promote bushy growth.
-
Mist bay leaves occasionally to boost humidity.
-
Move the pot outdoors in warm weather to prevent pests indoors.
With attentive care, bay laurel makes a handsome and fragrant indoor plant. Even just a few leaves can perfume an entire room!
How to Use Bay Laurel
Beyond ornamental appeal, the main reason to grow bay laurel is to use its aromatic and flavorful leaves. Here are some of the most popular ways to use bay:
-
Add whole leaves to soups, stews, sauces, and marinades. Remove before eating.
-
Infuse olive oil or vinegar with bay leaves.
-
Season roasted vegetables and meats with ground bay.
-
Brew bay leaf tea from dried leaves.
-
Make cosmetic products like bay-infused hair rinses or bath salts.
-
Produce laurel berry wine or laurel-infused vinegars.
-
Craft wreaths and garlands from flexible stems and leaves.
Fragrant bay leaves are a beloved seasoning across many cuisines. Grow your own bay laurel to harvest fresh leaves anytime.
Troubleshooting Common Bay Laurel Problems
Growing bay laurel does come with some potential challenges. Here’s a look at some common issues and solutions:
Drooping leaves – This is often a sign of underwatering. Bay laurel needs moist soil. Increase water.
Leaf spots/disease – Improve air circulation and avoid wet foliage. Remove affected leaves promptly.
Root rot – Allow soil to dry out between waterings. Improve drainage if needed.
Poor growth – Fertilize regularly and ensure adequate sunlight.
Pests – Treat infestations early with horticultural oil or insecticidal soap.
Yellow leaves – This indicates overwatering. Allow soil to dry before watering again.
With proper site selection, routine care, and pest monitoring you can avoid many of these problems. Bay laurel is relatively trouble-free when given suitable conditions. Don’t hesitate to remove any diseased or struggling plants to prevent issues from spreading.
Growing Bay Laurel: Final Thoughts
Useful, fragrant, and beautiful, bay laurel is an excellent plant for herb gardens and containers. Understand the growing needs for each stage of the plant’s life cycle. With frequent pruning and proper care, bay laurel will thrive and provide an abundant supply of leaves. Experiment with using the aromatic leaves and berries for culinary and homemade product inspiration. Growing your own bay laurel is doubly rewarding when you get to harvest it fresh.
Are bay laurels toxic to animals?
Yes, bay leaves are toxic to dogs, cats, and horses if ingested. Be mindful that when youâre growing your bay laurels, they are either outdoors and out of reach of animals or indoors where no animals are around.
Time to Grow Your Own Bay Laurel
Having your own herb garden in your backyard or conveniently in your kitchen will spoil you with delicious harvests of freshly grown herbs! Are you eager to get started on growing your own bay laurel plant? Now that youâve learned all about them and what they have to offer, you can browse our selection and choose the one best suited to your needs. Itâs time to get planting and enjoying!
All About: Bay Laurel, a highly resourceful native plant
FAQ
How quickly do bay laurels grow?
Do bay laurels like sun or shade?
What is the best fertilizer for bay laurel?
How do you make bay laurel bushy?
How do you propagate bay laurel?
Bay laurel can be propagated by seed and from stem cuttings. To sow seeds, collect the seed-bearing drupes in fall and remove the fleshy outer case, or pericarp – if left in place, the pericarp can induce dormancy and prevent germination. Only about half of the sown seeds will germinate and fresh seeds sprout better than dried ones.
How fast does bay laurel grow?
Bay Laurel is a slow-growing plant, typically adding about 6-12 inches per year. Patience is key when growing this plant, but its longevity and usefulness make it worth the wait. Do I need to fertilize my Bay Laurel?
How to grow bay laurel?
Growing Bay Laurel is a delightful endeavor that rewards gardeners with both culinary and aesthetic benefits. By following these simple guidelines, you can enjoy the rich aroma and flavor of fresh Bay leaves right from your garden. Remember, patience is key as this plant grows slowly but surely, symbolizing wisdom and glory in every leaf.
Is bay laurel a low maintenance plant?
Bay laurel is an evergreen plant that can be grown in the home garden in warmer climates or in a pot for those in cooler locations. It has a high resistance to diseases and pests, making it a great low maintenance plant choice for novice gardeners.