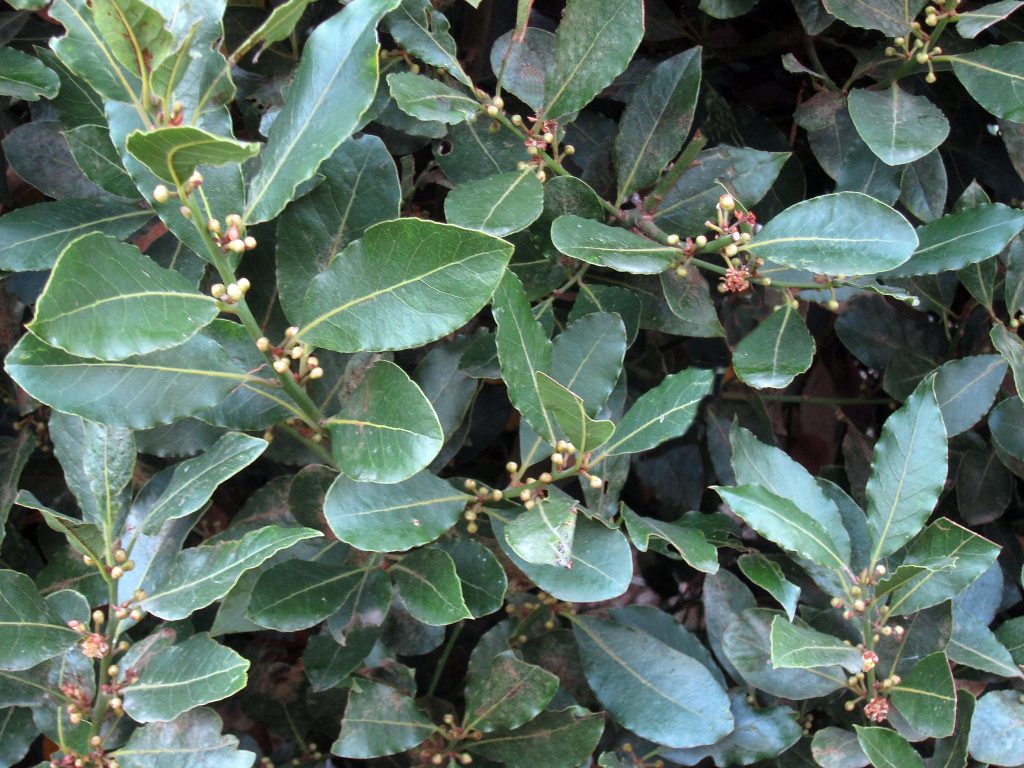
Bay Laurel is a gorgeous evergreen plant producing dense, aromatic shrubs of dark green, wax-coated foliage. Perfect for flavoring soups, stews, braises, and pâtés in Mediterranean cuisine, these leaves are adored for their distinctive flavor and can be used fresh or dry. Read on to discover everything you need to know about growing and caring for Bay Laurel!
Bay laurel, also known as sweet bay or simply laurel, is a fantastic herb to grow for your home cooking. Its glossy green leaves impart a wonderful robust, woodsy flavor to soups, stews, and other dishes With the right care, a bay laurel plant can thrive for years, providing you with a steady supply of fresh leaves
Proper fertilization is key to keeping your bay laurel healthy and productive. Here are the dos and don’ts of fertilizing your bay laurel plant.

The Dos
Use organic fertilizers. Bay laurel does best with organic fertilizers which break down slowly and provide a steady supply of nutrients. Some good options include fish emulsion compost, manure, worm castings, and kelp meal. Organic fertilizers enhance soil health by feeding beneficial microbes.
Fertilize in spring and summer. Bay laurels grow actively during the warmer months of spring and summer. Focus your fertilizing efforts during this time when the plant can readily utilize the nutrients. Avoid fertilizing in fall and winter when growth slows.
Follow label directions. When using commercial fertilizers carefully follow the label recommendations for proper dosage and timing. Over-fertilizing can burn roots and leaves. Under-fertilizing won’t provide enough nutrients.
Spread fertilizer widely. Distribute fertilizer over the entire root zone, from the trunk to the dripline. This encourages extensive root growth for a healthy plant. Rake it gently into the top inch of soil.
Water after fertilizing. Always water thoroughly after applying fertilizer. This helps carry nutrients down into the root zone. Let the soil dry slightly between waterings to avoid saturating the roots.
Watch for signs of deficiency. If leaves turn pale or yellow, the plant likely needs more nitrogen. If leaf margins brown, increase potassium. Adjust your fertilizer to correct any nutrient shortages.
Replenish mulch. Maintain 2-3 inches of mulch over the root zone of your bay laurel. This retains soil moisture and nutrients. Replenish the mulch as it decomposes.
Fertilize container plants. Potted bay laurels need more frequent feeding than in-ground plants. Use a balanced liquid fertilizer every 2-4 weeks during the growing season. Slow release pellets work well too.
The Don’ts
Don’t over-fertilize. It’s easy to overdose your bay laurel with excess fertilizer, leading to burnt leaf tips or damaged roots. More is not better when it comes to fertilizer. Stick to label rates.
Avoid quick-release fertilizers. Quick-release fertilizers like ammonium sulfate provide an immediate nutrient spike which can harm bay laurel roots. Time-released organic fertilizers are safer and more effective.
Don’t fertilize after September. Late season fertilizing can spur tender new growth that is prone to cold damage once winter arrives. Stop fertilizing by early September for most climates.
Don’t let fertilizer touch the trunk. Keep granular and liquid fertilizers away from direct contact with the trunk. This prevents burning the bark, which can invite disease.
Don’t fertilize stressed plants. Wait until after transplanting, pruning, or other stresses before fertilizing your bay laurel again. Fertilizer needs actively growing plants to work properly.
Avoid weed and feed products. Weed and feed fertilizers are not recommended for use around bay laurel trees. The herbicide component may damage the roots and leaves.
Don’t overwater after fertilizing. While a good watering is key after fertilizing, avoid excessive moisture. Too much water can leach nutrients from the root zone before plants absorb them.
Skip fertilizer for indoor plants. Indoor potted laurels generally don’t need extra fertilizer over their normal well-balanced potting soil during the winter months.
Fertilizing Guidelines By Season
Spring: Apply balanced organic fertilizer as new growth appears in spring. This provides nutrients for the growth flush. Use 1⁄4 cup per young tree, 1⁄2 cup per mature tree.
Summer: Fertilize container plants every 4-6 weeks with liquid fertilizer during summer. For in-ground plants, side dress with granular fertilizer in mid-summer if growth is slow.
Fall: Do not fertilize after early September, including container plants. Late fertilizing leads to frost-sensitive new growth.
Winter: Fertilizer is not necessary in winter when the plant is dormant.
Troubleshooting Issues With Bay Laurel Fertilizing
Yellow or stunted leaves indicate under-fertilizing. Browns leaf tips point to over-fertilizing. Address these promptly to get your plant back on track.
- Pale leaves: Increase nitrogen
- Yellowing older leaves: May indicate magnesium or iron deficiency
- Leaf tip burn: Leach soil and cut back on fertilizer
- Few new leaves: Increase phosphorus levels
- Poor growth: Do general soil test to assess needs
Best Practices for Healthy, Productive Bay Laurel Plants
Follow these tips for maximum success with your bay laurel fertilization:
- Choose slow release organic fertilizers to prevent nutrient spikes
- Time applications for spring and summer active growth periods
- Water thoroughly after applying fertilizer to soak roots
- Avoid touching trunks with fertilizer to prevent burning
- Watch leaves for signs of nutrient deficiencies
- Replenish mulch beds annually as it decomposes
- Fertilize container plants more frequently than in-ground
With a little care and some prudent fertilization, your bay laurel plant will thrive and provide you with an abundant supply of fragrant, flavorful leaves. Pay close attention to dosage, timing, and application method for happy roots and robust growth. Avoid over-fertilizing at all costs, and let the plant’s condition guide your nutrient adjustments.
How to Grow Bay Leaves (Bay Laurel) – Complete Growing Guide
FAQ
What is the best fertilizer for bay laurel?
What fertilizer do laurels like?
How to make bay laurel bushy?
How often do you water bay laurel?
