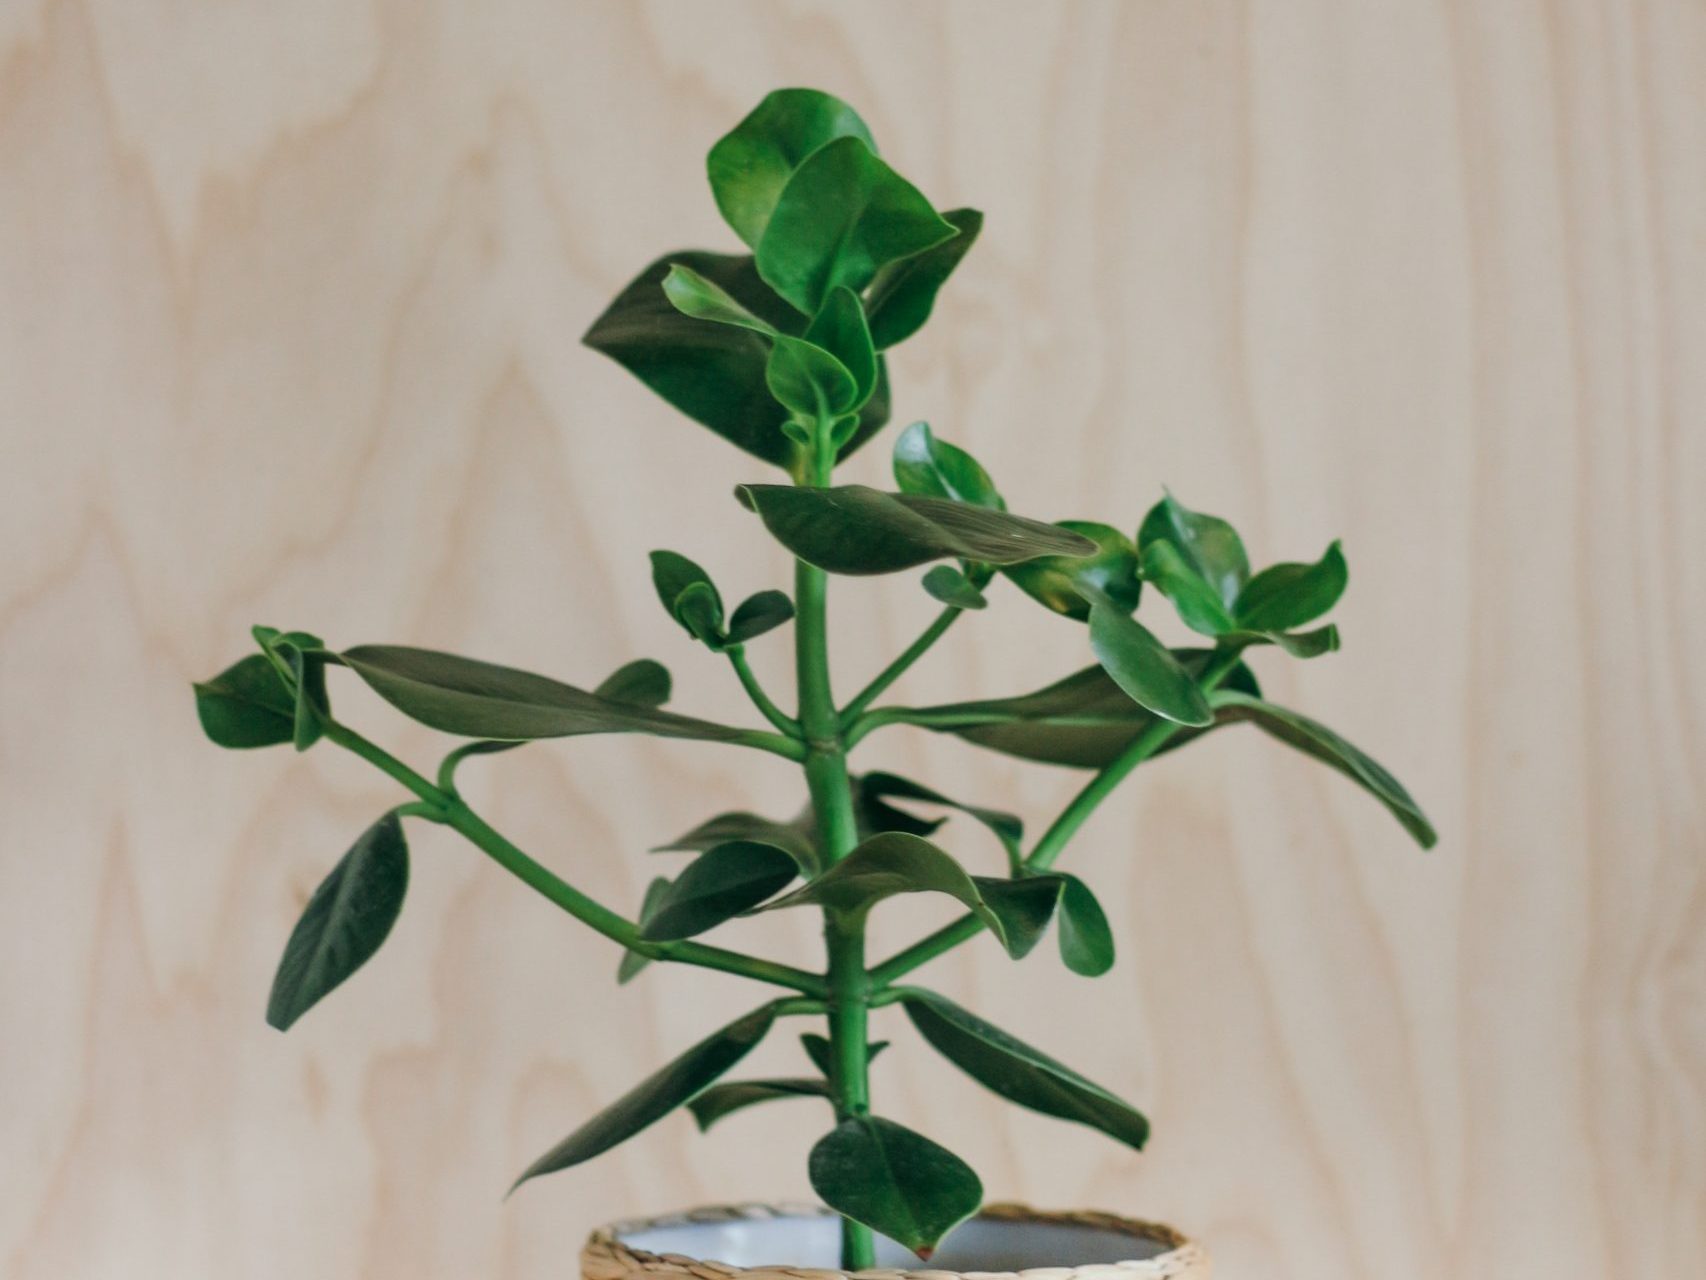
The autograph plant, also known as the Clusia plant, is a unique houseplant known for its broad, thick leaves and showy flowers With its tropical origins, vibrant colors, and ability to thrive indoors, it’s no wonder the autograph plant has become a popular choice for indoor gardening enthusiasts
Propagating autograph plants is a great way to get new plants for free. And it’s surprisingly easy to do! With just a few simple steps and basic gardening supplies you can multiply your autograph plant collection.
In this guide, we’ll walk through everything you need to know to successfully propagate autograph plants at home through stem cuttings. Let’s get growing!
What You’ll Need
Propagating autograph plants is simple and requires just a few basic supplies:
-
A healthy mother plant – Select a mature, healthy autograph plant to take cuttings from. Avoid any plants that are diseased or stressed.
-
Clean shears or pruners – You’ll need a sharp blade to snip cuttings. Wipe down shears with alcohol before each cut to avoid transferring disease.
-
Containers – Small pots, jars or vases to hold cuttings. Make sure they have drainage holes. Clear glass works well for observing root growth.
-
Rooting hormone (optional) – Not required but can help stimulate faster root growth. Look for powdered formulations.
-
Potting mix – A loose, well-draining soil mix is ideal. You can make your own mix of potting soil, peat moss, perlite and sand.
-
Plastic bags – To create a humid dome over cuttings while they root.
Step 1: Take Stem Cuttings
The first step is selecting and taking cuttings from the mother plant:
-
Identify healthy stems on the mother plant that are non-flowering. Look for stems that are green, firm and have healthy leaves.
-
Use clean, sharp shears or pruners to snip a stem cutting that is 4-6 inches long. Make the cut just below a leaf node.
-
Cuttings taken in spring and summer root the quickest. But you can take them any time of year.
-
Take 3-5 cuttings total to improve your odds of success. More cuttings = more plants!
Step 2: Prepare the Cuttings
Before placing your cuttings, you’ll want to prep them:
-
Carefully trim off the lower leaves from each cutting, leaving just 2-3 leaves at the top.
-
Make a fresh angled slice at the base of the stem. This exposes more surface area for new roots to emerge.
-
Dip the bare end in rooting hormone powder if desired. Tap off any excess.
-
Allow cut ends to dry/callous over for 1-2 days before planting.
Step 3: Root in Water
One easy way to root autograph plant cuttings is in water. Here’s how:
-
Fill small jars or containers with room temperature water. Cuttings will root quickest in warm water.
-
Insert stem cuttings into the water so the bare end is fully submerged. Leave 2-3 leaves above water.
-
Place the containers in bright, indirect light. Direct hot sun will scorch the leaves.
-
Make sure water levels stay consistent. Add more water as needed to keep cuttings submerged.
-
Cuttings should develop roots after 3-5 weeks. Roots will be noticeable through clear glass containers.
-
Once roots are 1-2 inches long, cuttings can be transplanted into soil.
Step 4: Root in Soil
You can also root autograph plant cuttings directly in potting mix:
-
Fill small pots with a loose, well-draining potting mix. Mix in sand or perlite to improve drainage.
-
Poke holes in the soil with a pencil. Insert each cutting, gently firming the soil around it.
-
Water well then cover pots with plastic bags to create a humid environment.
-
Place pots in bright indirect light and keep soil consistently moist but not soggy.
-
Remove plastic once cuttings show new growth in 2-4 weeks.
-
Transition to larger pots once roots are well established.
Step 5: Care for New Plants
Once your cuttings have rooted and been transplanted, they can be treated like mature autograph plants:
-
Place in bright indirect sunlight. Provide 12-14 hours of light daily.
-
Keep soil consistently moist but not soaked. Allow to dry out some between waterings.
-
Water with room temperature filtered water. Let water drain fully from pots.
-
Maintain average room humidity. Misting leaves occasionally can help.
-
Feed monthly in spring and summer with balanced liquid fertilizer diluted to half strength.
-
Prune back leggy growth and pinched off spent flowers to encourage bushiness.
-
Repot annually in spring into slightly larger containers.
With the proper care, your new propagated autograph plants will continue growing and thriving for years to come. Enjoy watching your plant collection multiply!
Reader Success Stories
-
 Anonymous “Found a garbage can full of cuttings of Clusia. This was the best detailed article I found for what to do with them.”…” more
StepsSection 1 of 5:
- Most Clusia plants will grow to a height of 4 to 8 ft (1.2 to 2.4 m) tall.[27] Thanks Helpful 0 Not Helpful 0
Submit a Tip All tip submissions are carefully reviewed before being published
Pitch apple growing small leaf closia from a cutting and root powder
FAQ
How long does it take Clusia cuttings to root?
What is the easiest method of plant propagation?
Can Clusia grow in water?
How do you grow an autograph tree?
It’s also possible to grow Clusia rosea hydroponically in a glass vase filled with water and forgo the soil altogether. This is one of the easiest methods of growing an autograph tree, and one of the most attractive because it allows you to show off its intricate root system.
How do you care for an autograph tree?
Ideally when you water your autograph tree you should always opt for room temperature water. As this is a plant native to warm environments, cold water can send it into shock. This may cause leaves to fall from your plant. Another tip is watering your plant in the morning. By doing this the water will evaporate throughout the day.
Can You propagate without cuttings?
You can also easily propagate without. Although the use of cutting powder can stimulate root growth. So it is an interesting option to consider. Fill a vase or glass with water. Put the cutting (s) in the vase. Make sure the stem is touching the water, but avoid that a leave is touching the water too. Leaves that touch the water can cause rot.
Is an autograph tree a good houseplant?
The autograph tree is a fast-growing and smart-looking houseplant that is easy to keep for both novices and veteran houseplant owners. Because this evergreen tree can thrive in a wide range of temperatures, soil conditions, and light exposure, it is very forgiving of caretaking mistakes.