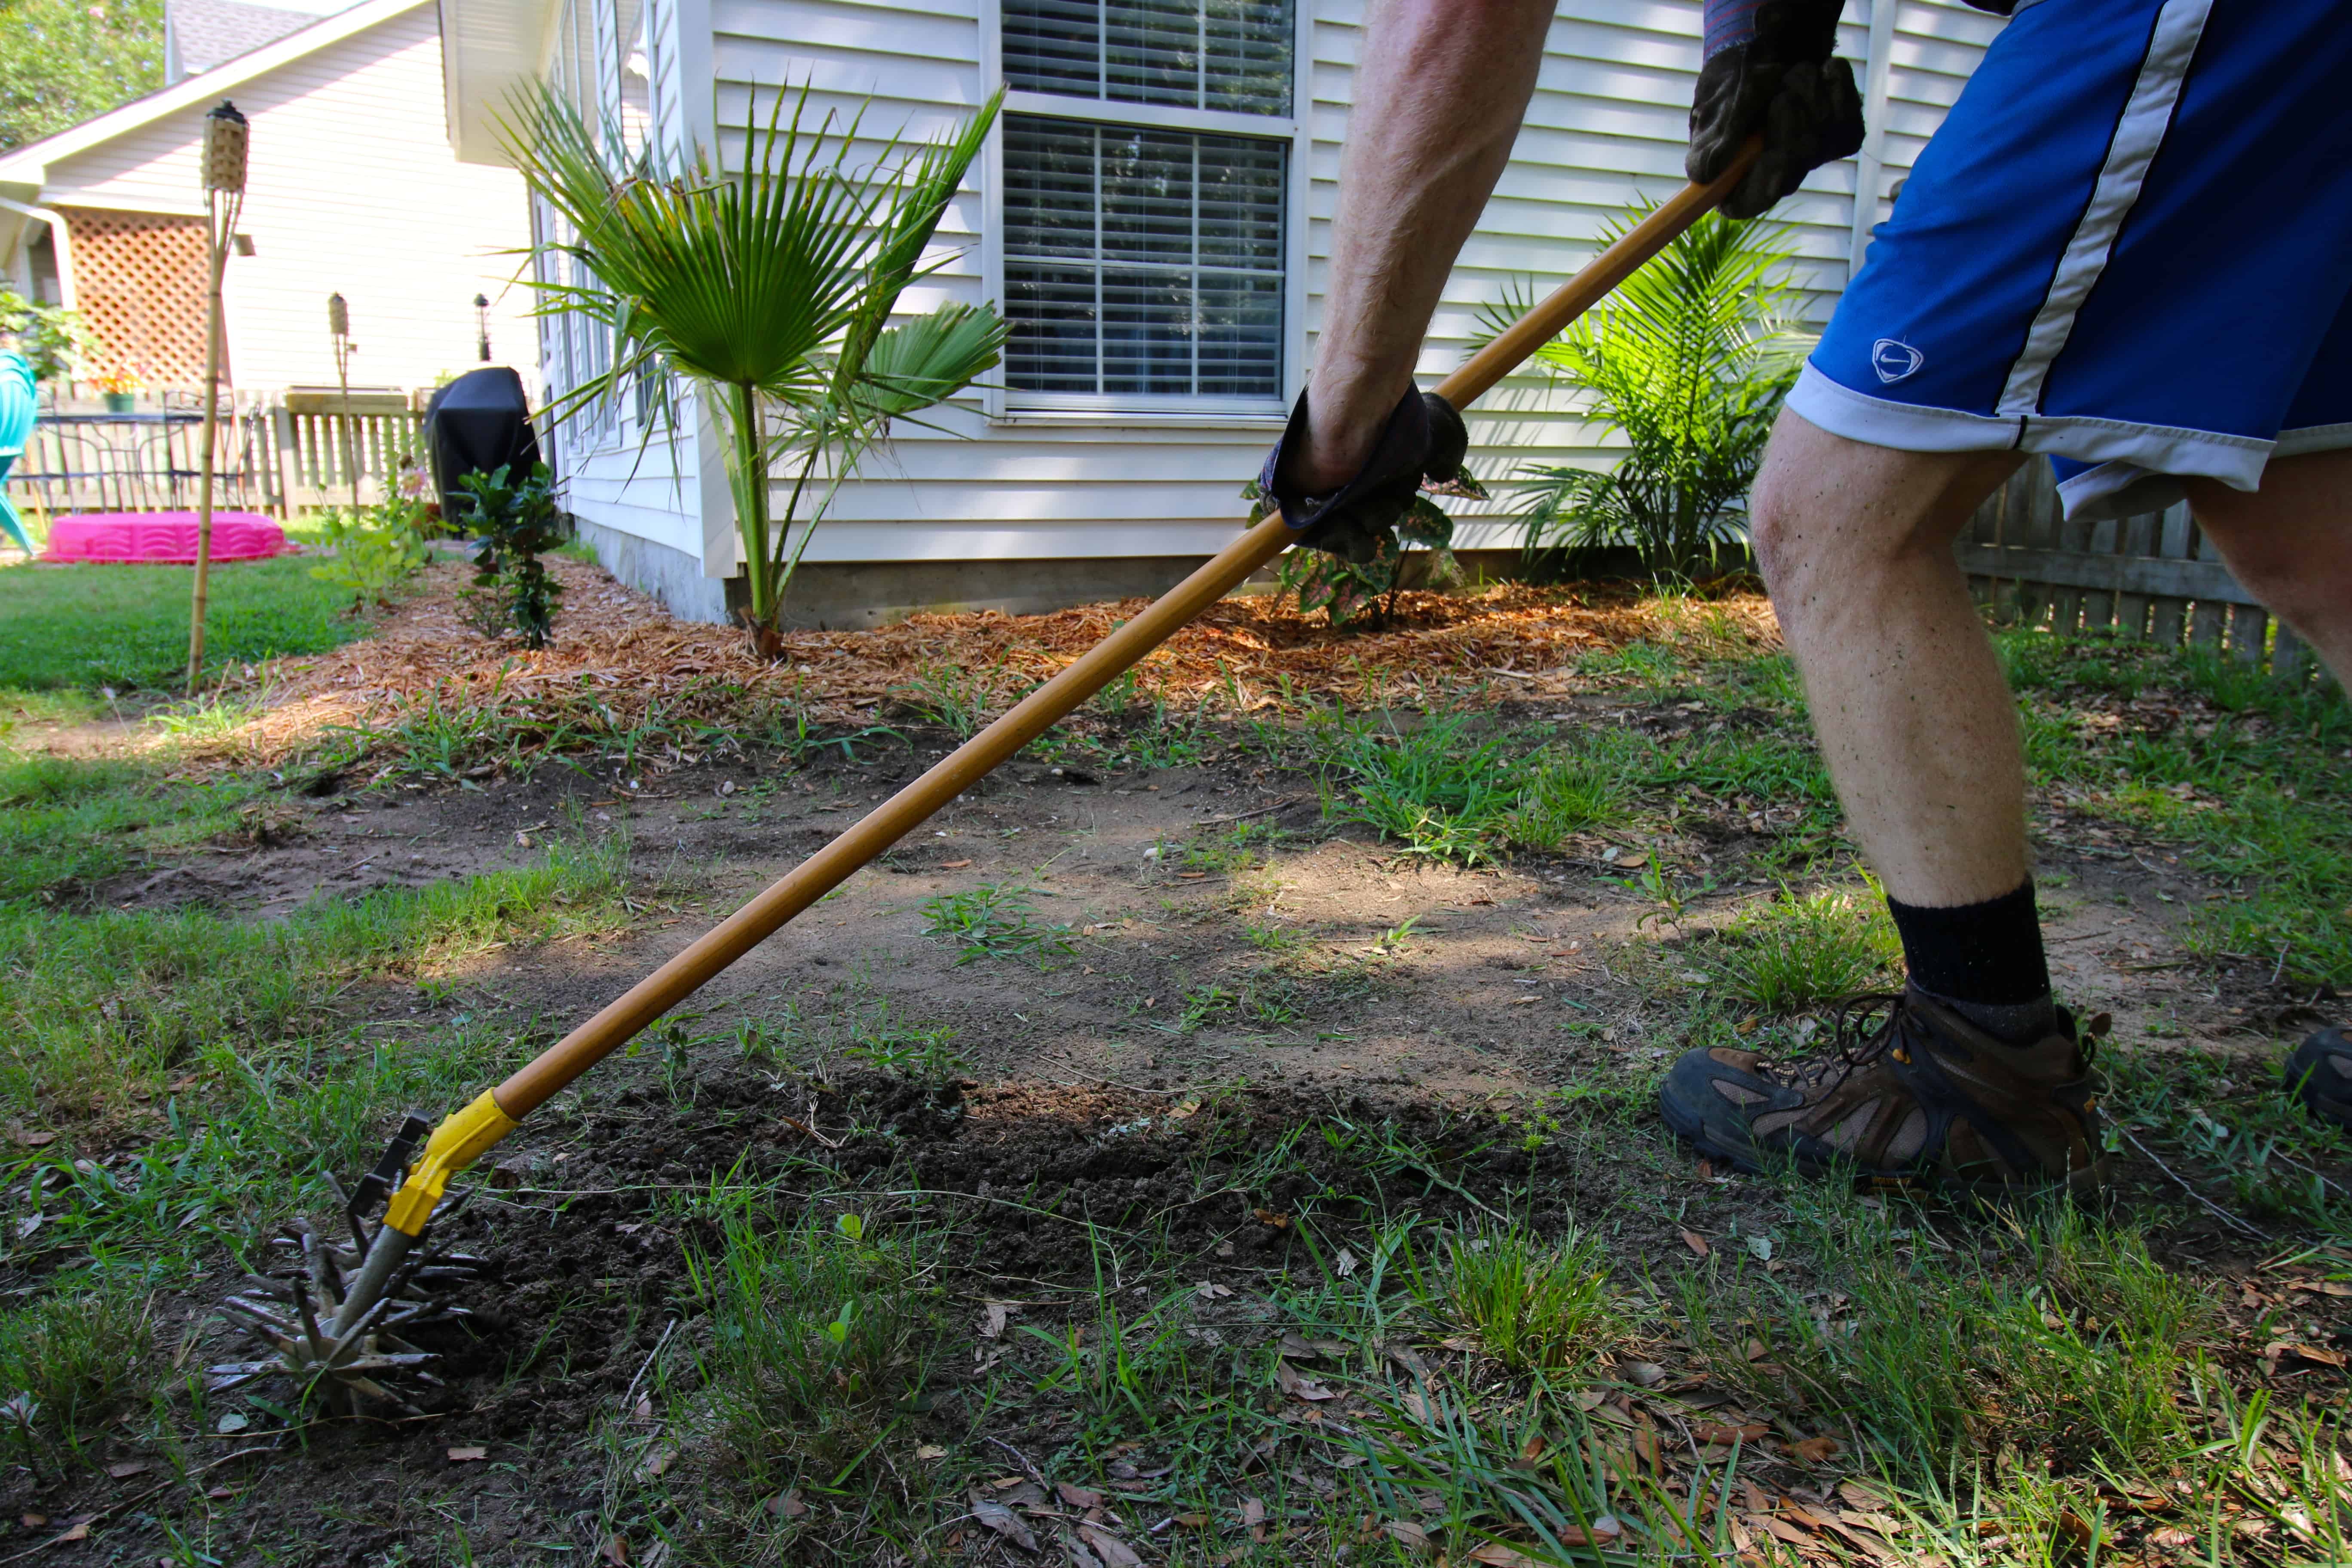
Transplanting basket grass (Oplismenus hirtellus) is a great way to propagate your plant or move it to a new location. With the right preparation and care, transplanting basket grass can be easy and successful. In this comprehensive guide, I’ll walk you through the entire process of transplanting basket grass step-by-step.
When to Transplant Basket Grass
Ideally, basket grass should be transplanted in the spring or early summer when the plant is actively growing. This gives the plant time to establish itself before winter arrives. Late summer or fall transplants run the risk of cold weather damage before the roots fully take hold. Avoid transplanting during extreme heat, cold or drought, as these conditions add stress to the plant.
Preparing for Transplant
Before you start digging up your basket grass, be sure to have the right supplies on hand:
- A new container or area for planting, at least slightly larger than the current one
- Fresh potting mix or garden soil
- Garden tools like a trowel, shovel, and gloves
- Pruning shears to trim roots if needed
- Watering can
The day before you plan to transplant, thoroughly water the basket grass. This helps moisten the soil so the roots can be removed with minimal damage.
How to Transplant Basket Grass Step-By-Step
Follow these simple steps for transplanting basket grass successfully:
1. Dig Up the Plant
Use a shovel or garden fork to dig around the basket grass plant, keeping the soil and roots intact as much as possible. Gently lift the entire plant and root ball from the ground. For potted plants, gently remove from the container, tapping lightly to loosen soil.
2. Prepare the Plant Roots
Gently loosen any crowded or circled roots at the bottom and sides of the root ball. Trim any damaged roots with pruning shears. This encourages new root growth after transplanting.
3. Dig a Hole in the New Location
Dig a hole in the new planting area that is about 1,5 times wider and just as deep as the basket grass root ball, This gives the roots room to spread out
4. Add Compost to the Hole
Put a few inches of compost or aged manure in the bottom of the hole This gives nutrients for root growth
5. Place the Plant in the Hole
Set the basket grass plant in the hole so the top of the root ball is level with the ground. Refill the hole halfway with soil.
6. Water Thoroughly
Water well to settle the soil. Let excess water drain before filling the remainder of the hole with soil.
7. Finish Filling the Hole
Fill the remainder of the hole with soil, firming the soil gently around the plant with your hands Do not pack too tightly.
8. Create a Water Basin
Build a temporary water basin around the plant to help direct water to the roots. This helps reduce transplant shock.
9. Mulch Around the Plant
Spread 2-3 inches of mulch like wood chips or straw around the plant to retain moisture and inhibit weeds. Keep mulch a couple inches away from the stem.
10. Continue Care
Water the transplanted basket grass regularly for the first few weeks until it is established. Monitor for signs of transplant shock like wilting or yellow leaves and adjust care as needed.
Caring for Basket Grass After Transplanting
Proper aftercare reduces transplant stress and helps your basket grass thrive in its new location:
- Water thoroughly whenever the top few inches of soil become dry
- Avoid fertilizing immediately after transplant to prevent root burn
- Prune any dead or damaged foliage
- Monitor for pest problems and treat accordingly
- Shelter potted plants from harsh sun and wind
Within a few weeks, your transplanted basket grass should show signs of new growth as it adapts to its environment. Be patient, as it can take several months for the plant to fully establish. With attentive care, your basket grass will soon settle nicely into its new home.
Troubleshooting Transplant Issues
If your basket grass shows signs of transplant shock such as wilting, leaf drop or failure to root well, don’t panic. Here are some tips:
- Check that you are not over or under-watering the plant
- Move potted plants to partial shade to reduce stress
- Apply a balanced liquid fertilizer to stimulate growth
- Examine roots for rot and trim any affected areas
- Propagate with basket grass stem cuttings for a fresh start
With attentive care and monitoring, even stressed transplants can recover fully. Reach out to local plant experts if problems persist.
Transplanting basket grass takes patience and care, but is very rewarding. Follow these guidelines for the best results, and you’ll soon have happy, healthy basket grass establishing in its new home. Enjoy watching your basket grass thrive and enhance your landscape for years to come.

k
How To TRANSPLANT Hanging Baskets – Transplanting Into a Coco Liner Basket
FAQ
Is basket grass a perennial or annual?
