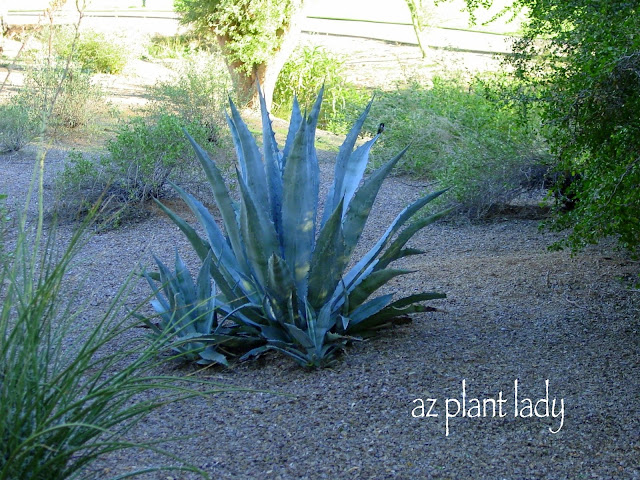
Agaves are striking succulents that add dramatic form and texture to gardens. As agaves mature, their growth may outpace their container size or garden space. When this happens, it’s time to transplant the agave to a new location. Transplanting these sculptural plants takes a bit of skill, but the reward is a revitalized, healthy agave. Follow this guide to learn when and how to transplant an agave successfully.
When to Transplant an Agave
Timing is critical when transplanting an agave. The best time is during the plant’s dormant season in late fall winter or early spring. At this time the agave has stopped actively growing, so the transplant shock will be minimized. Avoid transplanting during the summer heat when the plant is exerting energy into growth. Extreme winter temperatures can also damage freshly transplanted agaves.
Watch for these signs that your agave needs transplanting
-
Roots are bursting from drainage holes at the bottom of the container. This signals that the plant has outgrown its pot.
-
Growth has slowed or stopped. Lack of space for the roots prevents new growth.
-
The plant is tipping over from top-heaviness. It needs the support of fresh, loose soil.
-
The soil dries out very quickly. The bound root system cannot hold moisture.
How to Transplant an Agave
Follow these steps for safe and successful agave transplanting:
Select an Agave-Friendly Spot
Choose a new in-ground or container location for the agave. Select a spot with these features:
- Full sun exposure
- Well-draining, sandy soil
- Enough space to accommodate the mature plant size
- Shelter from extreme cold and frost in winter
Prepare New Container or In-Ground Site
If planting in the ground, loosen the soil and mix in compost or gravel to improve drainage. For container planting, choose a pot 2-4 inches wider than the current container and use cactus/succulent soil mix.
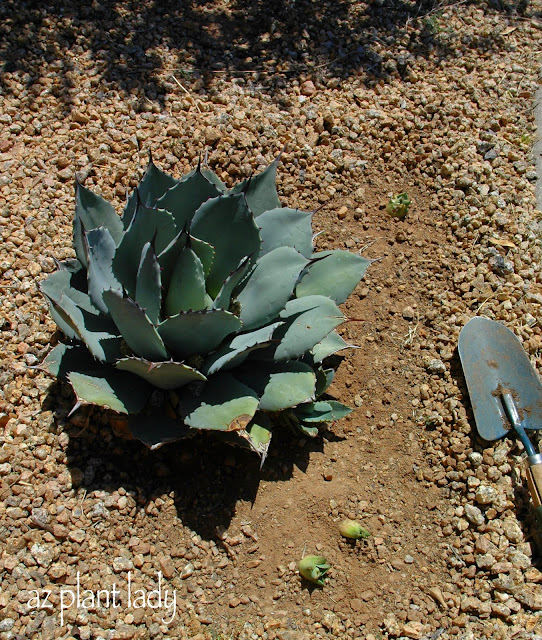
Dig Up the Agave
Water the plant well the day before transplanting. Use thick gloves and long sleeves when handling agaves to avoid injury from sharp leaf spines. Carefully dig around the agave and under the roots to extract the entire root ball. Trim away any damaged roots.
Plant in New Location
Place the agave in the prepared container or planting hole. Position it at the same level as before. Backfill with your drainage-enhanced soil blend. Pack the soil firmly around the roots to stabilize it.
Provide Post-Transplant Care
Water thoroughly after transplanting and let the soil partially dry before watering again. This encourages new root growth before exposing them to excess moisture. Shelter from harsh weather until established. Apply light fertilizer monthly during the growing season.
Special Considerations for Transplanting Large Agaves
Mature, large agaves can weigh hundreds of pounds. Their substantial root balls and dangerous spines make relocating them very difficult. Here are some tips to safely move a huge agave:
-
Wait until it is dormant to minimize transplant stress.
-
Protect yourself with thick gloves, clothing and eye protection when handling.
-
Dig deeply and wide to extract the entire root system.
-
Use heavy machinery like a dolly or backhoe to move massive agaves.
-
Trim back roots to encourage new growth after transplanting.
-
Plant in an area with no slope or elevation change.
-
Stake and support the agave until its roots establish in the new site.
-
Water sparingly after transplanting to prevent crown rot.
With proper timing, care and technique, even very large and heavy agaves can be transplanted successfully. Follow these tips for an invigorated, thriving agave in its new garden location. Let us know if you have any other agave transplanting questions!

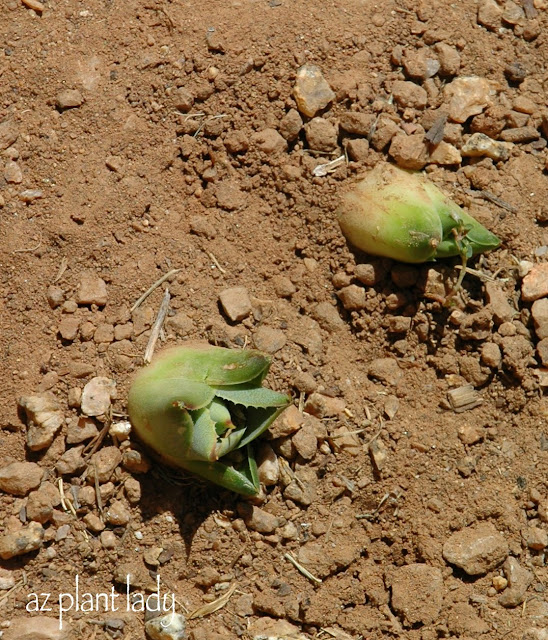
What Do Agave Pups Look Like?
How To Transplant An Agave Plant
FAQ
Can you cut an agave stem and replant?
How to propagate agave. Any pup plants that develop after flowering can be removed and planted in pots or the ground. Older plants will often form large clumps, and entire shoots can be removed, neatly trimmed, allowed to dry and then planted in pots until they are established.
How deep are agave roots?
Agave, and other succulents, tend to have shallow root systems and don’t need overly deep holes.