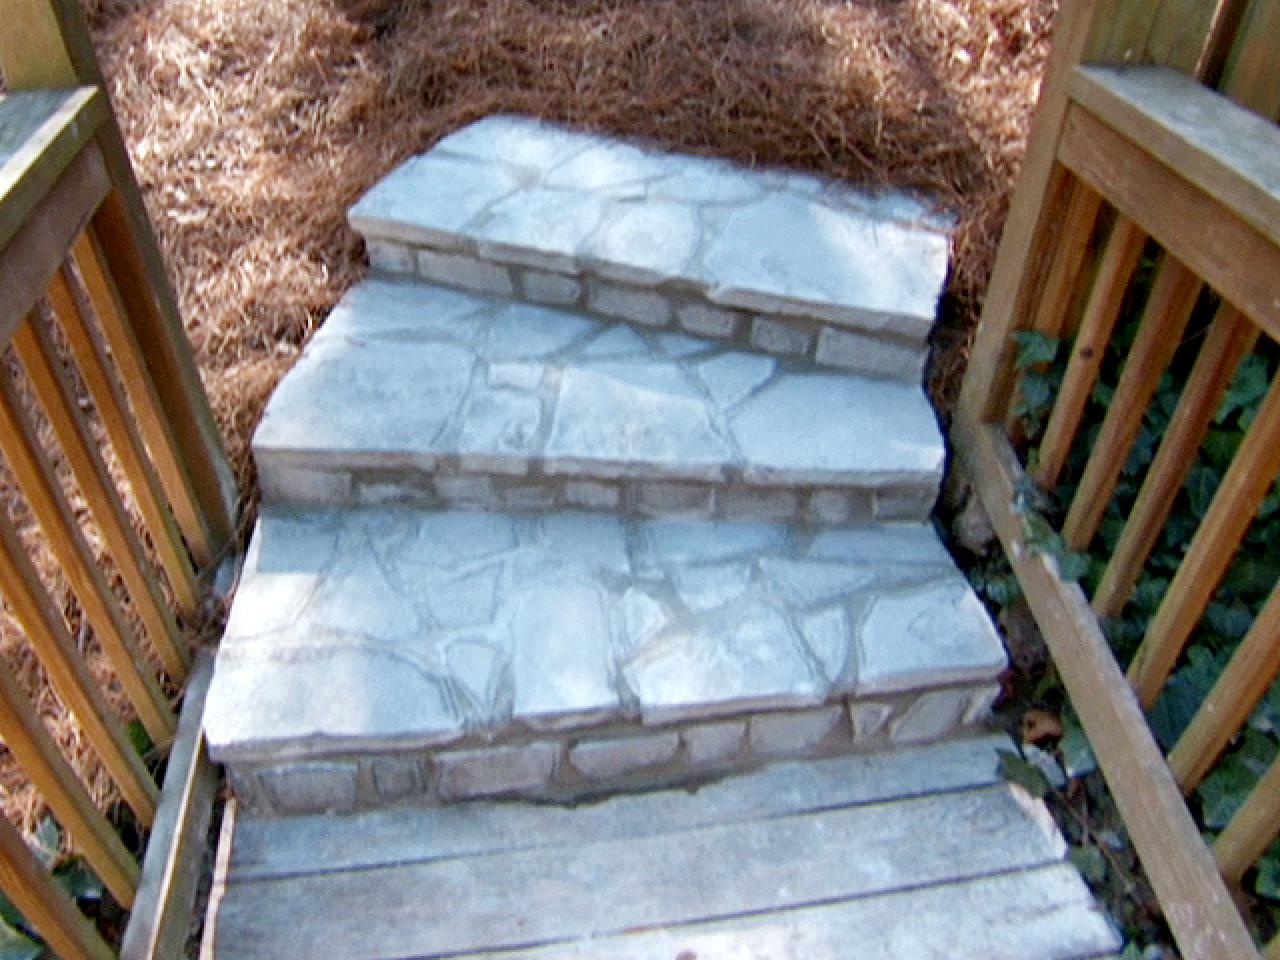
Stone steps can add elegance and charm to your home’s exterior. Whether leading up to your front door or connecting parts of your backyard landscape, natural stone steps make for an attractive and functional addition.
Installing stone steps on your own can seem daunting, but it’s quite doable for a motivated DIYer. With proper planning and preparation you can have beautiful stone steps that will last for decades.
Here is a complete guide on how to lay stone steps, from choosing materials to final installation.
Getting Started: Things to Consider
Before getting into the nitty gritty of the installation process, here are some key considerations as you plan your project:
Step Location: Determine where you want your steps to go and take precise measurements of the space. This will dictate how many steps you need and their dimensions. Measure the vertical rise and horizontal run to calculate your risers and treads.
Stone Type Select a natural stone material that fits your budget and aesthetic. Popular choices are bluestone flagstone granite and limestone. Visit stone suppliers to view options.
Step Dimensions Ideally, aim for a 6-7 inch riser height and 12-18 inch tread depth. The stepping motion feels most natural within this range.
Excavation Needs: Account for digging out and leveling the area where steps will be placed. Having the base cleared and prepped makes installation much easier.
Tools/Equipment: Assemble needed tools – shovel, tamper, level, tape measure, etc. Consider renting a plate compactor and stone cutting equipment if necessary.
Skill Level: Gauge your DIY skills and get help if needed. Building steps solo is very labor intensive. Recruit a friend or hire a pro if concerned.
Choosing Step Stones
Once you’ve assessed the basics, it’s time to choose your building material. Consider these factors:
Size – Moderate sized stones are ideal. Avoid thin slices or massive blocks.
Shape – Look for relatively rectangular shapes to allow uniform step surfaces.
Finish – Natural cleft and split finishes have an organic look. Smooth surfaces feel more refined.
Thickness – Target 4-8 inches thick. Thinner stones are prone to cracking.
Quantity – Order 25% extra to allow for waste, breakage and design flexibility.
Delivery – Have materials delivered close to work site to avoid excessive carrying.
Preparing the Base
With your stones purchased, it’s time to prep the installation area. Proper base preparation prevents sinking and settling.
Excavate – Dig out area, making it 6-12 inches wider and deeper than step dimensions.
Slope – Grade base materials away from steps for proper drainage.
Gravel Base – Add 4-6 inches of crushed gravel and pack firmly with a tamper.
Sand Layer – Top with 1-2 inches of coarse sand. Smooth and pack down.
Check Level – Use a 4′ level and carpenter’s square to ensure flat, even base.
Installing the Bottom Steps
Begin your stone stairway by setting the bottom steps first.
Dry Fit – Arrange bottom steps on prepared base until you achieve the desired layout.
Bury – Lower bottom step into ground 2-3 inches for stability and a natural look.
Level – Check that top of bottom step is level front to back and side to side.
Slope – Maintain a slight downward slope on treads to prevent water pooling.
Stack – Place next step atop first, holding back 1 inch from the step’s edge.
Repeat – Continue stacking upward, checking level and slope as you go.
Installing the Middle Steps
Once your first few steps are placed, build the middle section.
-
Overlap – Overhang each new step 1-2 inches over the riser of the lower step.
-
Shim – Use stone scraps underneath to stabilize and level steps.
-
Fill Gaps – Wedge small stones into any gaps between steps and risers.
-
Check Run – Ensure steps remain uniform depth top to bottom with no trip hazards.
-
Compact – Pound steps into place with a rubber mallet as you build upward.
-
Curve – If your steps curve, angle joints between stones to follow the bend.
Installing the Top Steps
The final steps require some finesse to transition smoothly from stairs to landing.
-
Height – Top step should end slightly below finished landing height.
-
Overlap – Maximize tread depth on top steps by overhanging riser more.
-
Shim – Use extra stone chips beneath top steps to achieve proper height.
-
Landing – Pack gravel and pavers on landing area to blend with top steps.
-
Hand Rail – Install a safety railing if steps are tall or serve an entrance.
-
Seal – Apply stone sealer to protect steps from weathering and staining.
Customizing Your Stone Stairway
Now that the structural work is complete, add decorative touches to customize the look.
Plantings – Place pots of colorful plants on steps or border them with low shrubs.
Lights – Accent steps with gradually ascending outdoor light fixtures.
Side Walls – Flank steps with matching retaining walls for a polished staircase.
Pathway – Extend a stepping stone path or paver walkway to and from the steps.
Accessories – Adorn steps with interesting garden ornaments and outdoor decor.
Maintaining Natural Stone Steps
Follow these tips to keep your stone steps looking their best:
-
Annually inspect steps for loose stones and re-level as needed.
-
Re-apply stone sealer every 1-2 years to protect from moisture damage.
-
Clear debris like leaves and snow promptly to prevent slip hazards.
-
Avoid using salt and aggressive deicers in winter that could degrade stone.
-
Plant grass or tolerant groundcover between steps to prevent soil erosion.
-
Clean steps as needed with gentle soap and water, avoiding acidic cleaners.
Properly installed and cared for, natural stone steps will gracefully withstand decades of foot traffic. With this comprehensive guide, you can confidently tackle this landscape project on your own. Take it step-by-step and soon you’ll have an elegant stone staircase to cherish for years to come.
How to Install Natural Stone Steps | Full Guide
FAQ
What do you put under stone steps?
For the base, use stone chips or gravel.
How do you install stone steps?
Always start the install with the bottom step. Dig out the approximate shape of the step 6 inches deep. Fill with a 6” base of ¾” minus crushed rock and top off with ¼” minus crushed rock or sand (for drainage). Pack and tap down gravel firmly before setting your RockStep in place.
What is the base for stone steps?
You need about 4”-6” of A-gravel and ½” to 1” of bedding sand base per step (we can help you figure out your total order size). Once you have your stones and bedding sand, you can get to work!
How do you lay stone paving steps?
- Step 1: Add a Base Layer of Gravel (Road Base) …
- Step 2: Compact the Base Layer. …
- Step 3: Add Bedding Sand. …
- Step 4: Start Adding the Paving Stones. …
- Step 5: Continue Laying the Full Paving Stones. …
- Step 6: Cut Small Pieces to Fit Edges.