Do you love topiaries as much as I do? Then, let me show you how to make an easy DIY Topiary frame from a grapevine wreath!
Last spring, I ripped apart a grapevine wreath to make twig and moss charger plates for my Easter table setting!
You see, I had planted some ivy and herbs, which you can see in this post about painting terra cotta pots!
I was waiting for the ivy to grow long enough to use on the grapevine topiary!
I managed to keep the plant alive until Christmas then, I got too busy and forgot to water it!
So, my big plans for making a topiary to hold my beautiful ivy went out the window!
I thought about buying a new plant, but how silly would that be when I couldn’t keep the first one alive??
So I came up with a new plan to make a topiary frame and then buy a faux ivy garland to wrap around it!
Topiary frames are a unique way to add shape and greenery to your garden or home decor. These sculpted plants framed in wire create stunning living art pieces that can be customized. If you’ve ever admired the beautiful topiaries at botanic gardens or stately homes, you’ll be excited to know that you can easily make one yourself!
In this comprehensive guide, we will walk through everything you need to know about making your own topiary frame, from choosing plants and shapes to constructing the frame and caring for your creation. Whether you’re a beginner looking for your first topiary project or want to level up your skills, let’s get growing!
Selecting the Right Plant for Your Topiary Frame
The first step is choosing which type of plant you want to use for your topiary frame. The most common options are:
-
Ivy – A classic choice, ivy’s trailing stems make it perfect for weaving onto frames. English ivy, grape ivy, and Boston ivy are great options.
-
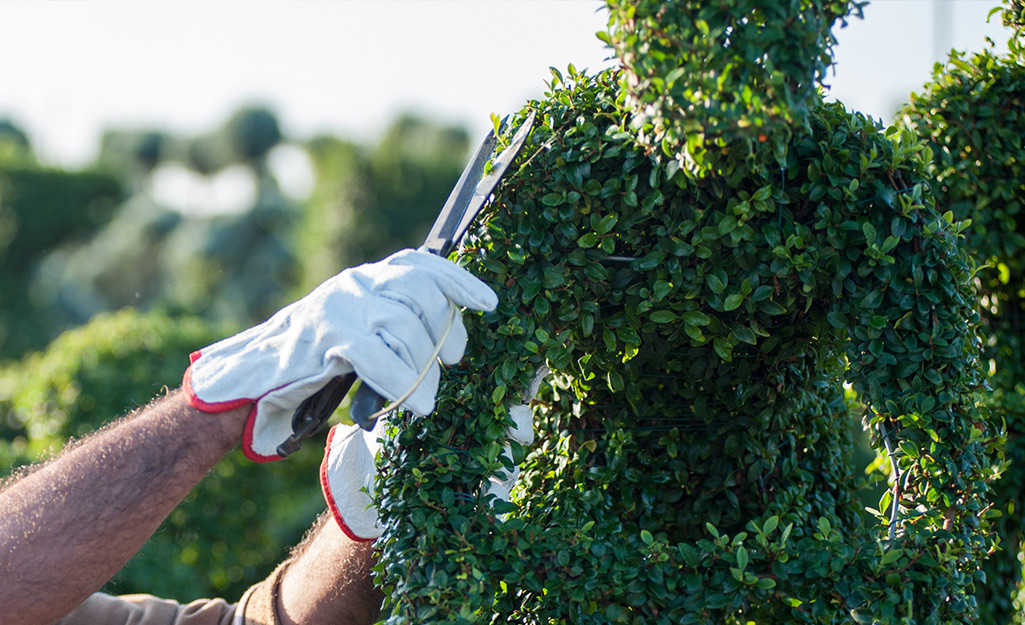
Boxwood – With small evergreen leaves, boxwood keeps its shape when pruned. Dwarf varieties like Japanese boxwood work best.
-
Rosemary – This woody herb can be trained into topiary shapes. Upright varieties like Tuscan Blue are ideal.
-
Lavender – The silvery foliage and familiar scent of lavender make it a lovely topiary plant. Opt for compact types like Munstead.
Other plants like azaleas, junipers, myrtle and hibiscus can also be used. Choose a plant that is sturdy, keeps its shape when pruned and fits the size of your frame.
Picking the Perfect Topiary Frame Shape
Once you’ve selected your foliage, it’s time to decide on a shape for your topiary frame. Consider the size of your plant, its growth habit, and your space Here are some classic topiary shapes to inspire you
-
Spheres – These rounded globes work for plants that fill out well like boxwood or ivy.
-
Cones – Fun spiral shapes suit trailing plants like ivy or rosemary.
-
Cubes – For modern flair, a box-shaped topiary works great with boxwood
-
Animals – Choose your favorite creature and make a wire frame to match. Better for advanced topiary makers.
-
Letters – Spell out names, words, or phrases for a unique living sign. Ivy and boxwood work well.
-
Custom – Get creative with shapes like hearts, clouds, baskets, or abstract sculptures.
Consider starting with a simple form like a ball or cone for your first topiary attempt. You can always get more creative as your skills progress.
Constructing the Topiary Frame
Once you’ve selected the perfect plant and shape, it’s time to build the structure that will support your topiary creation. Here are the steps:
Gather Your Materials
You’ll need:
- 16-18 gauge wire or wire mesh/cage materials
- Wire cutters
- Needle nose pliers
- Sturdy work gloves
For larger frames, you may also need:
- bolt cutters for cutting wire
- strong stakes or dowels for structure
Form the Frame Shape
Use your wire cutters to cut lengths of wire. Following your shape pattern, bend the wires into place and connect ends together with pliers to create your frame.
For shapes with lots of curves like spheres and cones, wire mesh or cages meant for topiaries can make construction easier. Secure edges with floral wire as needed.
For letter shapes, create each letter out of wire using your desired font as a guide.
Anchor the Frame
Once your base frame is constructed, create a way to anchor it in the ground or container it will live in. Bend wires into a spike shape at the base to push into soil to hold it in place.
Planting and Shaping Your Topiary
Now comes the fun part – turning your plain wire frame into a beautiful living sculpture! Here’s how to plant and train your topiary frame:
Prepare the Plant
Gently remove your plant from its nursery pot. Tease roots loose and lightly trim long roots to encourage good establishment.
Add Soil & Plant
Fill your container about 1/3 full with potting mix. Place the plant inside the frame and fill soil around it, firming the soil lightly. Leave 2-3 inches between the soil and frame top.
Weave Stems Into Frame
Once planted, gently tie or weave the main stems into the wire frame using floral wire, twine, or Velcro plant ties. Tuck in side shoots and remove excess foliage.
Let It Grow!
Keep your topiary frame watered and in optimal light. As it grows, continue training stems into shape and trimming back wayward growth. Be patient – it may take a few seasons for your frame to fill out fully.
Maintain the Shape
Prune your topiary frame 1-2 times per year to maintain its shape. Use sharp pruners for a clean cut. Never prune more than 1/3 of the foliage at once.
Caring for Your Topiary Frame Creations
To keep your living art healthy and looking its best for years to come, be sure to provide proper topiary care:
- Water 1-2 times per week, taking care not to overwater
- Fertilize monthly during the growing season
- Prune regularly to maintain desired shape
- Protect from harsh sun/wind; bring indoors if not cold hardy
- Ensure excellent drainage and air circulation
Rotate or tilt the frame occasionally to encourage even growth all around. Watch for pests like mites or aphids which can quickly damage tender new growth.
Top Tips for Topiary Success
- Start with a simple shape and hardy plant for your first attempt
- Use good quality wire that can hold its shape
- Wear protective gloves when working with wire
- Check frames for sharp edges and file down or wrap with tape
- Work slowly when shaping and pruning to avoid damaging growth
- Be consistent with watering, fertilizing, and pruning
- Avoid forcing growth – let the plant fill out naturally for best results
With the right plant choice, well-built frame, and proper care, you can create stunning topiary frames to decorate your garden, patio, or interior space. Starting small and simple as you learn will set you up for success on this fun living art project. Let your creativity run wild!
Frequently Asked Questions about Making Topiary Frames
Here are answers to some common topiary frame questions beginners often have:
What type of wire should I use?
Opt for 16-18 gauge wire for most topiary frames. Galvanized steel wire holds its shape well. For larger shapes, a wire cage or mesh may provide more support.
How do I get the plant to fill in the frame?
Gently weave stems onto the frame and give it time to grow. Trim lightly to encourage dense growth. Slowly shaping as it fills in over a few seasons creates the best results.
How often should I prune my topiary frame?
Plan to prune 1-2 times per year – in spring and possibly late summer/early fall. Never remove more than 1/3 of the foliage at one time.
Can I make a topiary frame with fresh cut foliage?
It is difficult to make a long-lasting topiary with only fresh cut stems and foliage. The living plants will last much longer and fill out the frames best.
How long do topiary frames last?
Properly constructed frames and healthy plants can last 5-10 years or longer. Maintain good care and replace the plant if it declines.
Can I move an established topiary frame?
Yes, you can move a mature topiary frame to a new location. Prepare the plant by pruning roots & foliage by 1/3 before moving. Support the frame and water well after relocating.
Making your own topiary frame is an extremely rewarding DIY garden project that lets you create a customized living sculpture. With the guidelines above, you’ll be ready to craft beautiful topiary art to enhance your outdoor or indoor spaces. Let your creativity bloom!
Steps to Make a DIY Topiary Frame
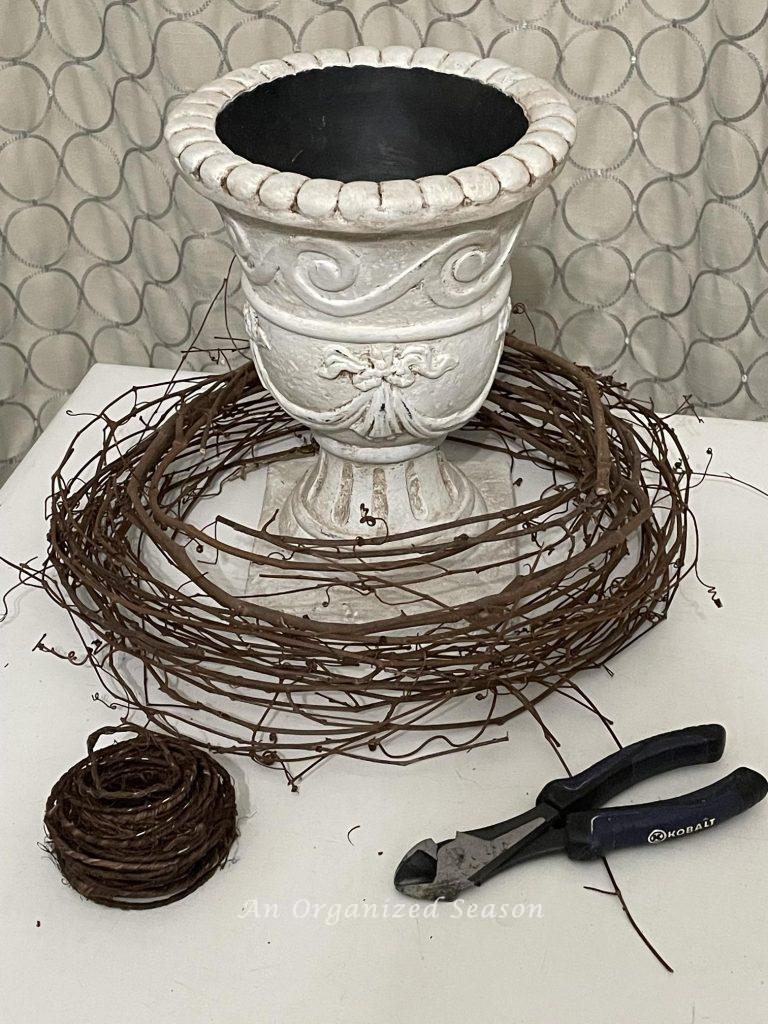
Gather or purchase the following items to make this project:
- Grapevine wreath
- Grapevine wire
- Wire cutters
- Urn or pot
- Ruler
- Popsicle stick
- Ivy garland (optional)

Separate the grapevine wreath into smaller pieces.
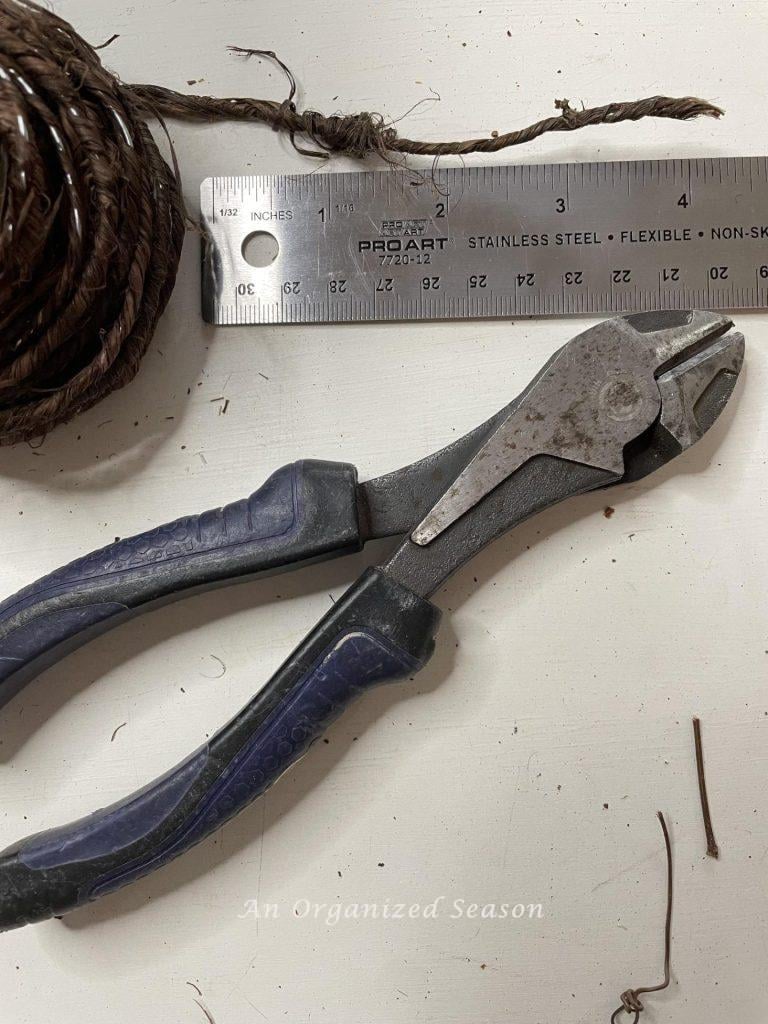
Next, prepare the grapevine wire.
Cut six four-inch pieces. And one eight-inch piece.
If you’re going to make two topiaries, double the amount.
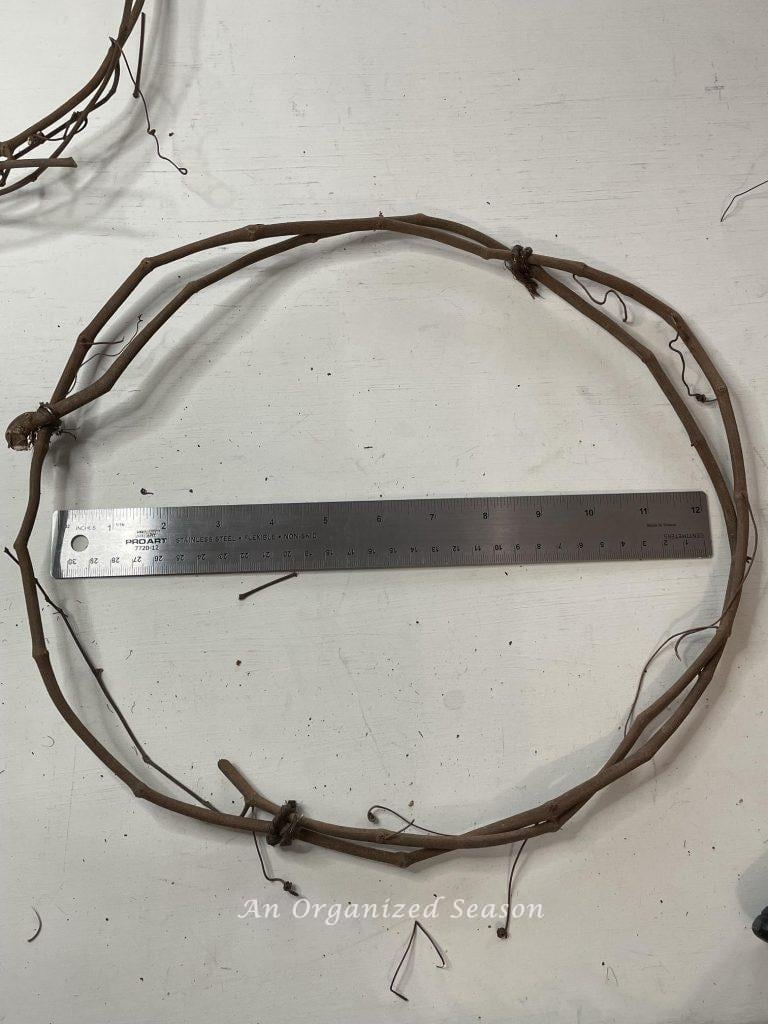
Decide how large you want your circle of grapevine to be.
Mine is a bit over twelve inches wide!
Secure the grapevine with the wire in at least three spots to hold this shape.
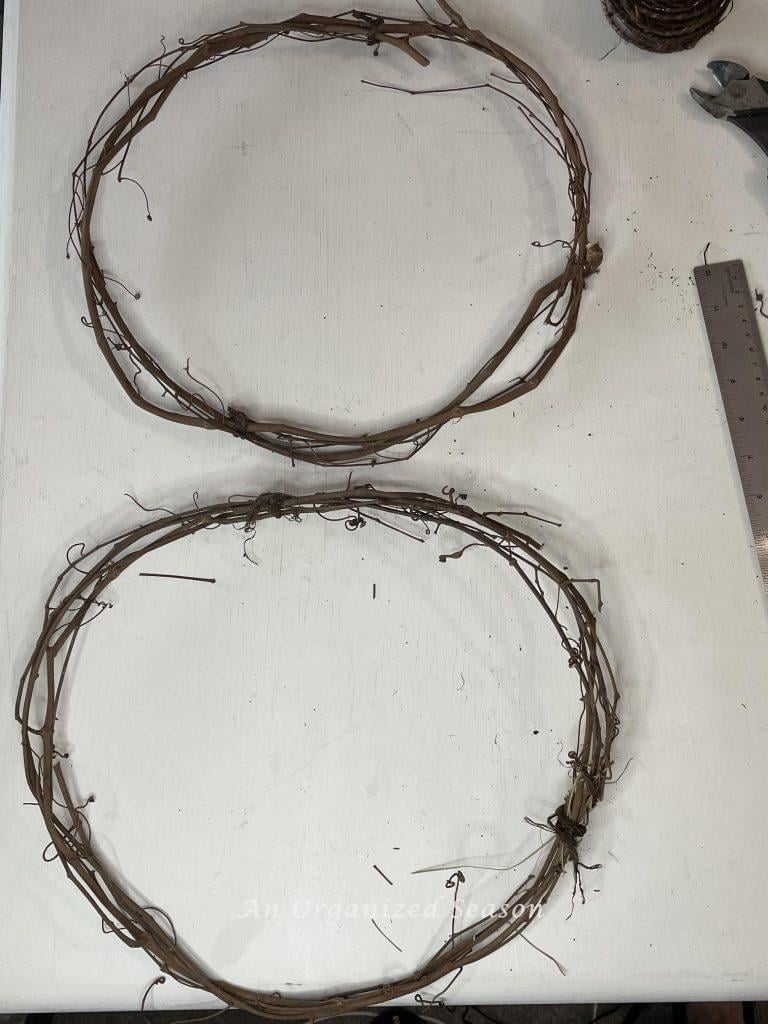
Make a second circle of the grapevine the same size.
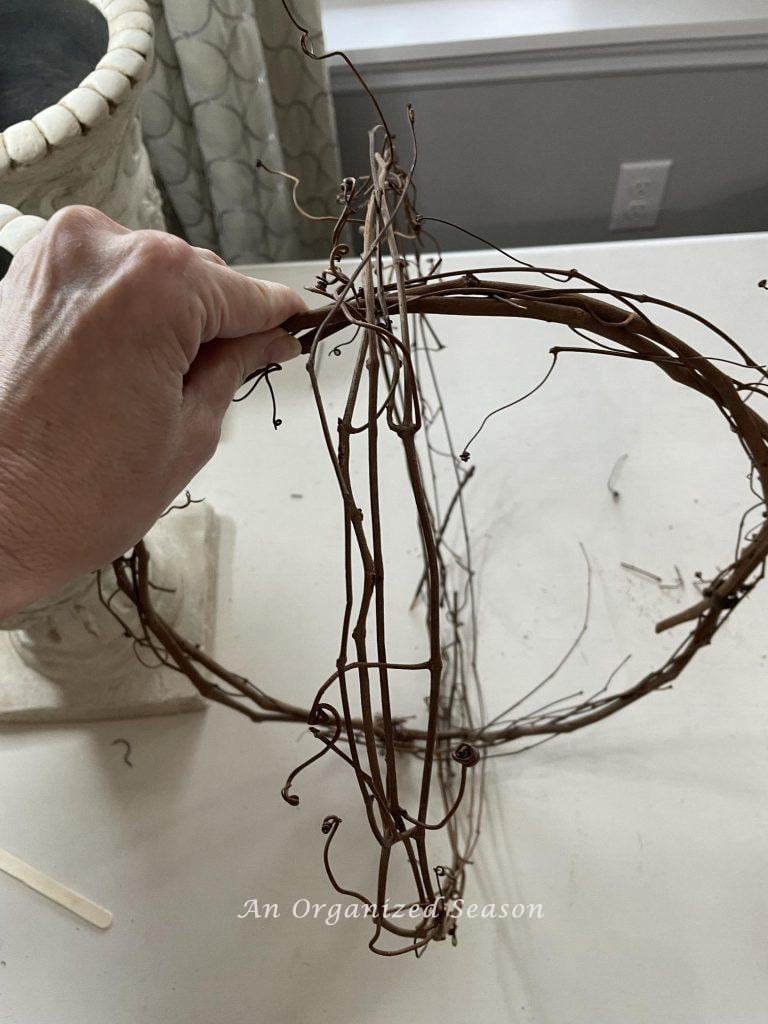
Put the two circles of the grapevine wreath together like the picture above shows.

My urn has a hole in the center and a popsicle stick fits perfectly inside it.
If that’s not the case for you, add styrofoam to the bottom of your pot and insert a popsicle stick into the foam.
Center both of your grapevine circles over the popsicle stick and push down.

Wrap the eight-inch piece of grapevine wire around the grapevines to hold them onto the popsicle stick.
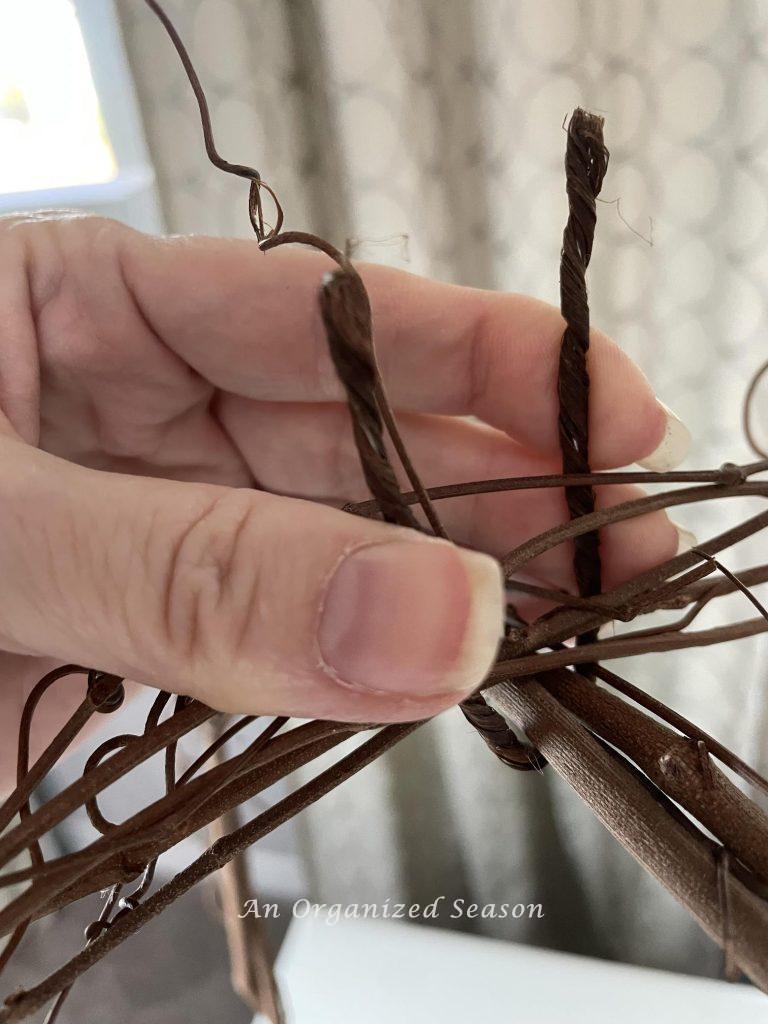
Secure the top of the grapevine circles together with the final piece of four-inch grapevine wire.

Stuff plastic shopping bags into the urn to add stability to the popsicle stick.
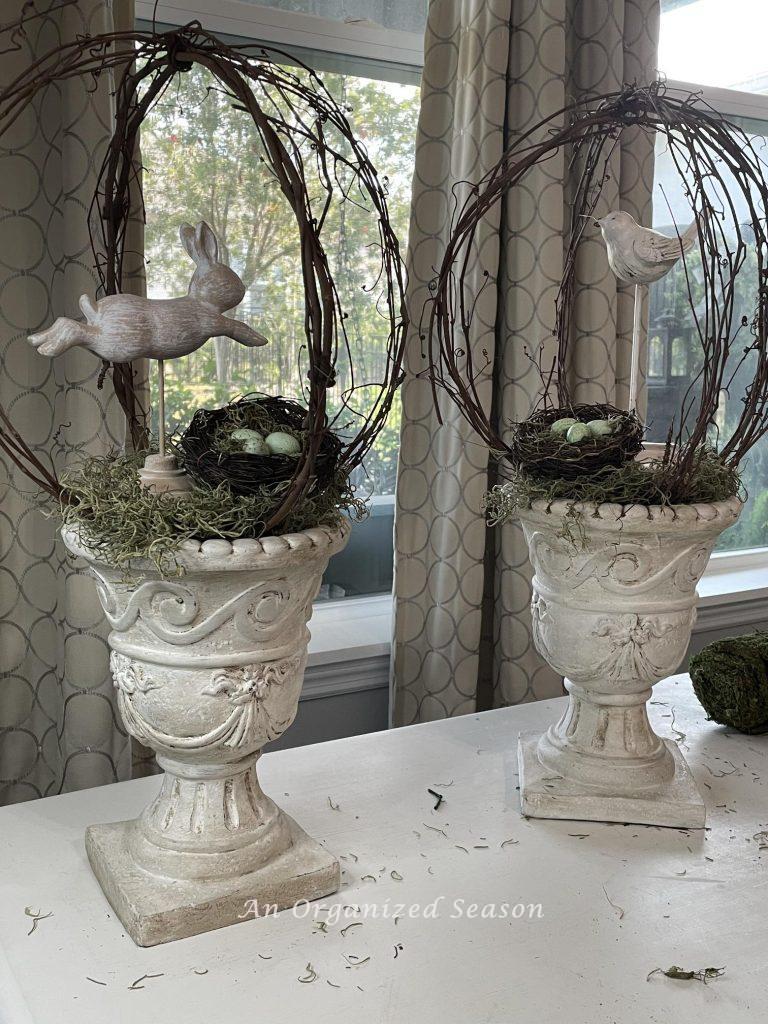
I added some moss to cover the shopping bags and grabbed some Spring decor pieces.
I love how they look!
I’m tempted to keep them this way but, I’m also curious to know how they would look covered in ivy!
Unwrap the ivy garland and cut it in half.
Wrap one piece of the garland around your hand.
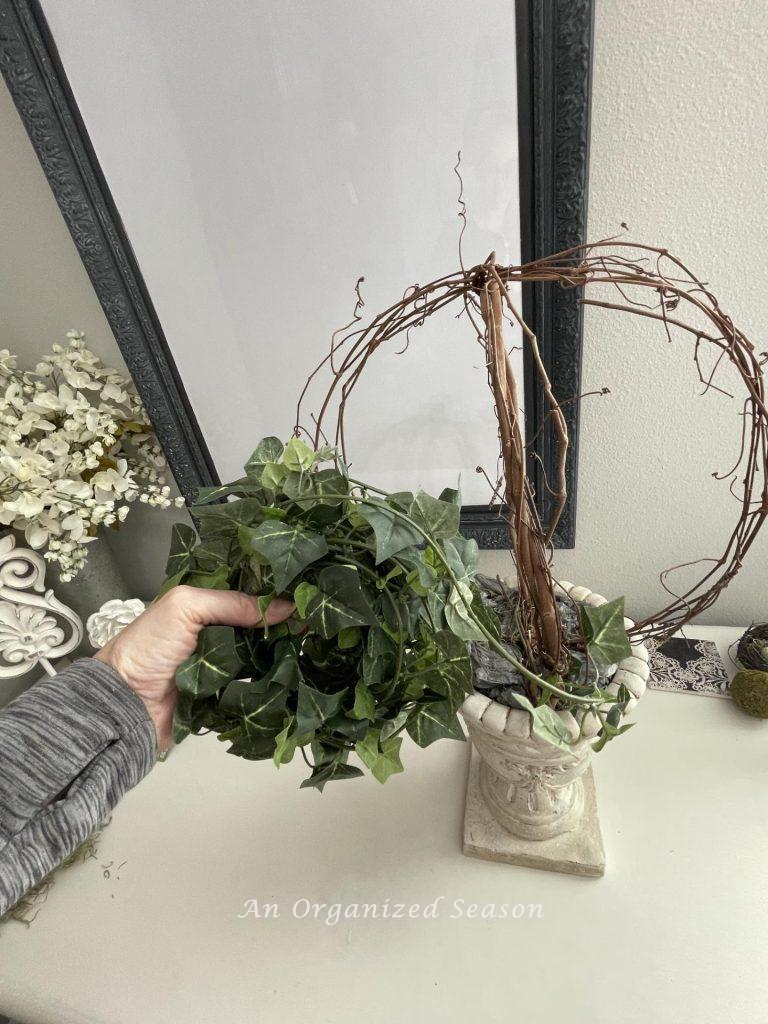
Attach the end of the garland to the bottom of the grapevine wreath and wrap it around both circles.

Place moss on the urn to cover the plastic bags.
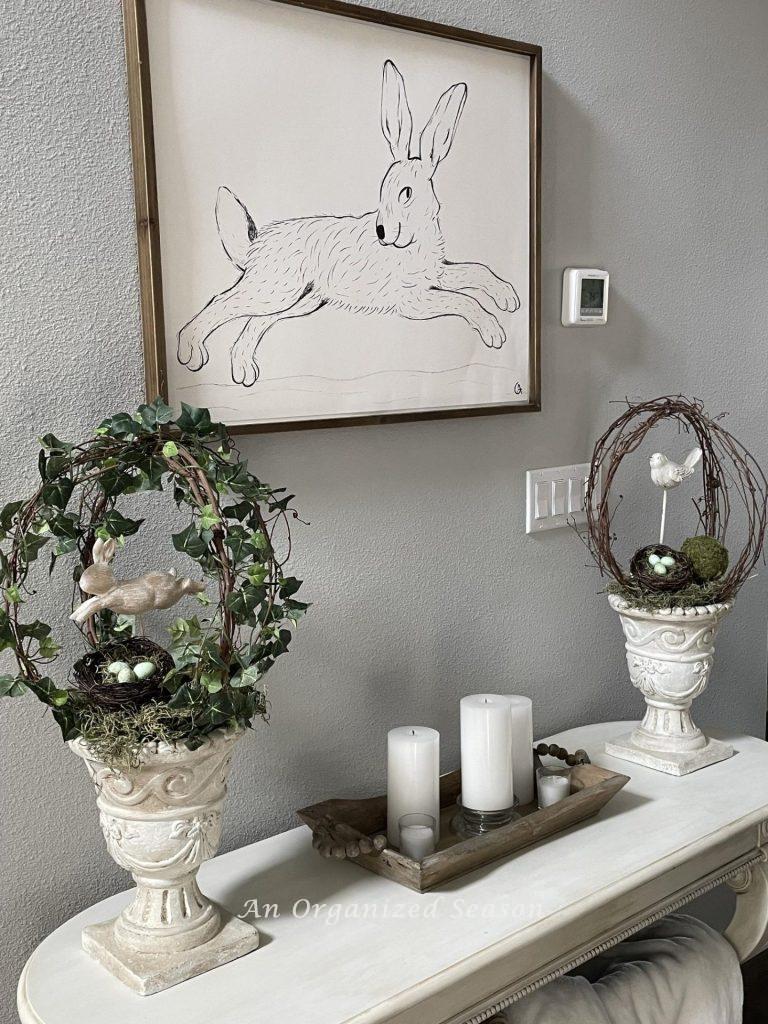
Here you can see one topiary with the ivy, and one without it!
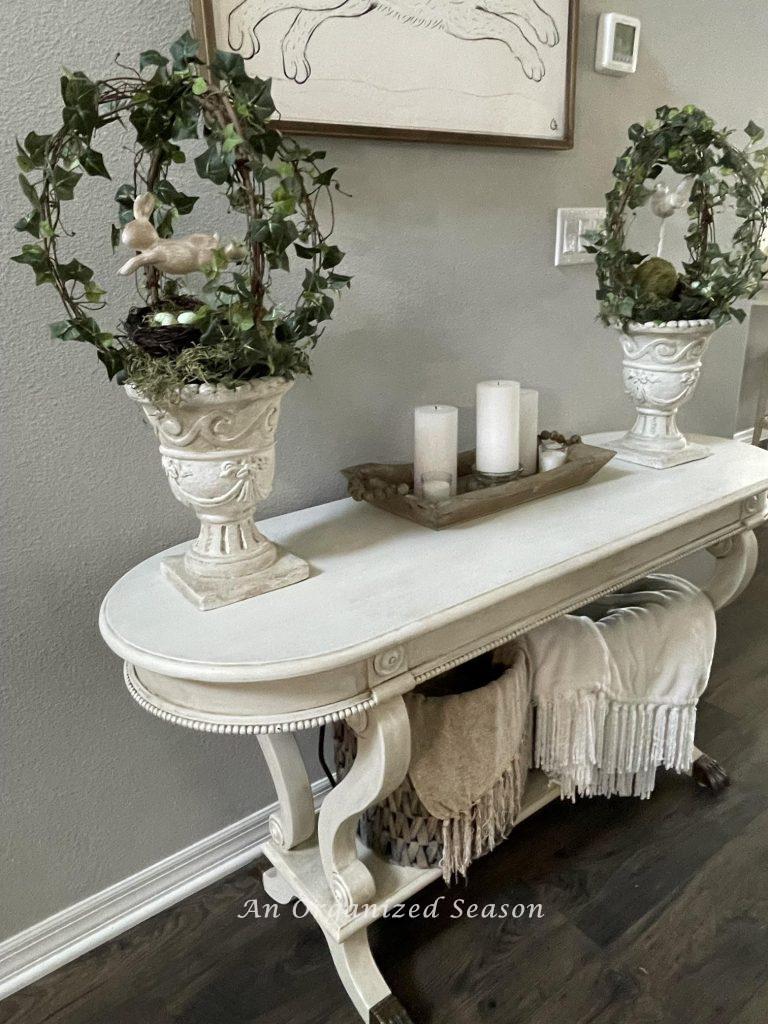
And now both grapevine topiary frames are covered with ivy!
Do you have a grapevine wreath you could use to make a DIY topiary frame?
Would you add the ivy or leave yours plain?
Let me know in the comments below!
If you enjoy the blog, please sign up for our email list so you won’t miss a post!
Until next time, follow us on Pinterest, Facebook, and Instagram!
Blessings, Donna and Rich
Step 3: Form the coat hanger into a circle
It’s easier to do this if you start with a diamond. Then, re-form the diamond into a circle or as close to a circle as you can get.
Don’t worry if it’s not perfect, the ivy will hide all the edges.