Saving seeds from your homegrown tomatoes is an easy way to preserve beloved heirloom varieties year after year. Many seed saving guides recommend fermenting tomato seeds to remove the gel sacs and initiate germination. However, this smelly, messy process is completely optional. With a few simple supplies and techniques, you can easily save tomato seeds without fermentation.
Why Save Seeds?
Growing plants from your own saved seeds has many advantages
-
Preserve heirloom and open-pollinated tomatoes perfectly adapted to your climate.
-
Avoid buying hybrids that won’t breed true
-
Save money by not purchasing new seeds every year.
-
Feel pride and satisfaction continuing to grow treasured tomatoes.
-
Share seeds with gardening friends and family.
Choose the Right Tomatoes
When saving tomato seeds, select ripe, undamaged heirloom tomatoes. Underripe fruits have immature seeds that may not germinate well. Modern hybrids also won’t grow true from seed.
Good heirloom varieties for seed saving include:
- Brandywine
- Cherokee Purple
- Black Krim
- Green Zebra
- Mortgage Lifter
Avoid modern hybrids and grocery store tomatoes.
Collecting and Drying Seeds
-
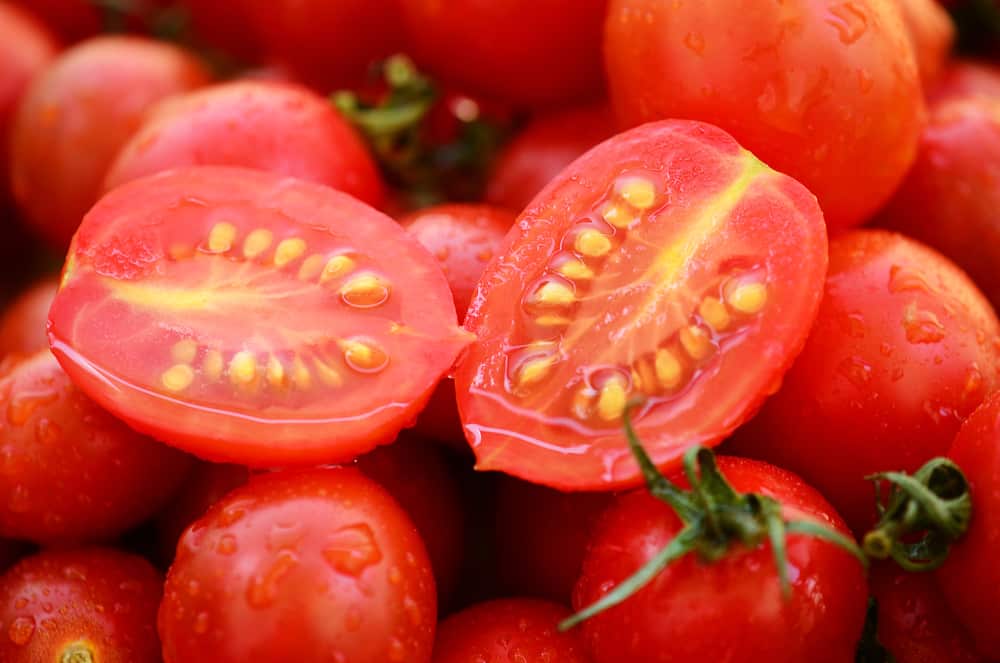
Slice selected tomatoes horizontally to access the seed cavities.
-
Use a spoon to scoop out the gel and seeds onto a paper towel or rag.
-
Label with the variety name and date.
-
Allow seeds to air dry for 1-2 weeks, turning occasionally, until completely dry.
-
Discard any molded seeds. Thoroughly dried seeds should not mold.
Storing Dried Seeds
-
Transfer dry seeds to envelopes or jars for storage.
-
Keep in a cool, dry, dark location.
-
For best germination rates, use saved seeds within 1 year.
Planting Saved Tomato Seeds
In spring:
-
Plant seeds 1⁄4 inch deep in sterile seed starting mix.
-
Keep warm (70-80°F) until sprouted.
-
Grow on at 60-70°F.
-
Harden off and transplant seedlings outdoors after all danger of frost.
Tips for Seed Saving Success
-
Use ripe heirloom tomatoes only. Overripe is fine.
-
Dry seeds thoroughly to prevent molding.
-
Label seeds carefully to avoid confusion.
-
Store properly in a cool, dark place.
-
For best germination, use seeds within 1 year.
-
Maintain ideal temperature and humidity when starting seeds.
Why Fermentation is Unnecessary
While fermenting tomato seeds can help remove the gel sacs, it is not required. Here’s why it can be avoided:
-
Natural drying also removes most gel from seeds.
-
The paper towel method lets you physically remove any remaining gel.
-
Fermenting introduces moisture, risking mold growth.
-
It takes extra time, supplies, and makes a mess.
As long as seeds are dried fully, fermentation offers no real benefits and can potentially damage seeds.
Seed Saving Without Fermenting Methods
There are three main ways to save tomato seeds without fermentation:
Paper Towel Method
This is the easiest no-ferment approach.
-
Scoop out seeds and gel onto a paper towel.
-
Break up gel and spread seeds out to dry.
-
Allow 1-2 weeks for drying.
-
Store dried seeds still attached to the towel.
-
Plant seeds paper and all next season.
Soil Saving
You can also save seeds directly in the garden:
-
Bury tomato halves or gel 2 inches deep in the garden.
-
Mark the spot where they are buried.
-
Cover with soil and mulch over winter.
-
Remove mulch in spring and wait for volunteer seedlings.
TPS & Bleach
For very clean seeds:
-
Soak seeds in water for 1 day.
-
Use TPS (trisodium phosphate) solution to further clean seeds.
-
Rinse and dry seeds thoroughly before storing.
Final Thoughts
Saving tomato seeds without fermenting using simple drying methods like paper towels is easy and effective. Just be sure to start with heirloom varieties, dry seeds well, and store properly. In no time, you’ll have a sustainable supply of treasured tomatoes tailored to your garden.
Plants Related to this Article
If you need help designing your vegetable garden, try our Vegetable Garden Planner.
Urban Farmer Newsletter for Coastal Southern California, Santa Barbara CA Community Gardens
September 5, 2015 by Cerena Childress
I was thrilled this year when two volunteer tomatoes came up that were very different than my usual choices and I liked them! One was a 1+ inch diameter tomato that darkened to a deep dark green with a rose tinge! Lovely, great slightly tart taste, and prolific! I believe it is an heirloom, a Black Russian Cherry! The other is a PINK Pear! And I do mean pink, NOT red! There’s no real way I will know for sure what they are, so, of course I’m saving seeds! Here’s the how to!
To intentionally save pure tomato seeds, when planting, separate varieties with short styles (most modern varieties) by at least 10 feet. Varieties with long styles (heirlooms and older varieties) need at least 100 feet to ensure purity. If solitary bees are prevalent, separate all varieties at least 100 feet and place another flowering crop between. Getting that 100′ in a community garden is unlikely, but give it a try!
For your Mother Fruits, select your finest fruits, free of cracks or bug holes, entry points for disease microorganisms.
Fermenting! Cut the tomato into halves at its equator, opening the vertical cavities that contain the seeds. Gently squeeze out from the cavities the jelly-like substance that contains the seeds. If done carefully, the tomato itself can still be eaten or saved for canning, sun-drying or dehydrating.
Place the jelly and seeds into a small jar or glass. (Add a little water if you are processing only one or two small tomatoes.) Loosely cover the container and place in a warm location, 60-75° F. no more than two days. Stir each day. Recent studies show tomato seed germination is best when seeds are soaked for only one to two days before they are rinsed and dried. Fermentation times longer than three days substantially lower the germination rate from 96% to only 74% on the 4th day! Word.
In warm weather, on the second day, a layer of fungus will likely begin to appear on top of the water. Stir the seeds so fermentation is equal for all the seeds. This fungus not only eats the gelatinous coat that surrounds each seed and prevents germination, it also produces antibiotics that help to control seed-borne diseases like bacterial spot, canker and speck.
At no more than two days fill the seed container with warm water. Let the seeds settle and begin pouring out the water along with pieces of tomato pulp and immature seeds floating on top. Note: Viable seeds are heavier and settle to the bottom of the jar. Repeat this process until water being poured out is almost clear and clean seeds line the bottom of the container. Pour these clean seeds into a strainer that has holes smaller than the seeds. Let the excess water drip out. Spread them in a single layer on a screen, coffee filter or piece of newspaper, or a paper plate to dry. No ceramic or plastic. You want the water to wick away. They will stick to paper towels. Break up clumps, turn a few times to allow the seeds to dry completely, usually a day or two, five days if you want to be sure. Label with their name and date. Store in a packet or plastic bag out of sunlight.
NOT fermenting! Simple – simply squeeze tomato seeds onto a paper towel, spread them out a bit, and allow the towel to dry for a couple of weeks. When dry, the seed-bearing towel can be folded up and tucked into a labeled envelope for storage through winter. Or you can place the little tykes in groups of 3 on the towel, cut up the towel, and voilà, they are ready to plant by 3s next spring! This works for year to year planting, since the seeds only last a year processed this way.
Nature’s Way! If you know where you will plant your tomatoes next season, toss a few over there, cover with a couple inches of soil and mulch. Put in a stake with their name on it so you don’t forget your plan! Next spring, stir that soil a bit. If you want things to happen a tad sooner, cover with a cloche to warm the soil and wait for your happiness!
May the Tomato Fairy give you many blessings – bird gifts, mice carrying off tomatoes from somewhere else leaving tomato remains behind – seeds that will grow next spring! The seeds that make it have a certain strength and affinity for your special soil! Each year as you save seed from your best plants, they will grow in strength and be so delicious to your personal taste!
If I may convince you, please save some extra seeds for our January Seed Swap!
Merci! Bon tomate appétit!
Love your Mother! Plant bird & bee food! Think grey water! Grow organic! Bless you for being such a wonderful Earth Steward!
The Green Bean Connection started as correspondence for the Santa Barbara CA USA Pilgrim Terrace Community Garden. Both of Santa Barbara City’s remaining community gardens are very coastal. During late spring/summer we are often in a fog belt/marine layer most years, locally referred to as the May grays, June glooms and August fogusts. Keep that in mind compared to the microclimate niche where your veggie garden is.
Saving Tomato Seeds Easily (No Fermenting, Soaking, or Rotting!) – & Special Announcement! – S19EP22
FAQ
Can you save tomato seeds without fermenting them?
NOT fermenting!
Simple – simply squeeze tomato seeds onto a paper towel, spread them out a bit, and allow the towel to dry for a couple of weeks. When dry, the seed-bearing towel can be folded up and tucked into a labeled envelope for storage through winter.
Do tomato seeds need to be fermented?
That said, the majority of seed saving experts maintain that you should ferment tomato seeds before storing them for the winter. But there’s no need.Mar 19, 2020
Can you save tomato seeds without fermenting?
Gather the seeds into a labeled envelope and keep them in a cool dry place. Saving tomato seeds without fermenting is absolutely doable, and if you’re short on time this is the way to go. All you have to do is slice open your tomato and squeeze out the seeds while you smear them across a paper towel.
How to save tomato seeds?
To use this method of saving your tomato seeds, you will need a small-holed sieve, a spoon, some water, trisodium phosphate (TSP), some bleach, a jar, or a cup you can write on, and a knife. Step 1 – write the tomato variety and the date on the jar or cup you are using.
Do tomato seeds need to be loose?
If you want to save tomato seeds to be loose like this, you need to ferment them. Doing this removes the gel around each seed so that when you dry them out, they are dry and loose. That’s an important factor if you’re a business, but if you’re saving seeds for home use, it’s not necessary. Seeds do not need to be loose in a packet to be viable.
How do you clean tomato seeds after fermenting?
That’s okay. When they’re done fermenting, rinse the tomato seeds by adding more water and stirring. Then carefully pour off the mold and excess water. Repeat until the water is clear and the seeds are free of debris. When they’re clean, lay them out to dry on a paper towel.
Can you save tomato seeds on paper towels?
It works great, but saving tomato seeds on paper towels is still the best method for the home grower. Using the fermentation method, paper towel method, or even washing soda method is great for saving seeds from heirloom tomatoes.
How long do tomato seeds take to ferment?
Let them ferment for 3 to 7 days. They may get a little mold growing on the top. That’s okay. When they’re done fermenting, rinse the tomato seeds by adding more water and stirring. Then carefully pour off the mold and excess water. Repeat until the water is clear and the seeds are free of debris.