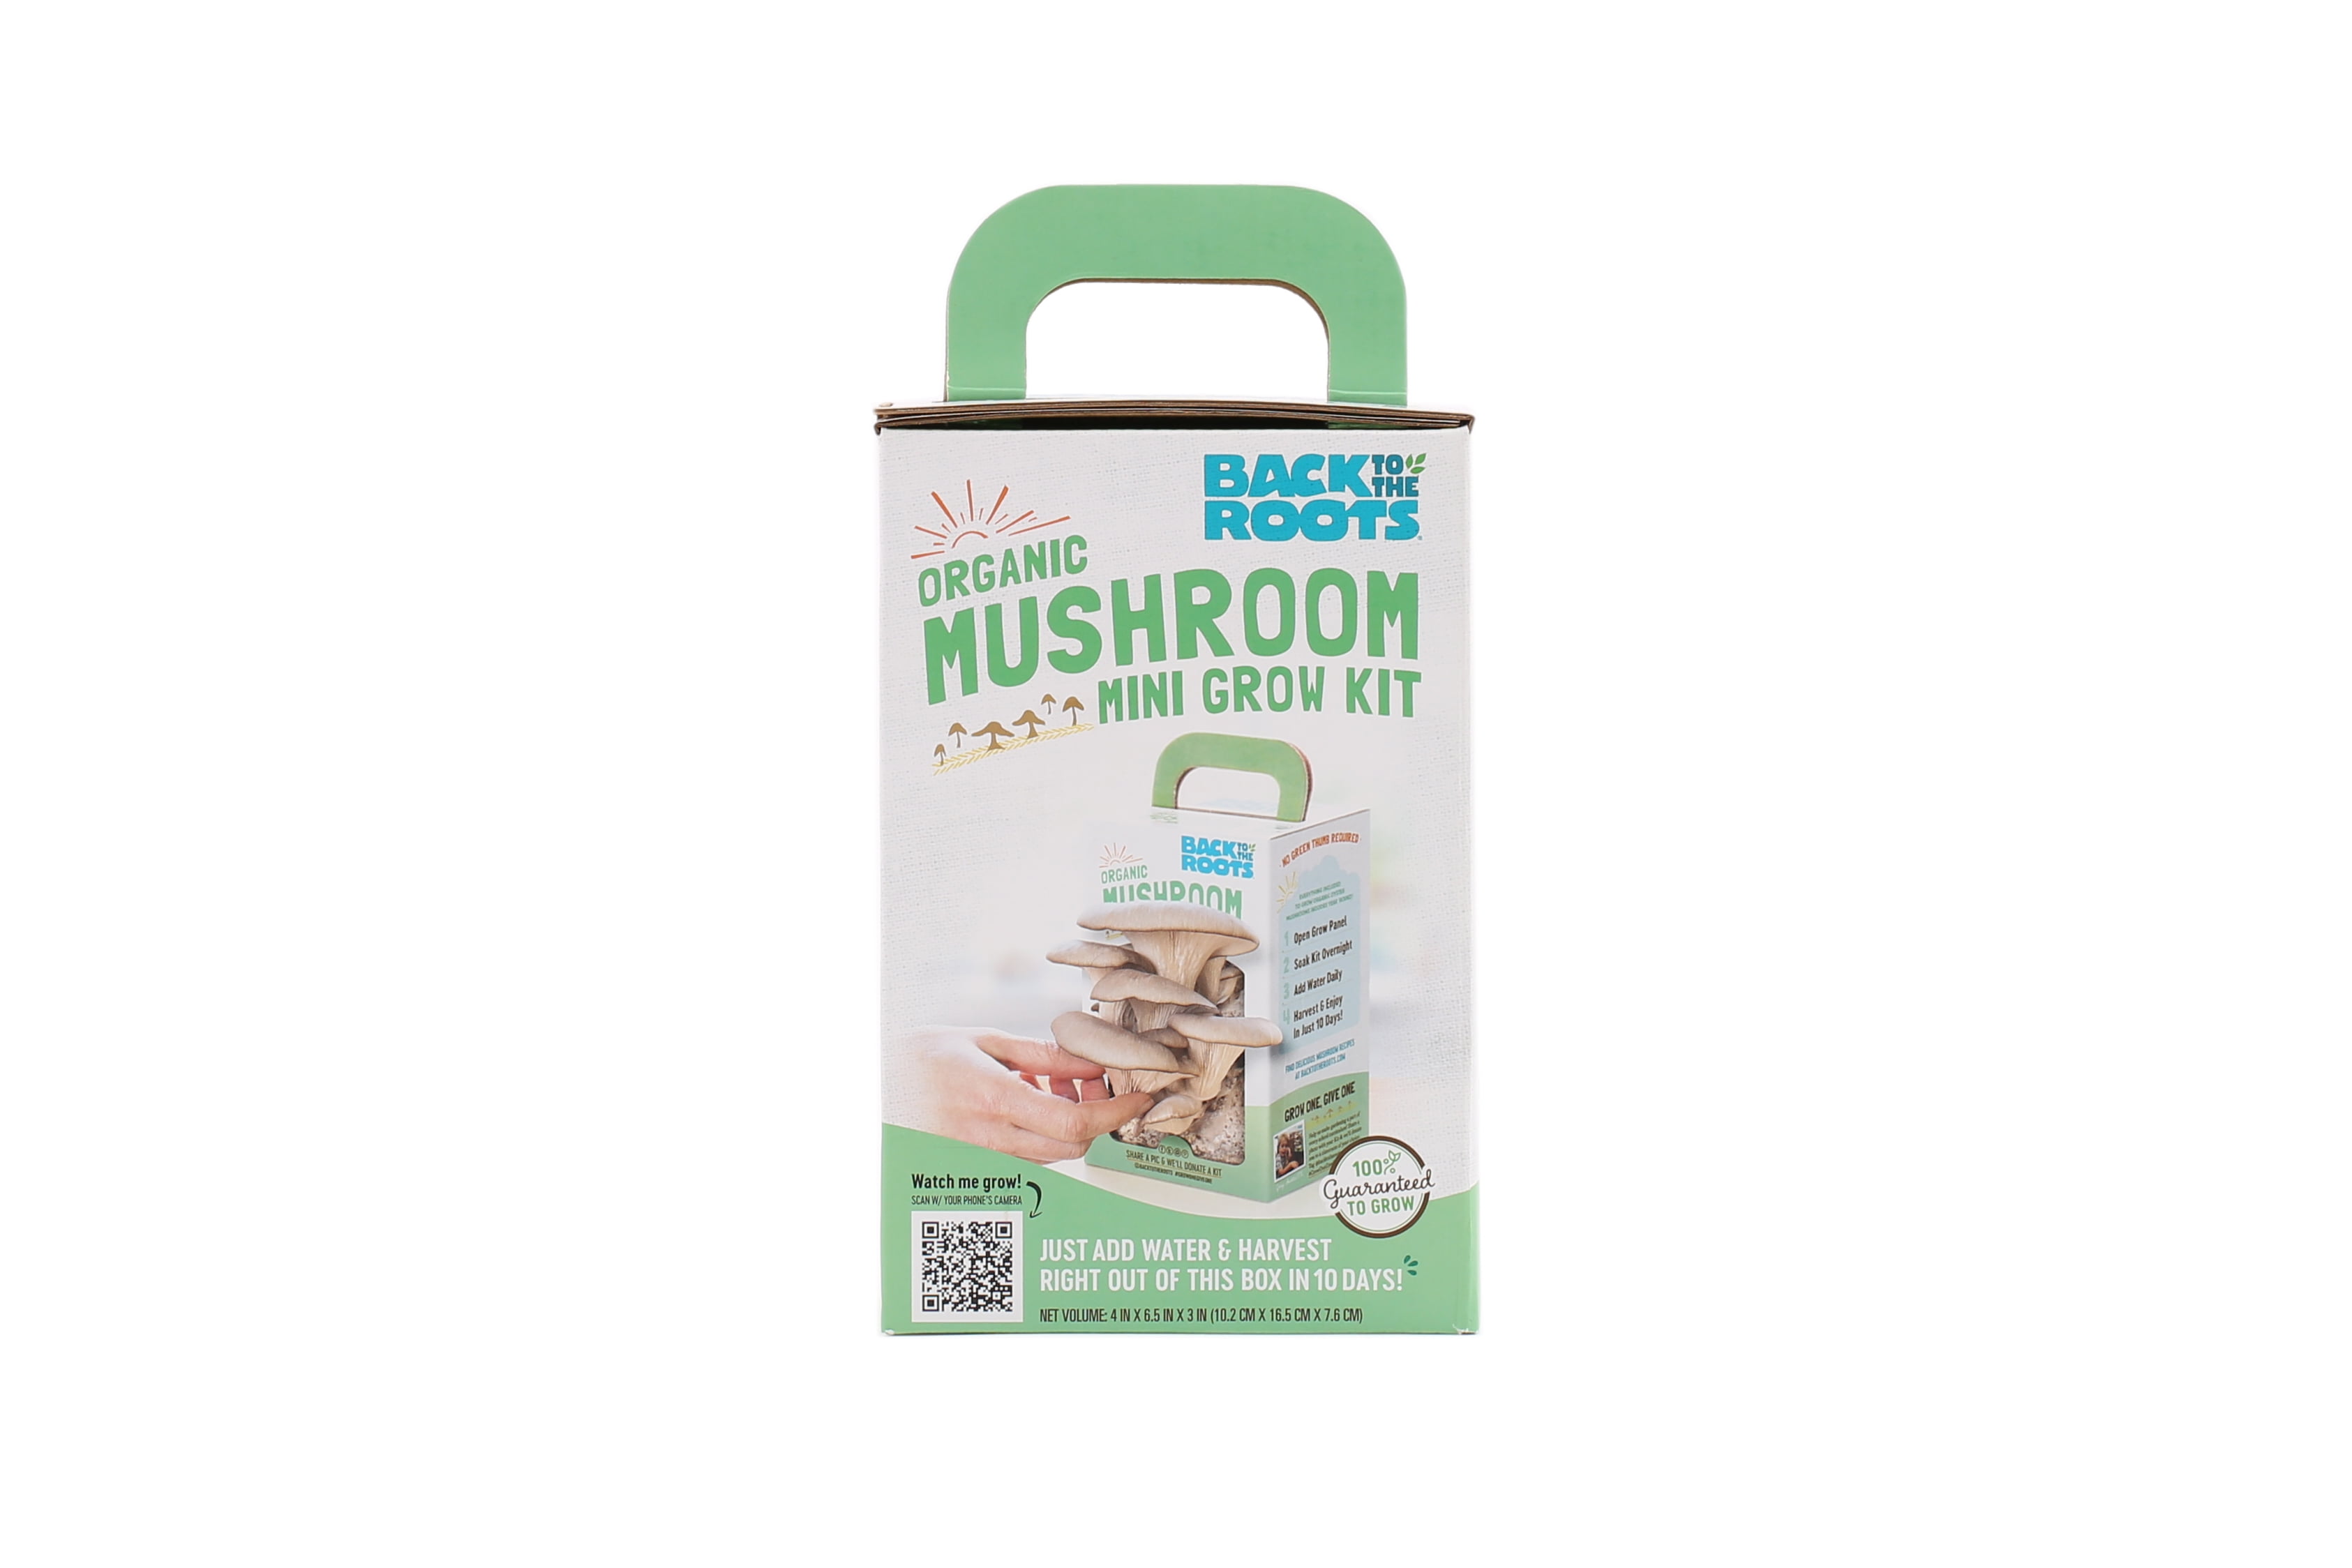
Mushroom kits have become pretty popular lately, but not all of them work equally well. I was super curious, so I bought a few Back to the Roots organic oyster mushroom kits to give them a try.
Here’s my honest review of the regular kit and pink oyster mushroom kit, including a day-by-day documentation of the growing process.
Mold growth is an unfortunate but common problem that many mushroom growers face when cultivating fungi at home. If you’ve noticed fuzzy gray, black, green, or blue mold developing in your Back to the Roots mushroom grow kit, don’t panic! Mold can be managed and removed so you can still end up with a successful crop of fresh, healthy mushrooms.
In this comprehensive guide, I’ll cover everything you need to know about identifying, treating, and preventing mold outbreaks in your Back to the Roots mushroom kit.
What Causes Mold to Grow in Mushroom Kits?
Before jumping into mold removal, it helps to understand what conditions cause mold to develop in the first place. The main culprits include
-
Excess moisture – Mushrooms thrive in humid environments but too much water leads to pooling which invites mold. Avoid over-misting or soaking the kit
-
Poor air circulation – Stagnant still air gives mold spores a foothold. Ensure your kit has adequate airflow.
-
Contamination – Tap water, dust or unsterilized equipment can introduce spores. Use purified water and sanitize supplies.
-
Warm temperatures – Mold loves heat. Keep your mushroom kit around 60-70°F.
With good mushroom growing conditions, you can prevent or limit mold outbreaks. But occasionally spores still sneak in, so it’s good to know how to deal with mold.
Identifying Mold Growth in Your Kit
The first signs of mold are fuzzy splotches on the surface of the growing medium or mushroom stems. Mold can appear as:
-
White mold – Powdery, cotton-like texture
-
Gray or blue mold – Velvety with concentric rings
-
Black mold – Inky black spots with powdery spores
-
Green mold – Mossy clumps or hair-like strands
-
Pink mold – White mold that turns pinkish in maturity
If you spot any colorful fuzz that isn’t the pure white mycelium of your mushrooms, you likely have mold. The sooner you catch it, the easier it is to treat.
How to Remove Mold from Your Mushroom Kit
If you find mold growing in your mushroom kit, here are some safe, effective methods to get rid of it:
1. Isolate the contaminated kit – Quarantine it away from other grow kits to prevent spreading spores. Work in a well-ventilated area.
2. Remove visible mold – Gently scrape off mold with a sterilized fork, skewer or brush. Discard the debris.
3. Increase air circulation – Prop up the kit lid or place near a fan to dry the surface.
4. Decrease moisture – Cut back on misting and soaking to let the kit dry out a bit.
5. Apply hydrogen peroxide – Lightly spray 3% H2O2 on mold and let it bubble for 2-3 minutes before rinsing.
6. Apply salt or baking soda – These dessicants inhibit mold growth. Let sit 1 hour before rinsing.
7. Lower temperature – Slow mold growth by moving the kit to around 60°F.
With persistent mold, remove a 1⁄2 inch layer of substrate around the affected area to eliminate any remaining spores.
Preventing Future Outbreaks
After treating active mold, optimize your mushroom kit conditions to prevent recurrence:
-
Use purified or boiled water to avoid mold spores
-
Sterilize any equipment contacting the substrate
-
Ensure adequate air flow in the grow area
-
Maintain an evenly moist, not soaked substrate
-
Keep temperatures around 65°F
-
Avoid disturbing the substrate once mushrooms start fruiting
-
Isolate kits quickly at first sign of mold
Stay vigilant for small patches of mold and address them promptly before they spread. With good growing practices, your Back to the Roots mushroom kit will remain mold-free for abundant harvests.
When to Throw Out Your Mushroom Kit
If mold persists after several removal attempts, the mushroom kit may be too far gone to save. Signs a kit is unsalvageable:
-
Mold covers over 25% of the surface
-
Mushrooms are discolored or stunted
-
Mold rapidly returns after removing
-
You detect a strong musty odor
Dispose of heavily contaminated kits safely. Sterilize any containers before reuse. Start fresh with a new mushroom growing medium to avoid transferring any lingering spores.
Frequently Asked Questions About Moldy Kits
Is moldy mushroom mycelium dangerous to eat?
It’s best not to eat mushrooms that grew in a moldy environment. Certain molds produce harmful mycotoxins that can cause health issues if ingested. Don’t take chances with moldy fungal growth.
Can I still harvest non-moldy mushrooms from a contaminated kit?
If the mold is isolated to a small area, healthy mushrooms are likely still safe to consume. Carefully cut mushrooms at the base rather than pulling so spores don’t spread. Wash thoroughly before cooking.
Will spraying the kit with bleach kill the mold?
Bleach is not recommended as it can negatively interact with mycelium. Hydrogen peroxide is a safer spore-killing alternative.
How do I sterilize a kit after mold?
First, scrub off all visible mold and debris with soap and water. Then soak the kit in a 10% bleach solution for 1 hour. Rinse extremely thoroughly afterwards.
Why does the mold keep quickly returning?
Rapid regrowth means there are still spores stuck in the material. Remove at least 1⁄2 inch of substrate around the affected area to fully eliminate. Improve airflow and reduce moisture.
Conclusion
While mold in mushroom kits is discouraging, don’t give up hope! With prompt treatment using hydrogen peroxide, salt or gentle scraping, you can remove mold and recover your grow. Prevent future outbreaks by optimizing moisture, air flow and temperatures in your kit. With good growing conditions, your Back to Roots mushroom kit will reward you with many bountiful harvests of delicious, nutritious mushrooms.
Day 0 (after soaking)
To the right of the box, you can see the tiny spray bottle that comes with the kit.


Took the mushroom kit on a road trip since I didn’t want them to dry out in my absence haha.


Day 6: Harvest and Cook
I cut the mushrooms off the substrate and sauteed them with olive oil, garlic, salt, pepper, and green onions.


And here’s a look at the regular oyster mushroom kit:
I didn’t document this process as fully as the pink mushrooms since it was fairly similar, but a couple days longer.

These were growing out of the corners, so I had to rip open the box a bit.


The mushrooms got too heavy to stand upright, so I placed them down on the backside. Towards the bottom, you can see that my box had a weird gap where no mushrooms grew.


The mushrooms started drying out, so I knew it was time to harvest.

