Creeping phlox, with its carpet of vibrant blooms, is a beloved garden plant. As an enthusiastic gardener, you may be wondering “can you divide creeping phlox?” The answer is a resounding yes! Dividing creeping phlox is an easy and effective way to create more plants and rejuvenate overgrown clumps.
In this comprehensive guide, we’ll explore when and how to divide creeping phlox for optimal results We’ll also share tips to care for your new divisions, so you can fill your landscape with this beautiful perennial groundcover
An Overview of Creeping Phlox
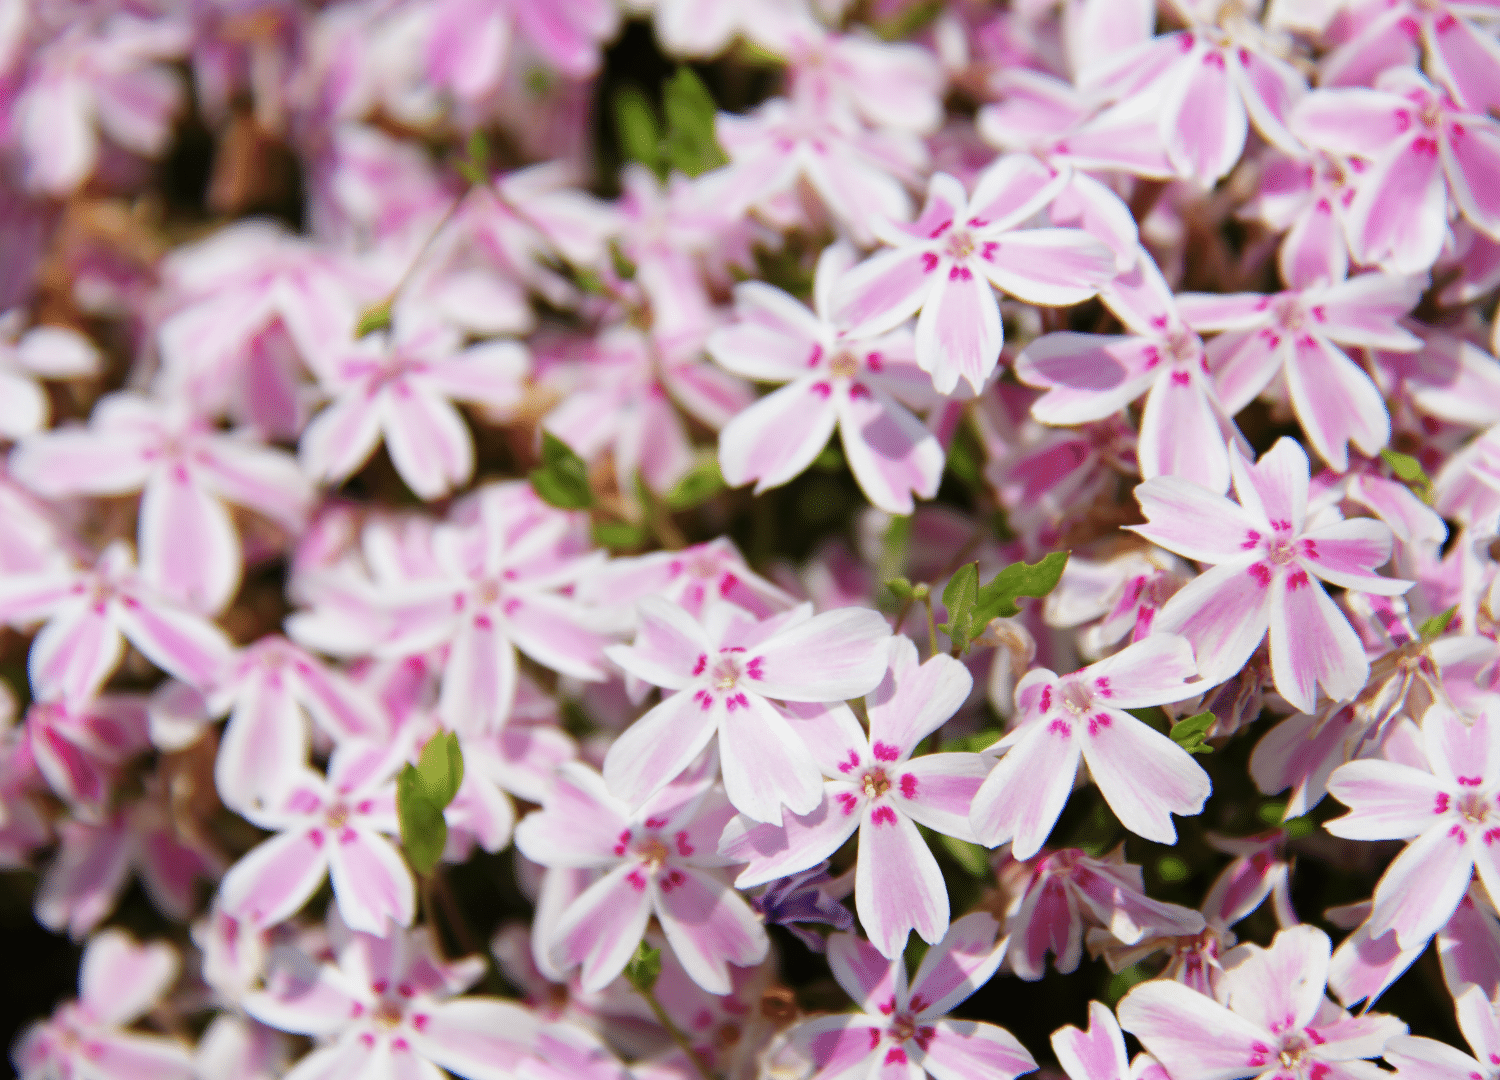
Creeping phlox (Phlox subulata), also called moss phlox or moss pinks, is a low-growing perennial. Originating from eastern and central USA, it thrives in USDA Hardiness Zones 3 to 9.
This phlox spreads via stolons or runners along the ground The bright green, needle-like foliage forms a lush carpet From early to mid-spring, creeping phlox erupts with flowers in white, pink, purple, blue and bicolors. Some varieties are delightfully fragrant.
Left alone, creeping phlox can spread up to 2 feet per year. It grows 4-6 inches tall and can spread 12-24 inches wide. Well-behaved cultivars like ‘Emerald Cushion’ and ‘Red Wings’ grow more compactly.
When to Divide Creeping Phlox
Early spring or early fall are ideal times for dividing creeping phlox. Spring gives divisions more time to establish before summer. Fall divisions can root before winter dormancy.
-
Spring: Divide creeping phlox in early spring after the threat of hard frost but before new growth emerges. March and April are perfect.
-
Fall: September and October are ideal months for fall division once temperatures cool. Finish dividing at least 6 weeks before your average first frost date.
Divide creeping phlox every 2-4 years in spring or fall to maintain its vigor. It rarely needs dividing more than once every 3 years.
Signs It’s Time to Divide Creeping Phlox
Watch for these clues that your creeping phlox needs freshening up:
- The center of the clump is thin, bare or dead.
- Blooms are smaller and less abundant.
- It hasn’t spread or filled in well for a couple of seasons.
- The clump is overcrowded, causing poor airflow and increased disease risk.
- You simply want more plants! Dividing lets you expand groundcover and share with gardening friends.
How to Divide Creeping Phlox Step-By-Step
Now let’s explore how to divide creeping phlox in easy steps:
Gather Supplies
- Sharp spade or garden trowel
- Garden fork for lifting mature clumps
- Pruning shears or knife
- Plastic pots or trays for divisions
- Potting mix
- Watering can
Choose a Site
Select a site for divisions in full sun to part shade with well-draining soil enriched with organic matter. Space new plantings 12-18 inches apart.
Water Well
Water clumps thoroughly one to two days before dividing. This makes digging easier and reduces transplant shock.
Prepare New Planting Holes
Prepare planting holes in your chosen site larger than each division’s root ball.
Lift Clump
Use a garden fork to loosen soil and lift the entire clump. Shake off extra soil.
Divide the Clump
Gently pull or cut the mother clump into smaller clumps with a knife or pruners. Include several stems and plenty of roots in each new division.
Trim Roots and Stems
Trim excessively long roots and stems to encourage full, bushy growth.
Pot Up Divisions
Temporarily pot up divisions in trays of potting mix to protect their roots before replanting.
Transplant Divisions
Plant divisions at original growing depth, firming soil gently around roots. Water thoroughly after planting.
Provide Ongoing Care
Monitor new plantings, watering when dry and removing weeds. Fertilize in early spring. Deadhead spent blooms.
Tips for Dividing Creeping Phlox Success
Follow these tips to ensure your creeping phlox divisions thrive:
-
Gently handle roots and disturb them as little as possible.
-
Use a sharp knife or pruners for clean cuts to prevent tearing.
-
Keep new divisions shaded for 1-2 weeks until they establish.
-
Water frequently until plants are growing strongly.
-
Loosen and enrich soil with organic matter to improve drainage.
-
Fertilize in early spring with balanced organic fertilizer.
-
Mulch divisions well to conserve moisture and reduce weeds.
-
Be patient! It takes most divisions 1-2 seasons to reach full size and bloom.
Benefits of Dividing Creeping Phlox
Dividing creeping phlox provides many rewards:
- Multiplies plants for more groundcover
- Reinvigorates old, overgrown clumps
- Controls rapid spread in small spaces
- Improves bloom production
- Allows you to share plants with gardening friends
In no time, you’ll have vigorous, floriferous phlox again. Now that you know “can you divide creeping phlox”, go ahead and multiply this stunning perennial!
FAQs About Dividing Creeping Phlox
Here are answers to some frequently asked questions about dividing creeping phlox:
When should I divide creeping phlox?
The best times are early spring as growth resumes or early fall before frost. Avoid summer.
How often do I need to divide creeping phlox?
Divide mature clumps every 2-4 years to maintain vigor. Dividing more often can weaken plants.
How do I divide creeping phlox?
Carefully dig up the clump and gently pull or cut into smaller clumps, keeping roots intact. Replant divisions 12-18 inches apart.
How long does it take creeping phlox divisions to bloom?
Give divisions 1-2 growing seasons to reach maturity and bloom fully after dividing creeping phlox.
Do creeping phlox divisions need shade?
New divisions benefit from light shade for 1-2 weeks until established. Then move to full sun for optimal flowering.
Ready to multiply your creeping phlox? Now that you know how to successfully divide this beauty, you’ll soon have more of this exceptional groundcover gracing your garden.
How to divide moss phlox
Has your moss phlox spread too far? It’s easy to divide. Spread the foliage apart and cut through the roots along the dividing line, which you can see in the top photo at left, making sure all the roots on the division are severed from the main plant. Then use a trowel to loosen the roots and release the division from the ground so you can lift it. We’re taking it out of a gravel path in the lower photo. You may need to loosen the soil around the plant if it’s in your garden. A large division like this one can be cut into smaller sections before replanting.
Use a trowel or cultivator to loosen up the top few inches of soil where you intend to replant moss phlox, just lay the phlox on top of the prepped area and press it onto the soil. Using soil or compost, make sure exposed roots are covered, but try not to bury the stems.
Creeping phlox (Phlox subulata) isn’t the only plant you divide using this technique. These plants also have shallow roots:
Here are some supplies and tools we find essential in our everyday work in the garden. We may receive a commission from sales referred by our links; however, we have carefully selected these products for their usefulness and quality.


