A propagation box is a great tool for plant lovers and gardeners who want to get new plants for free. By taking cuttings from existing plants and rooting them in a propagation box, you can easily multiply your plant collection. A propagation box creates the perfect humid, warm environment for cuttings to develop roots quickly. It acts like a miniature greenhouse right in your home.
In this beginner’s guide I’ll walk through everything you need to know to make your own propagation box on a budget. We’ll cover picking the right container preparing the soil mix, taking cuttings, maintaining ideal conditions, and troubleshooting any issues that arise. With just a few simple supplies, you can DIY a propagation chamber to root limitless new plants!
What is a Propagation Box?
A propagation box is an enclosed transparent container that helps retain moisture while allowing some airflow The increased humidity from closing the lid prevents excessive drying This protects delicate new roots as they form on your cuttings. The box creates a miniature greenhouse environment optimized for propagation success.
These boxes are useful for rooting all types of plant cuttings like pothos philodendrons, coleus roses, and more. They can also help create ideal conditions for starting vegetable and flower seeds. A propagation box allows you to root multiple cuttings simultaneously.
Benefits of Using a Propagation Box
There are many advantages to using a propagation box:
- Retains moisture so cuttings don’t dry out
- Provides high humidity to encourage rooting
- Lets you propagate multiple cuttings at once
- Creates a warm, ideal environment
- Protects delicate new roots from drying
- Keeps cuttings neatly together in one spot
- Prevents fungal issues by allowing some airflow
Supplies Needed
Propagation boxes can be made from many simple household items. The main components you need are:
- A transparent plastic container with a lid – A plastic storage bin, jar, or takeout container all work.
- Small pots (optional) – For individual cuttings.
- Seed starting mix or potting soil
- Perlite, vermiculite, or sand – To improve drainage.
- Rooting hormone (optional)
- Cuttings or seeds
Optional supplies like a heat mat, grow light, and plastic wrap can further optimize conditions.
Choosing a Transparent Container
The most crucial aspect is picking a transparent plastic container. It should be made of clear plastic or glass to let in light. Avoid containers that held chemicals. Look for ones with a lid or that you can create a makeshift lid for.
Good options include:
- Plastic storage bins or food containers
- Glass jars or bottles
- Takeout food containers
- Reused clear berry/produce containers
- Old aquariums
Aim for a container at least 6 inches deep and 1-2 feet wide. Make sure it’s large enough to hold the soil and cuttings with a bit of headspace.
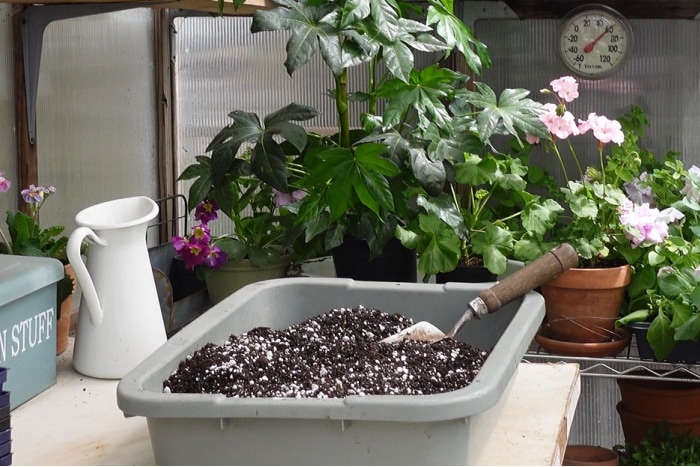
Preparing the Soil
For the growing medium, I prefer a seed starting mix or sterile, lightweight potting soil. Avoid regular dense potting soil, as it may cause cuttings to rot.
To improve drainage, mix in perlite, coarse sand, or vermiculite at about a 1:2 ratio with the soil.
You can either fill the entire bottom of the container with soil or just place small pots inside. The individual pots help separate each cutting but aren’t mandatory.
If using pots, fill them with the amended soil. Gently firm it down but don’t compact it too much. Leave about 1/2 inch from the rim.
If planting directly in the box, moisten the soil before adding it. Spread it evenly across the bottom few inches.
Taking and Planting Cuttings
Once your container is prepped, it’s time to take and plant cuttings. Keep a spray bottle handy to mist.
Take 3-6 inch tip cuttings from healthy plants. Remove any flowers/buds and trim just below a leaf node.
If using rooting hormone, dip the cut end into the powder then gently tap to remove excess.
Poke holes in the soil with a pencil. Insert each cutting so 1-2 nodes are buried. Firm the soil gently.
Space cuttings 1-2 inches apart if planting directly. Water well after planting all cuttings.
If using pots, place 1 cutting per pot. Water each as you go before putting in the propagation box.
Caring for Your Propagation Box
Place your propagation box in a warm area with bright, indirect light. Temperatures between 65-75°F are ideal. You can add a heating mat or place it near a vent.
Open the lid briefly daily to prevent excess humidity and fungal growth.
Lightly mist cuttings every few days as needed to keep the environment evenly moist but not soggy.
Rooting times vary by plant. Expect 1-6 weeks for most species. Carefully transplant cuttings into soil once roots are 1/2 to 1 inch long.
Tips for Success
Follow these tips to get the best results:
- Select young, vigorous mother plants
- Use sharp pruners to take cuttings
- Keep humidity around 80%
- Provide bright, indirect light
- Avoid direct harsh sunlight
- Maintain temps of 65-75°F
- Ventilate to prevent mold
- Use sterilized pots and soil
- Mist cuttings sparingly as needed
- Transplant once roots are 1/2 to 1 inch long
Troubleshooting Common Issues
Here are some common propagation problems and their solutions:
Leggy growth – Increase light exposure
Leaves yellowing – Reduce light intensity
Damping off – Improve airflow and lower humidity
Poor root growth – Raise humidity and temperature
Fungal growth – Increase ventilation and lower humidity
Root rot – Use better draining soil and avoid overwatering
With the right propagation box setup, you can root endless cuttings from your existing plants for free. This simple project allows you to expand your indoor plant collection on a budget. The increased warmth and humidity help cuttings form strong roots quickly so they establish fast when transplanted. It’s fun to watch all your new baby plants grow!

How to Use this Propagation Box
There are a couple of ways to go about this. I will start with the first one and that is using individual pots in the box.
Mix the potting soil with some perlite or horticultural sand to loosen it. (I have also used Paver Sand with success)
Fill 4-inch pots with the mix.
If you are doing cuttings, then take your cutting material. (for many posts on taking cuttings from all sorts of plants check out my Plant Propagation section)
If growing from seeds, then sow your seeds into the pots as directed on the seed packets.
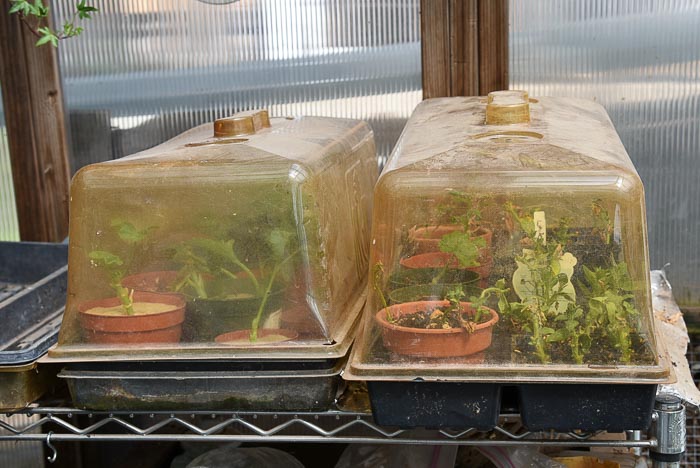
In my video I shared how I am using the propagation box as a mini greenhouse to start some tender annuals like Zinnias in Spring before it is warm enough to sow them directly in the garden.
Place your small pots of seeds or plant cuttings into the box. I did not need to drill holes in the box.
It is easy enough to add water to the pots when needed as long as you don’t overdo it.

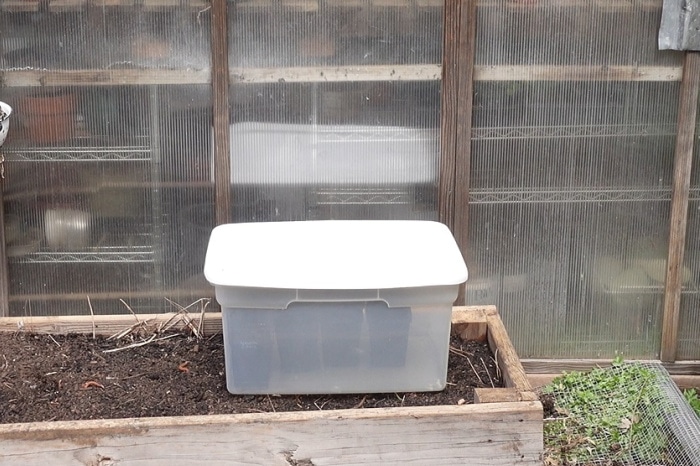
This will work for winter sowing as well!
Place the lid on top to cover and hold in the moisture.
What is a Propagation Box?
A propagation box is a container that helps to protect plant cuttings from drying out. The humidity retained in the propagation box ensures they maintain enough moisture for them to survive until roots grow.
Or you can use it as a DIY propagation box for seeds. It provides a bit of warmth along with the humidity so you can get an earlier start on tender annuals.
This post contains affiliate links. If you make a purchase after clicking a link I may make a small commission.
You can buy a wide range of units and some are pretty fancy propagators that even come with lights attached.
But you can also make something fairly easy from common supplies.
How to Make a DIY Plant Propagation Box for Rooting Cuttings
0