A raised garden bed with bench seating is an excellent solution for gardeners of all ages and abilities. Not only does it allow you to tend to your plants without bending over, but it also provides a place to relax and enjoy your gardening. Over the years I’ve built several raised beds with benches and I’m excited to share my complete step-by-step guide to constructing one yourself.
Why Add Benches to Your Raised Bed?
There are a few key reasons why combining benches with a raised bed is so beneficial:
-
Reduced bending and strain. Working at waist or bench height puts less stress on your back and knees
-
Built-in seating. Benches give you a comfortable spot to sit while gardening or admiring your plants.
-
Increased accessibility. Seated gardening opens up the experience for those with limited mobility.
-
Greater enjoyment Benches encourage you to spend more time relaxing in the garden
Planning Your Raised Bed with Benches
When deciding how to construct your raised bed, consider the size, shape, and seating configuration. Here are some tips:
-
Size: A 4×8-foot bed is a nice standard size, but adjust to fit your space. Just ensure it’s deep enough for plant roots.
-
Shape: Rectangular is easiest, but you can also do L-shaped, U-shaped, or custom curves.
-
Seating: Benches on 1, 2, or all 4 sides work well. Position benches where you’ll access the bed most.
You’ll also need to select materials. Cedar and redwood are attractive rot-resistant woods ideal for raised beds. For fasteners, galvanized or coated deck screws prevent corrosion.
Step-by-Step Building Instructions
Now let’s walk through the process of building a raised bed with a bench on one side:
-
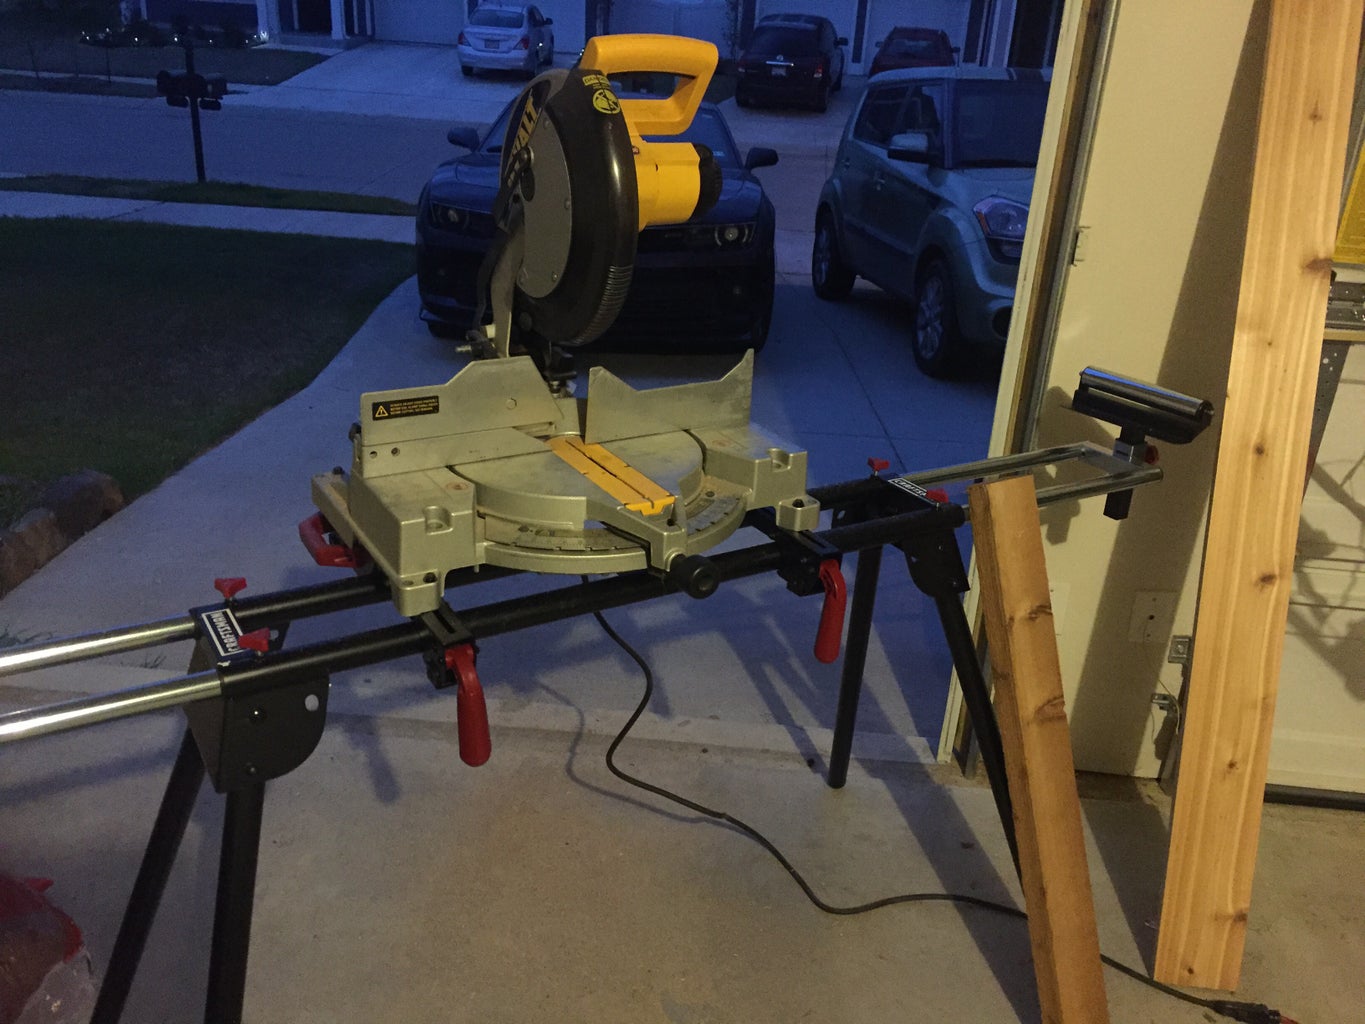
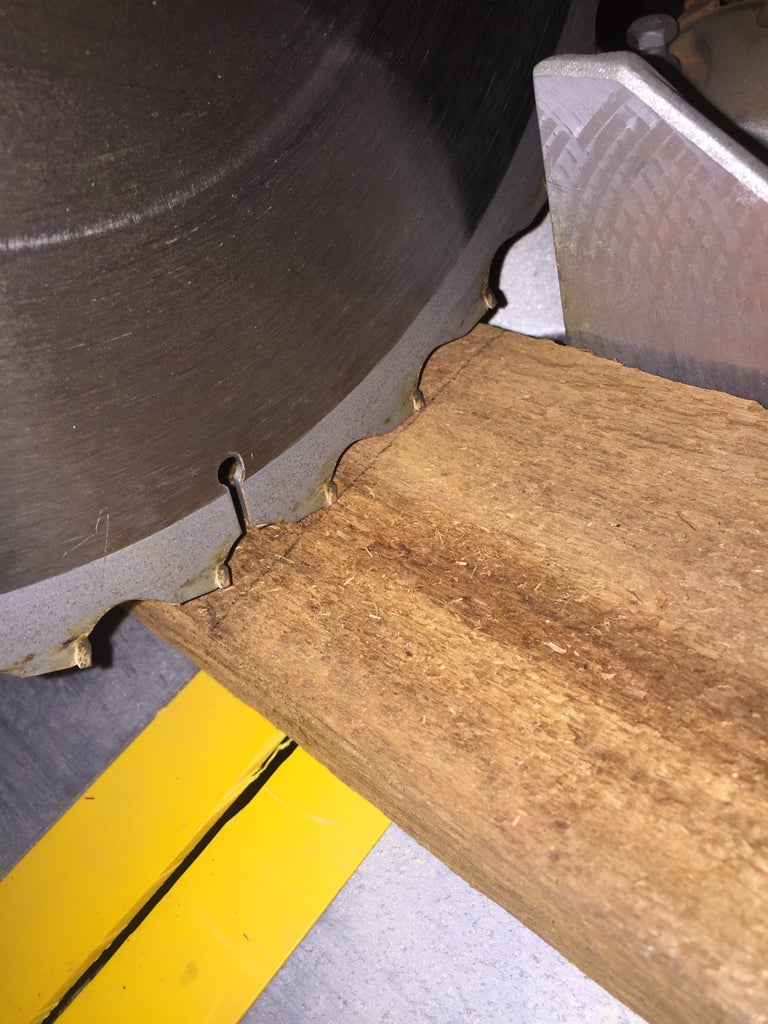
Cut lumber to size
Use a miter saw to cut wood boards to the lengths specified in your plans. Pre-cut lumber is an easier option.
-
Assemble the side walls
Attach boards with deck screws to form the two side assemblies. Ensure the corners are square.
-
Add supporting posts
Position and screw 4×4 posts at the corners to support the walls. Having posts on the outside makes attaching benches simpler.
-
Build the benches
For each bench, attach a 2×4 cleat and horizontal 2×6 seat boards with screws and weather-resistant wood glue.
-
Attach benches
Screw the benches into the 4×4 posts at a comfortable height, about 18 inches off the ground.
-
Construct end walls
Make the front and back like the sides by attaching boards together with deck screws.
-
Complete the box
Screw the front and back walls to the side assemblies and corner posts to form your raised bed.
-
Add bottom and fill
Line the bottom with hardware cloth to deter pests. Then fill with quality gardening soil and begin planting!
Tips for Success
Follow these tips to get the most out of your raised bed with benches:
-
Use naturally rot-resistant cedar, redwood, or treated lumber rated for ground contact. This prevents deterioration.
-
Elevate beds at least 6 inches above ground for proper drainage and to deter burrowing pests.
-
Include vertical supports like 4×4 posts every 4-6 feet around the perimeter to keep beds level.
-
Use galvanized or other coated deck screws rated for outdoor use to assemble the bed. They won’t corrode.
-
Add wheels or casters to make moving the raised bed easy. This allows you to shift it to capture sunlight.
-
Line the bottom and sides with 1/4-inch hardware cloth. This prevents pests from burrowing up into beds.
-
Fill with a quality soil mix designed for raised beds. It provides ideal drainage and nutrients for healthy plants.
-
Leave enough space between plants for them to mature. Overcrowding causes issues like stunted growth.
Get Growing!
With proper planning and construction, a raised garden bed with bench seating makes gardening easier and more enjoyable. Just follow the steps above to create the perfect design to fit your space and needs. Soon you’ll have a thriving veggie or flower garden and a relaxing spot to oversee your handiwork.

Introduction: Elevated Planter Raised Bed
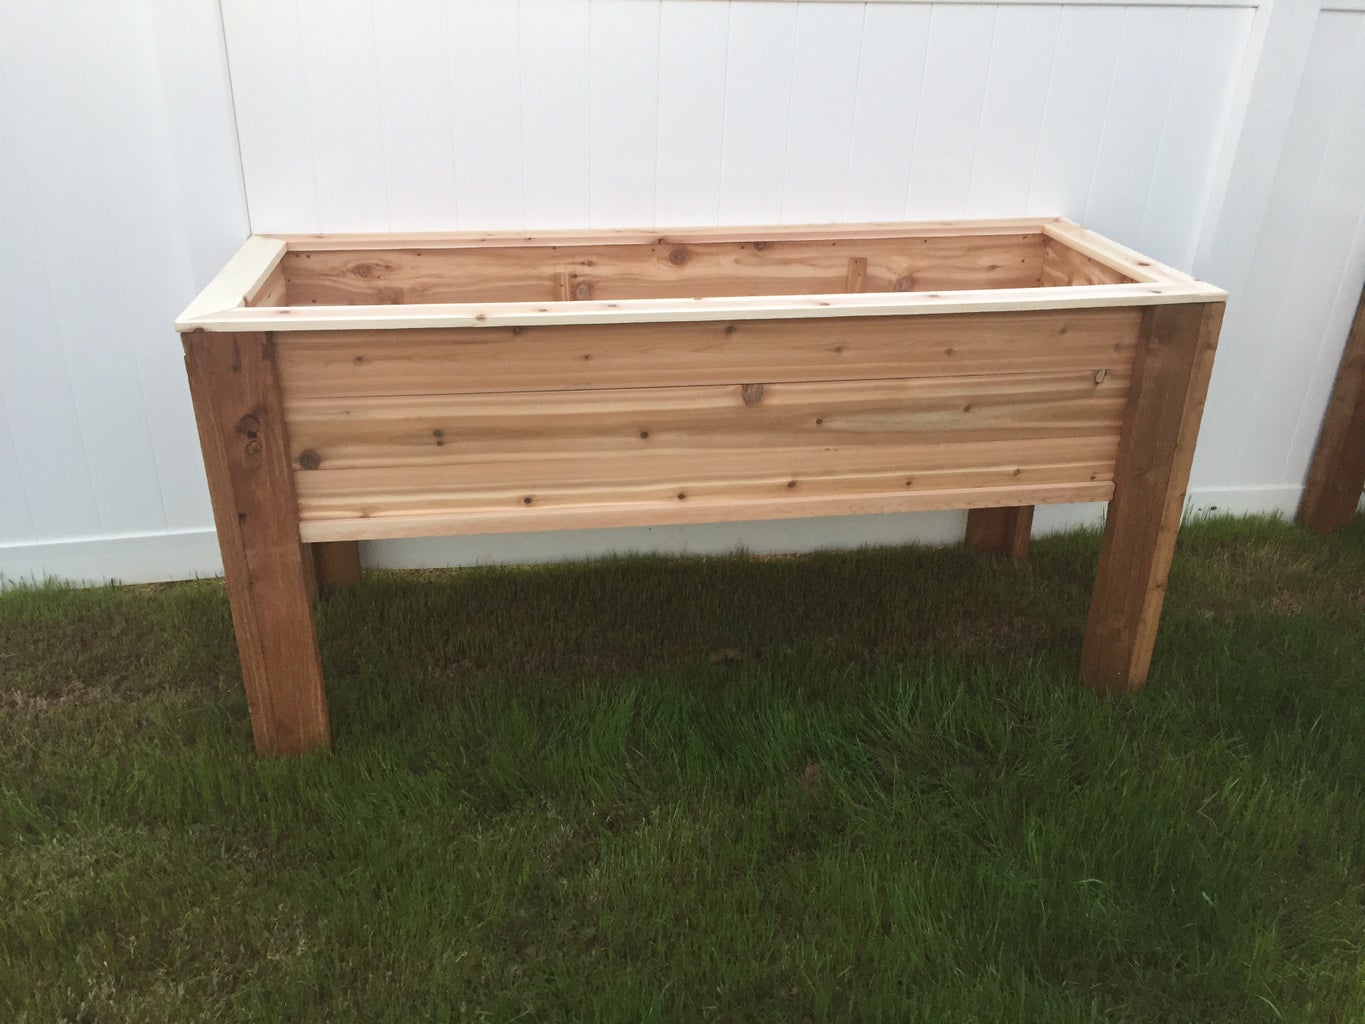
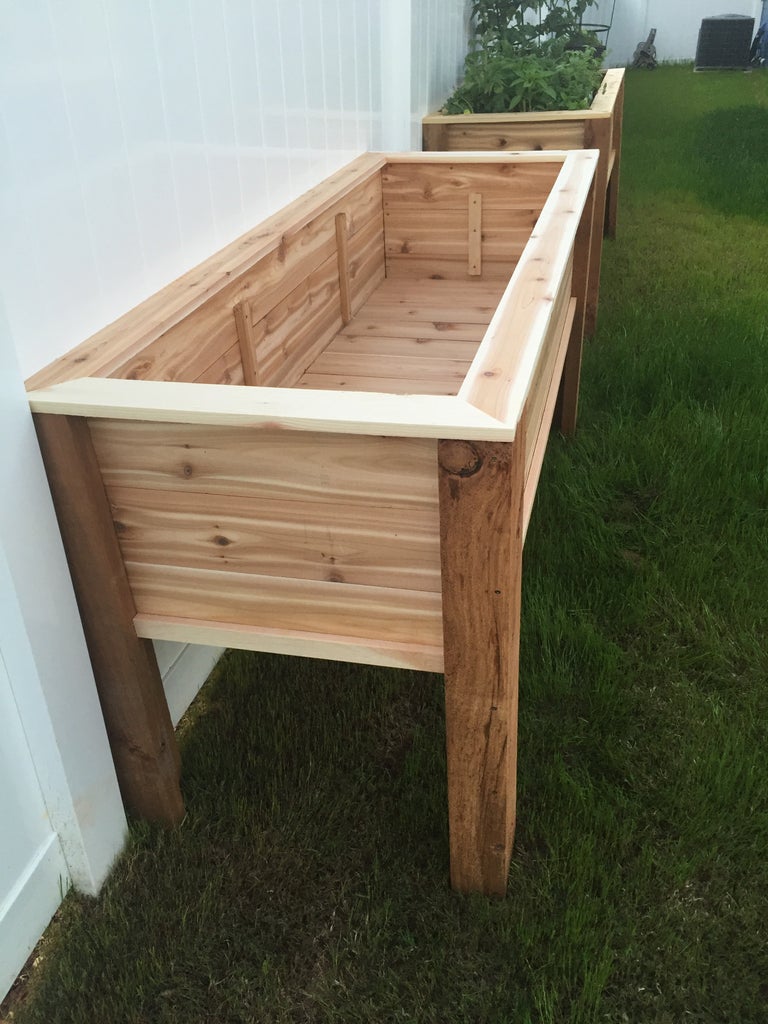
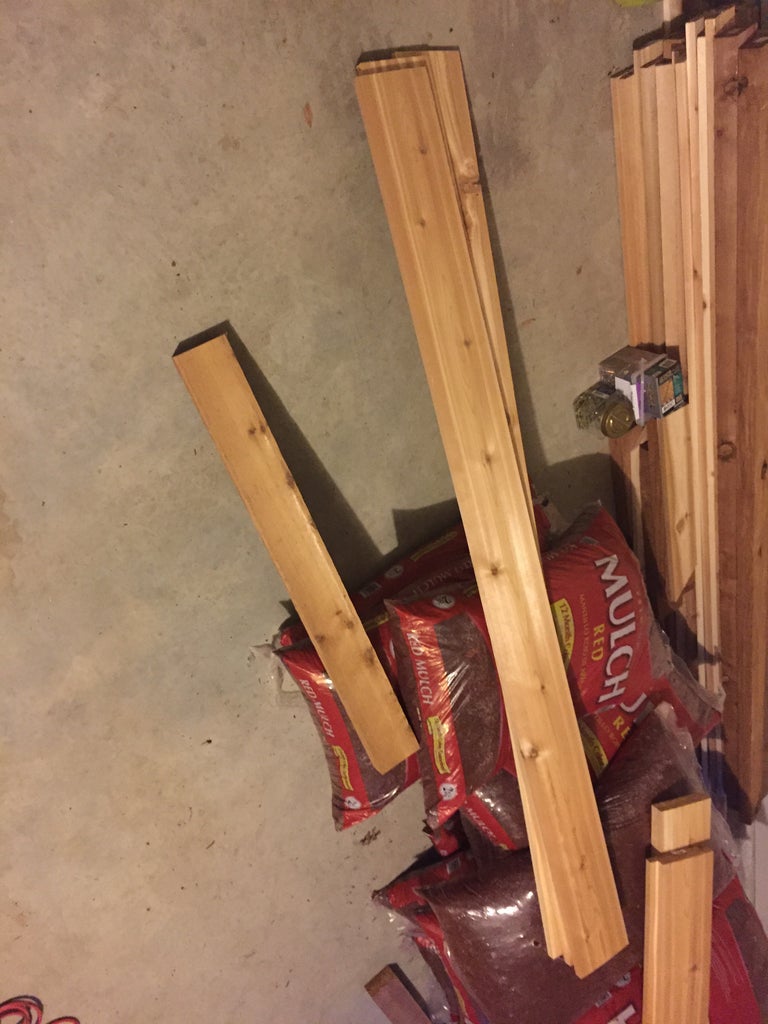
I couldnt find an instructable for a raised bed planted that we liked so I decided to make one. Will try to be as thorough as possible but keep in mind this is my first instructable and first major woodworking project. The planter itself is 6ft wide, 2ft deep and 3ft tall. The bed portion is roughly 18 cubic feet. I am creating this instructable as an afterthought, and I didnt fully keep track of the supplies I bought. I had also bought enough to do 3 planters at the same time but will try to calculate the actual materials from memory. Will also add some happy plant pics when I get around to it. Some of the materials are optional as I decided to go big and add trim around the boxes as well. I used cedar for its resistance to rot properties and also attempted to hide all screws with trim.
Materials:
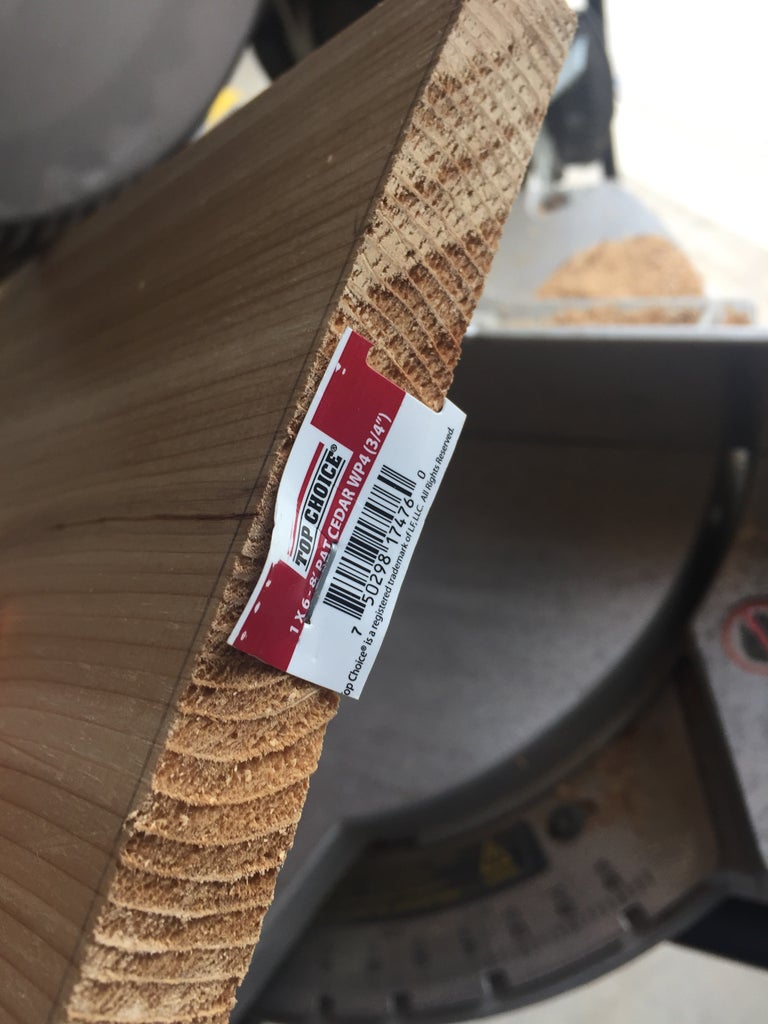
9 – 1″x6″x8 cedar boards. Look for straight ones with smaller amounts of knots
2 – 2″x4″x8 rough cut cedar
2 – 1″x2″x8 cedar for trim
screws, 2 sizes. I think I used 1.25″ but could be wrong, and 2.5″
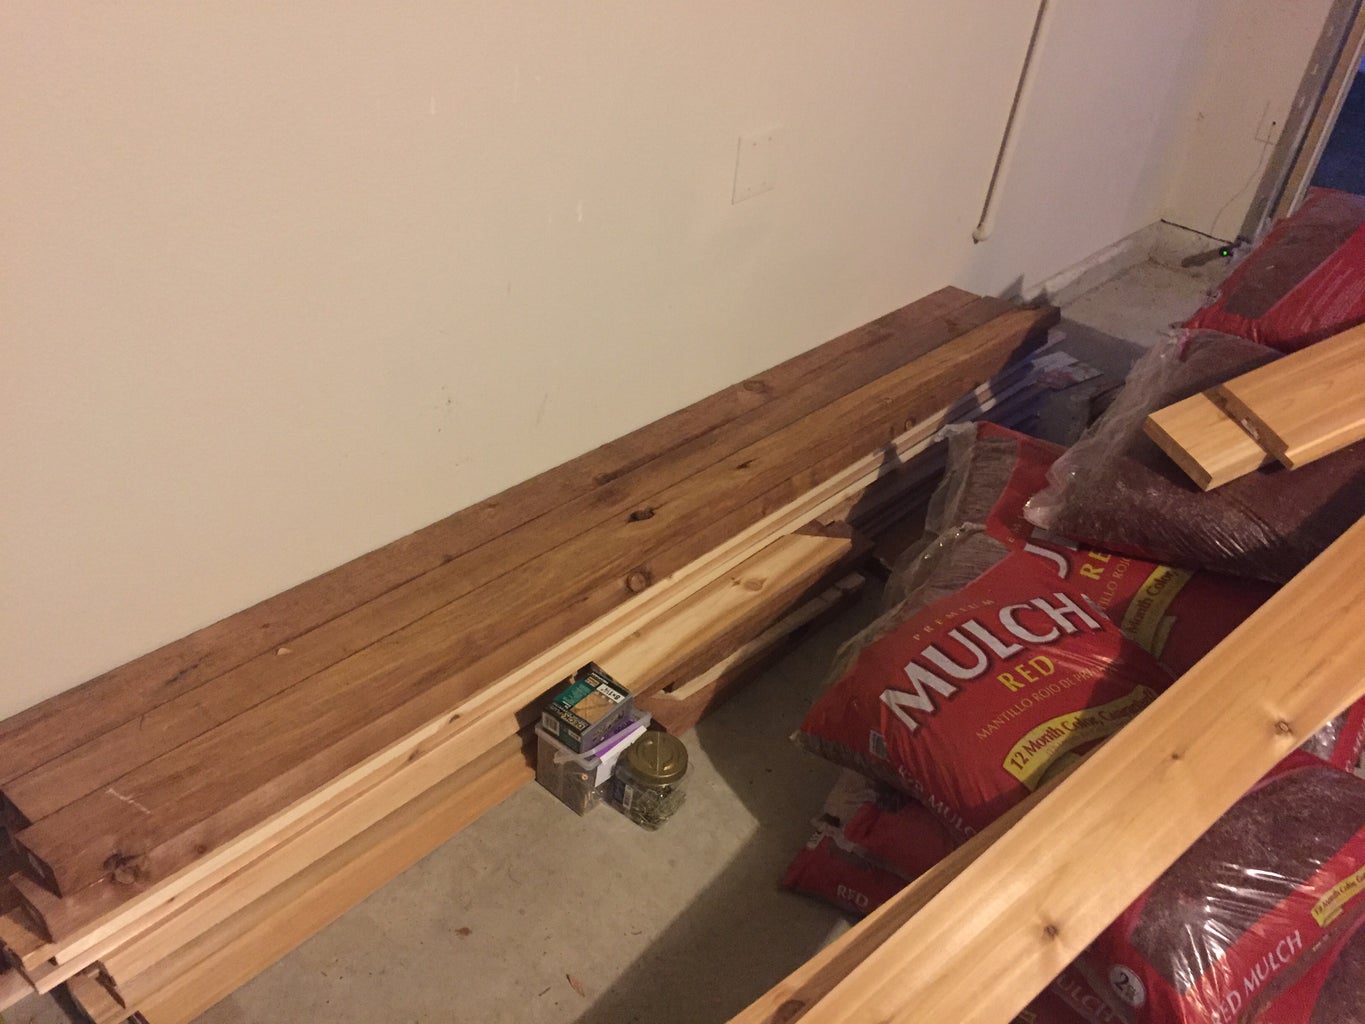
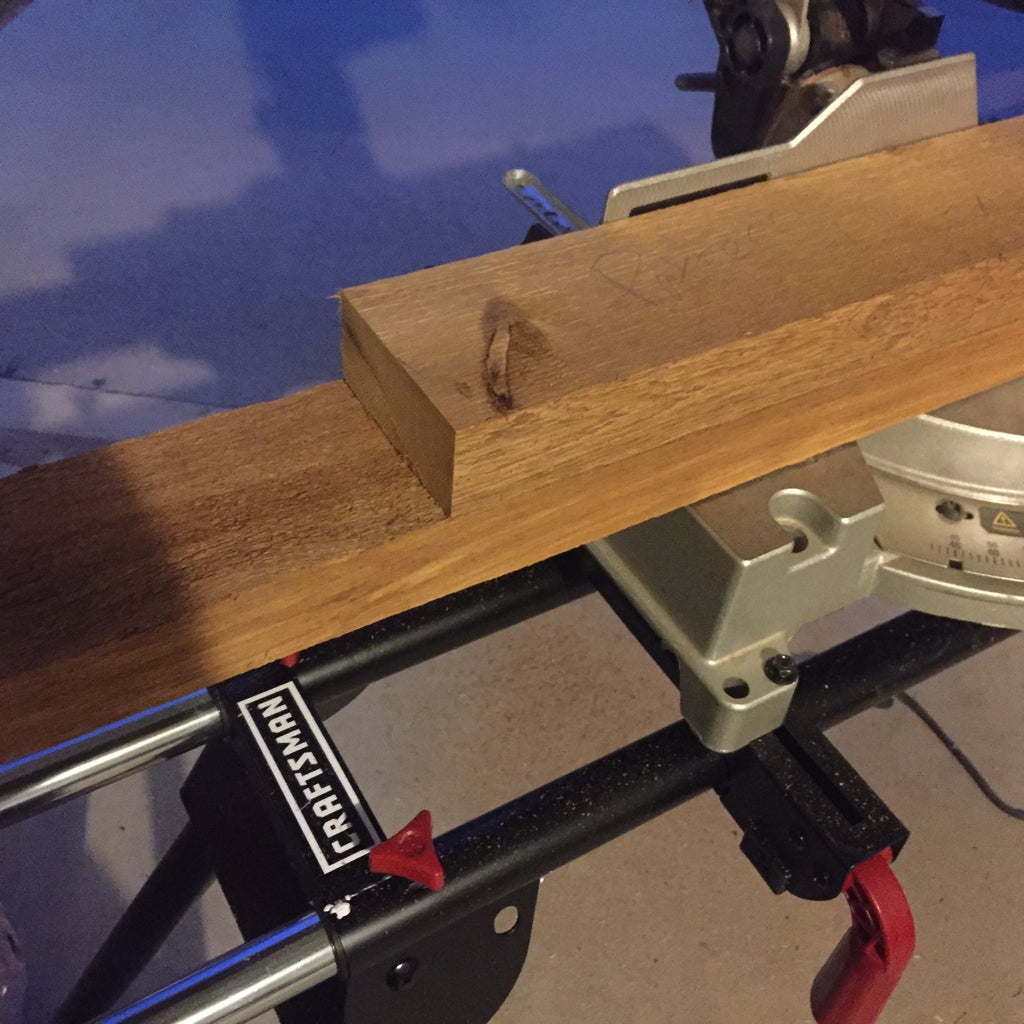

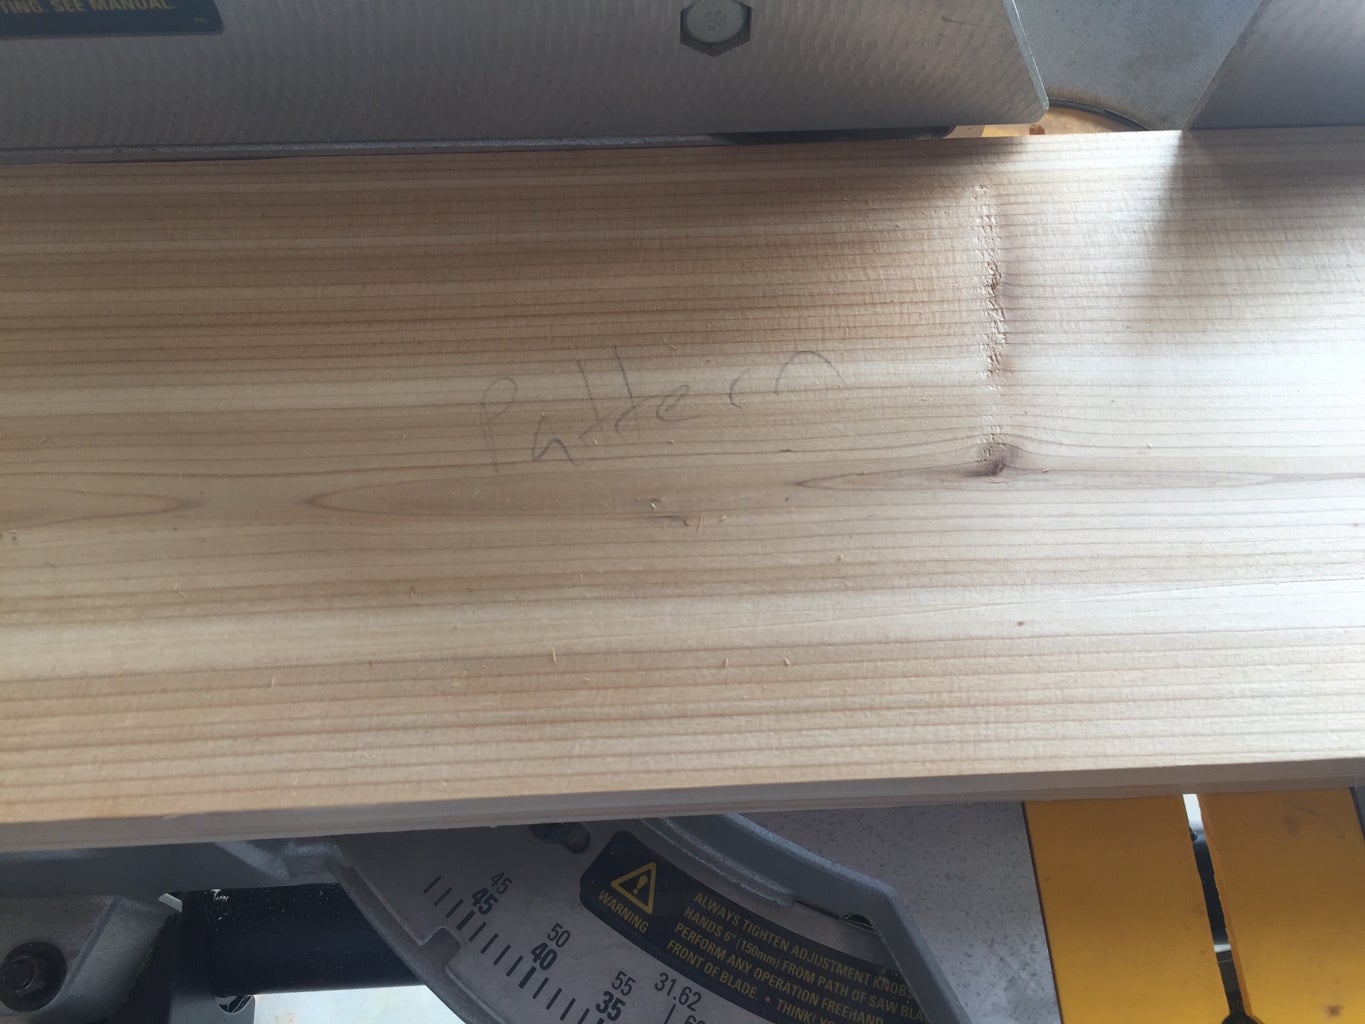
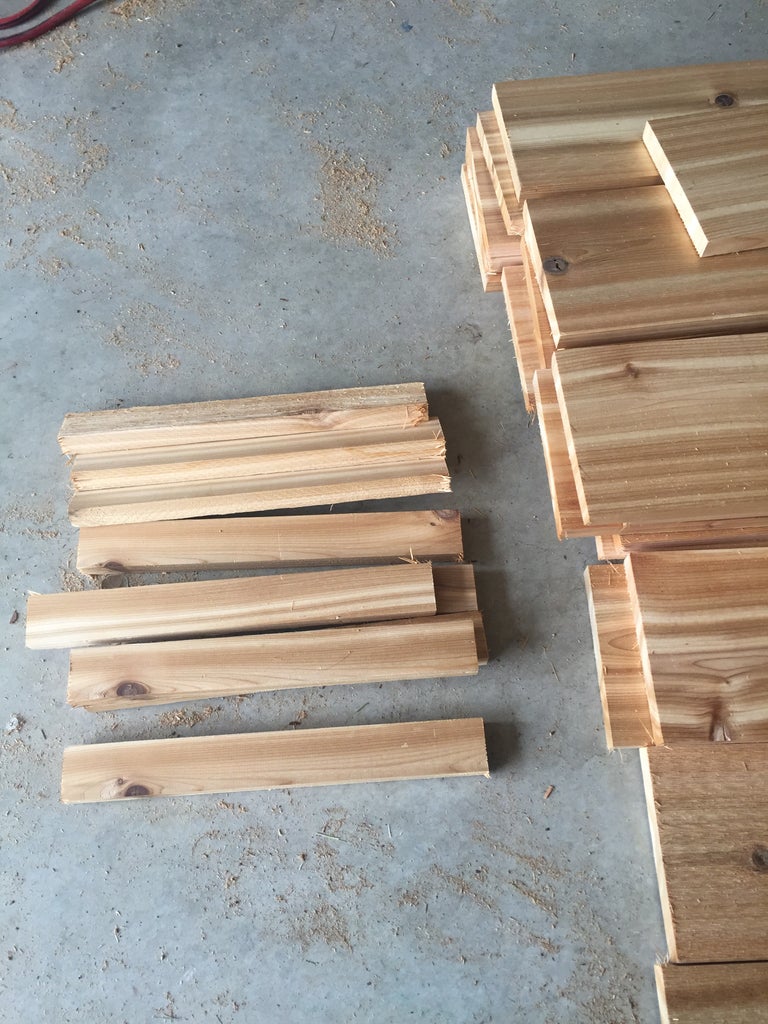
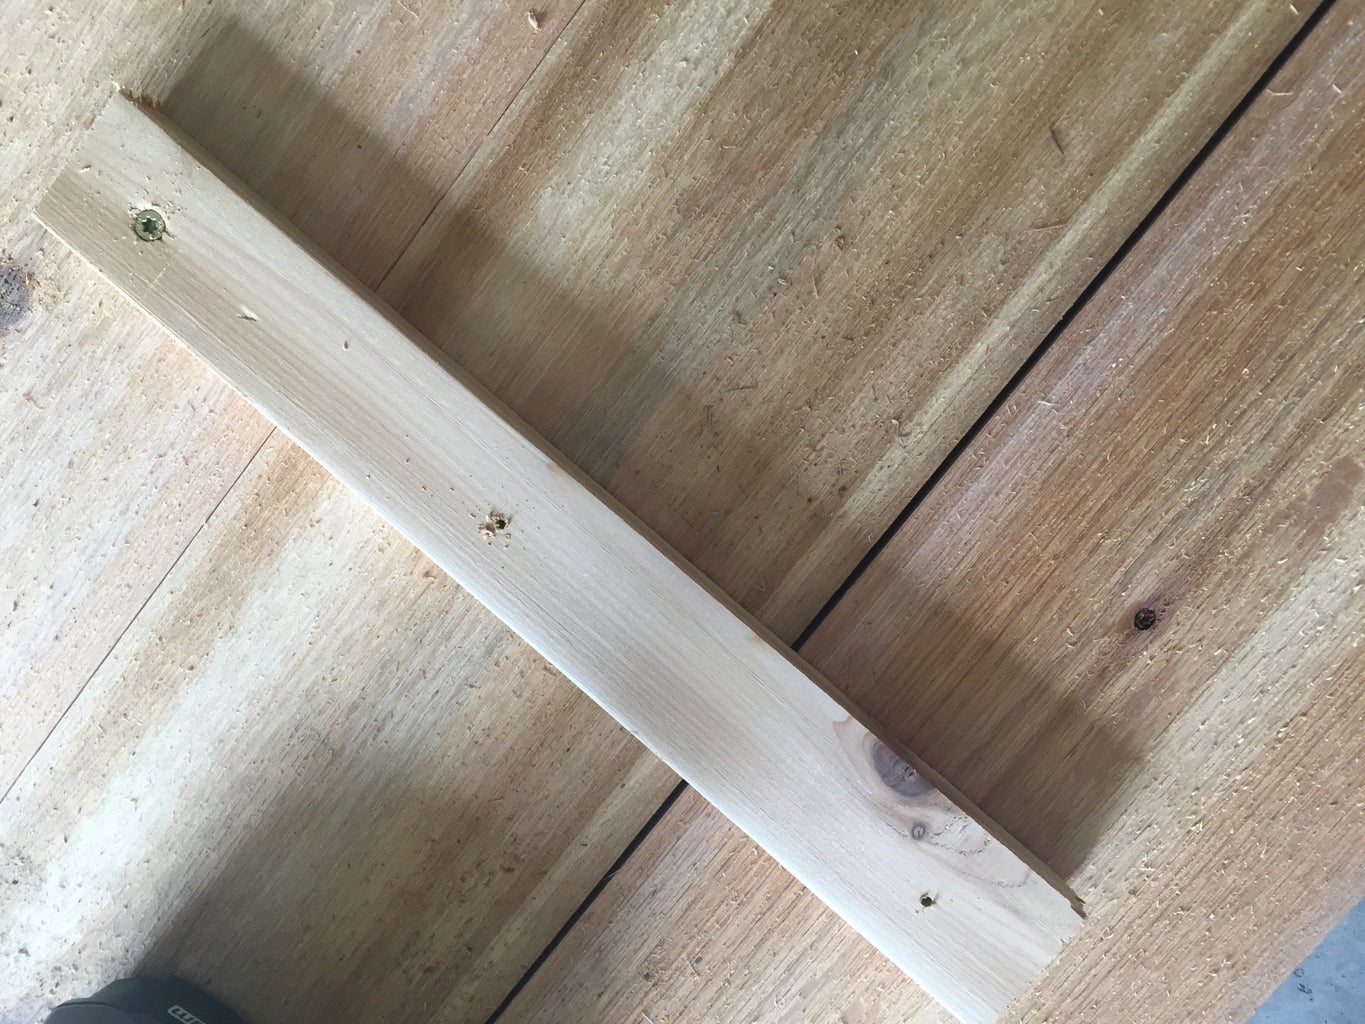
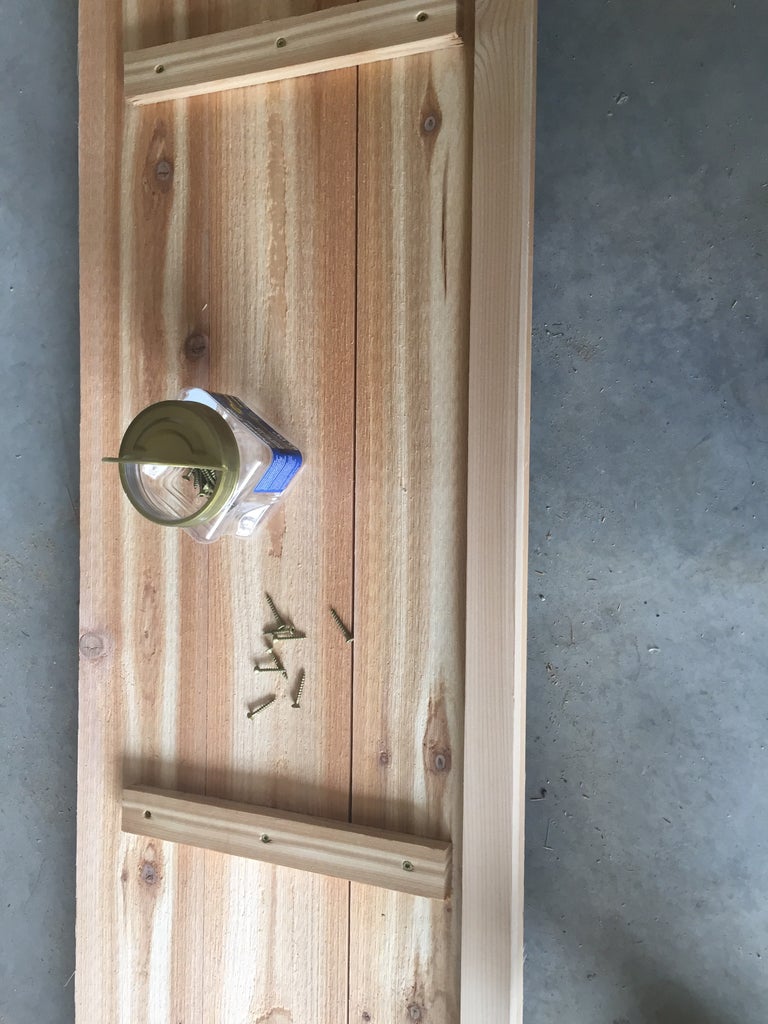
Since I am trying to condense everything Ive learned about woodworking over the previous 3 days before I started this project this may get rough. First, went to the hardware store to pick up the lumber. I had enough room in the SUV to bring enough for maybe 2.5 planters. I layed it all in the garage to start the following day. Im sure everyone has heard measure twice, cut once… apparently youve been doing it wrong all these years. From what I was reading, its easier to measure once, cut twice, etc. By this I mean instead of taking into account all of the inaccuracies of the measuring tape and measuring each board you will be cutting, to measure the first board, mark it and use that one as a pattern for all subsequent boards of that size.
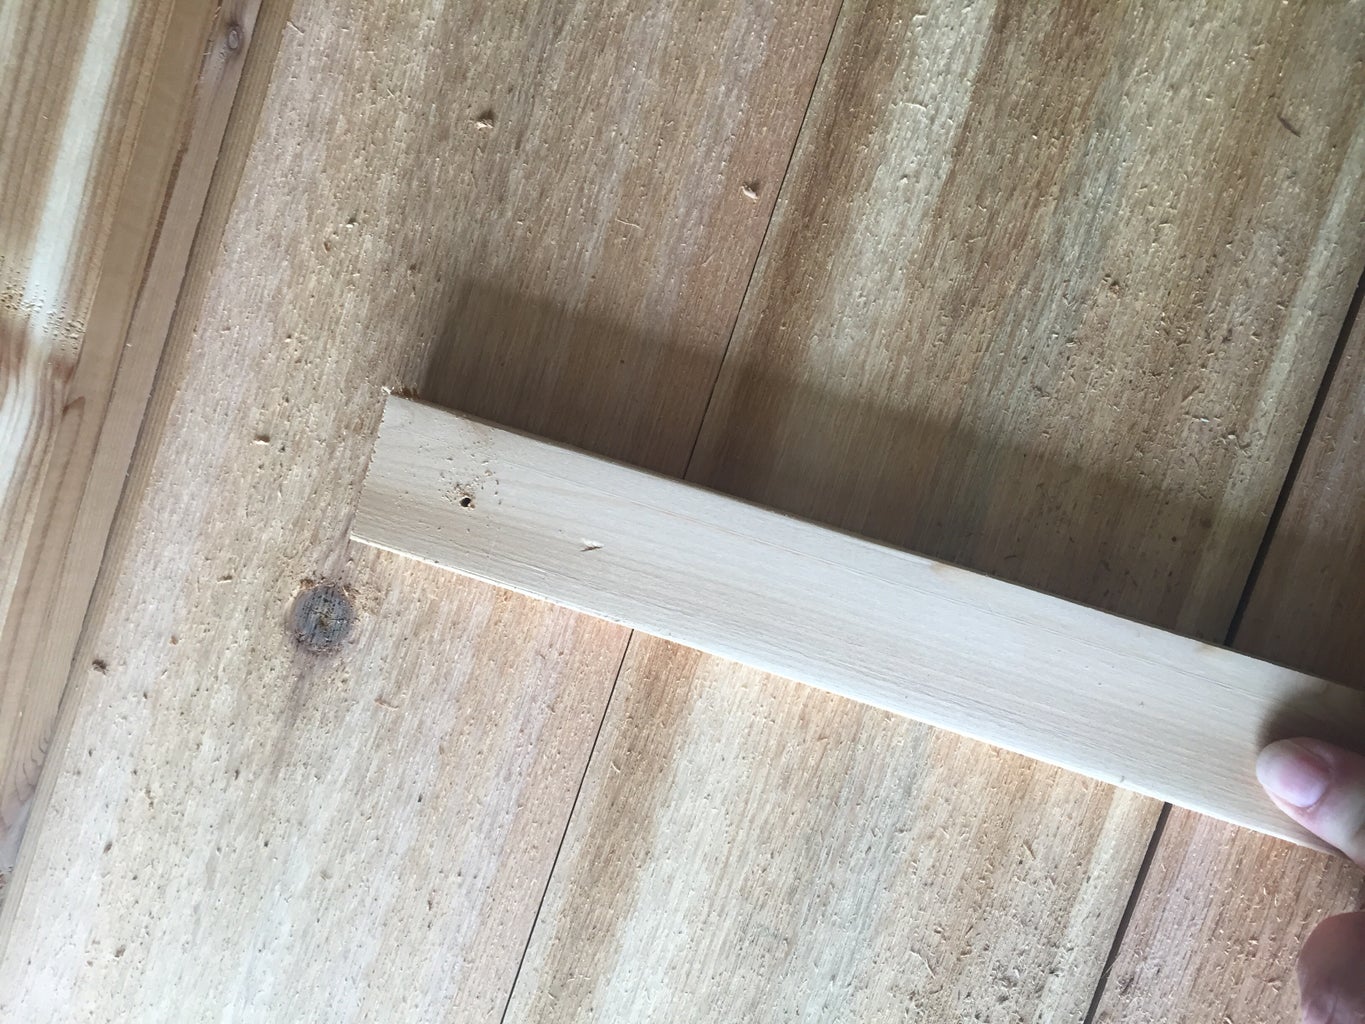
Start off by checking all of the boards for staples. Be sure to pull the ones from the end of the board holding the label on. Once you measure the first board, mark a line across it with a straight edge/square. If you dont have a square, be sure to make your mark on the middle of the board, that way when you bring the saw down you can line it up. When measuring, make a V shave where the point of the v is the measurement you want. Draw and x on the discard side of the board, that way you know which side of the line to bring the blade down onto. Apparently the thickness of the blade/the amount of wood it removes is called the “kerf”. Once you have the first board cut, mark “pattern” on it so you dont mix it up with the others. Use it to mark all further cuts of that size.
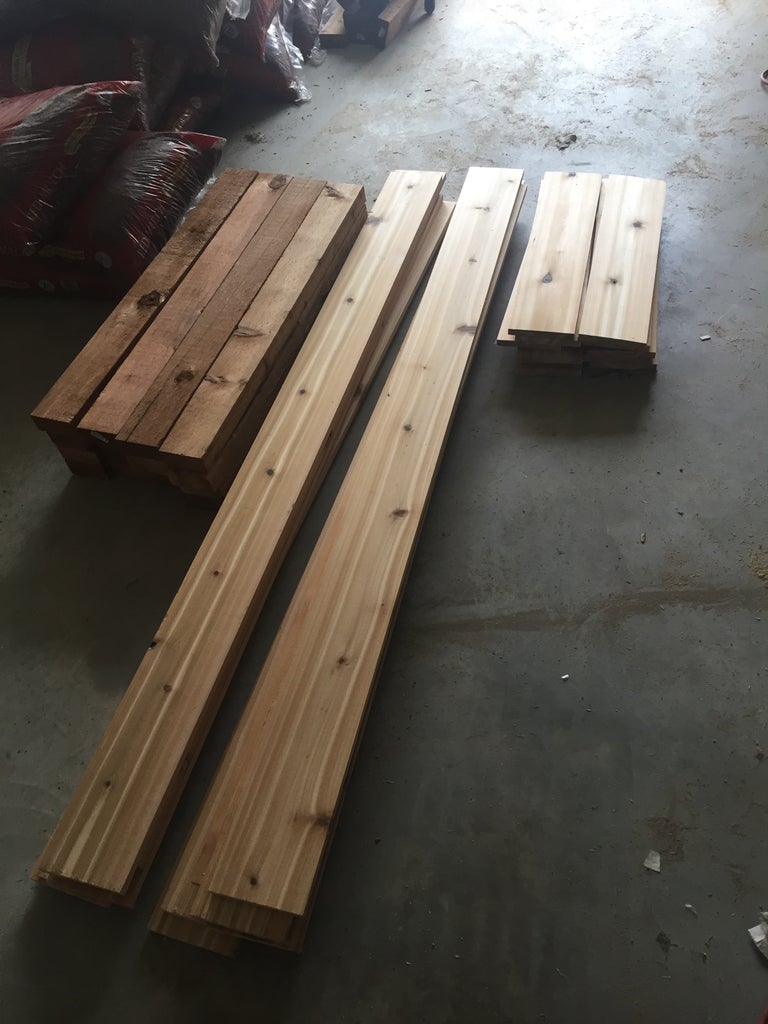
Step 3: Constructing the Sides
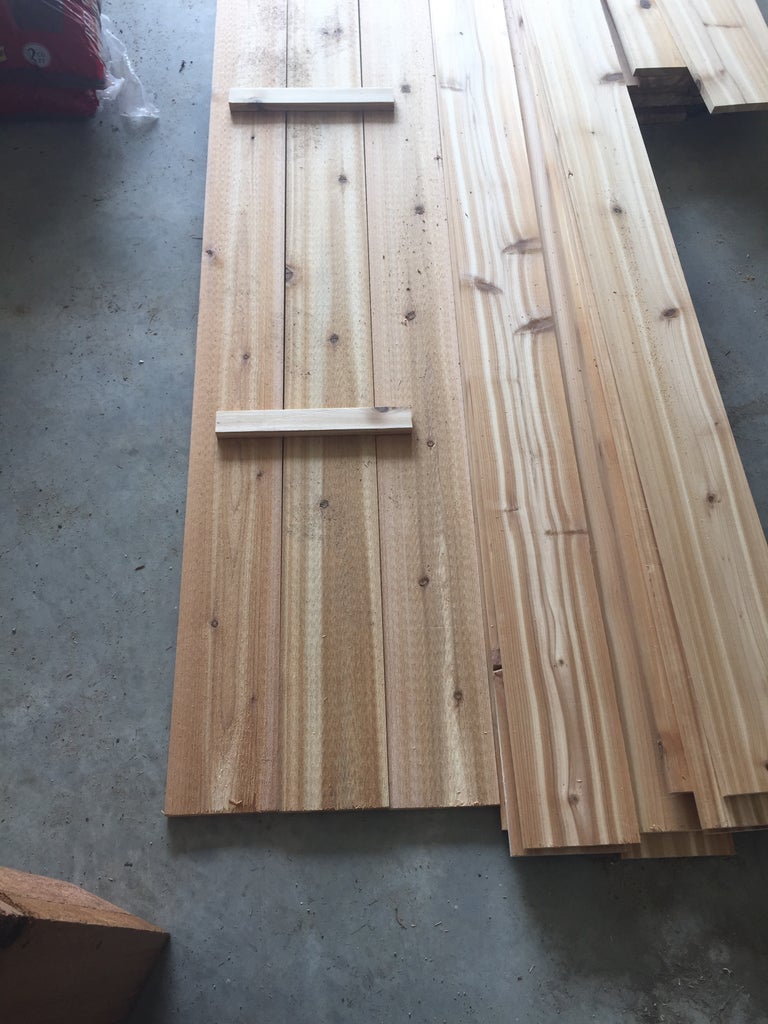
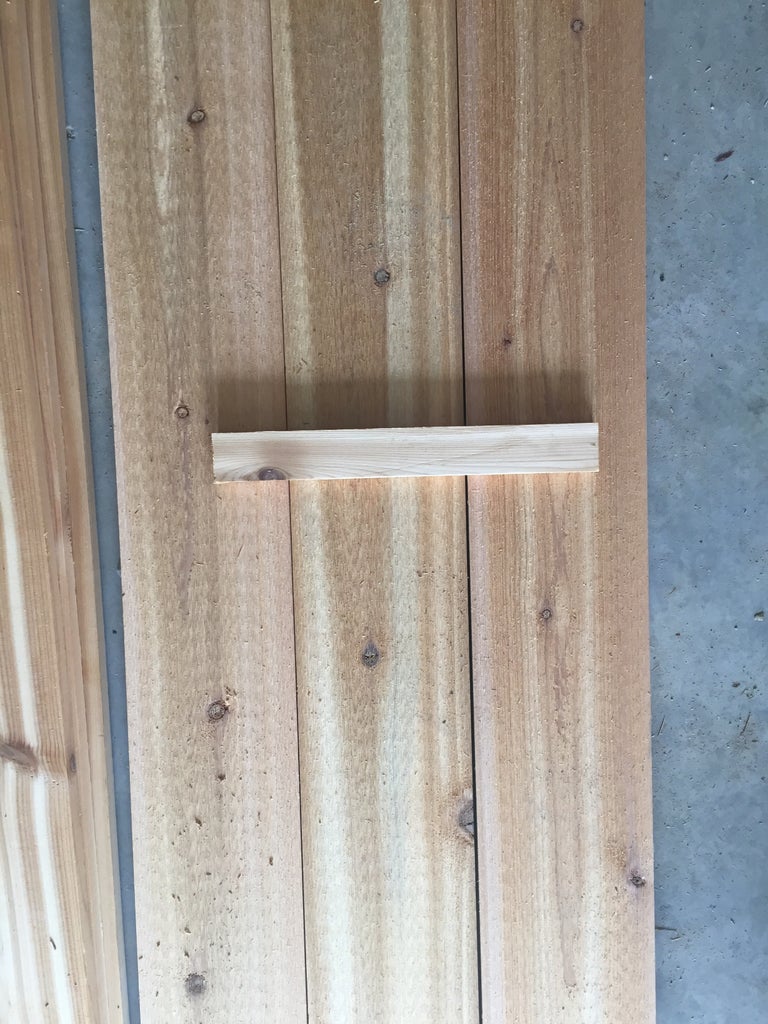
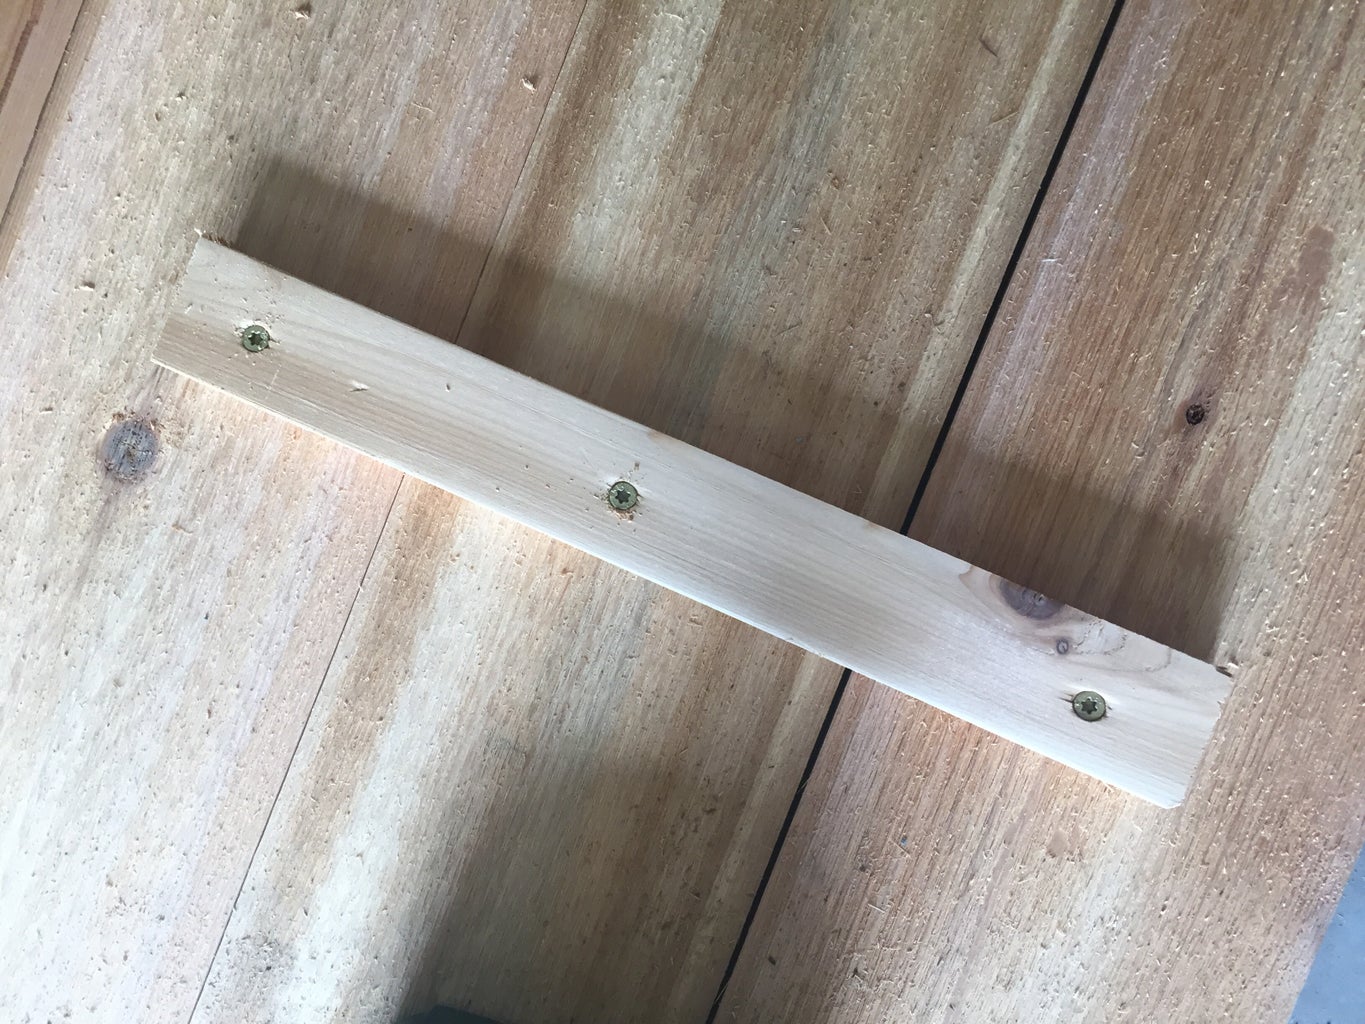
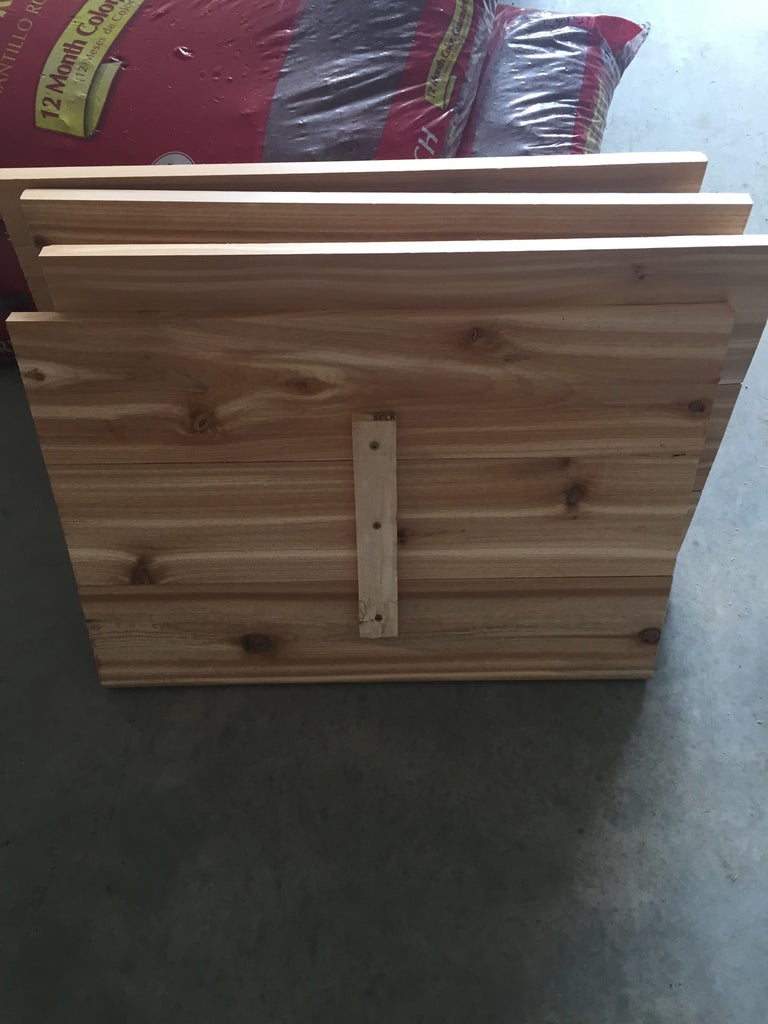
To construct the sides, I layed out all the wood I would need for making them. I chose 6ft lengths and also used some leftover 1×2 to hold the layers in place until it could be fastened the the legs. I layed the three six foot 1x6s to make the wall. Then I butted a level up to one size to make sure they were even. Use one of the 1×6 pieces to screw into the three boards to lock them in place. Be sure to leave some room, maybe 2 inches or so from the bottom of your wall to where the vertical 1×6 will go. This gap will be for the bottom of the container and the support. Do the same for smaller side walls as well.
Easy DIY raised garden bed finished in my fave Real Milk Paint oil (#ad) Full YT video out now!
0