After one or two seasons of experience, most gardeners make good progress achieving success with their favorite vegetable crops, except for carrots. Have you heard the old saying, “you make your own luck?” This is certainly the case with carrots. By attending to details and avoiding the pitfalls discussed below, you can grow at least one good crop of carrots each year, and possibly two.
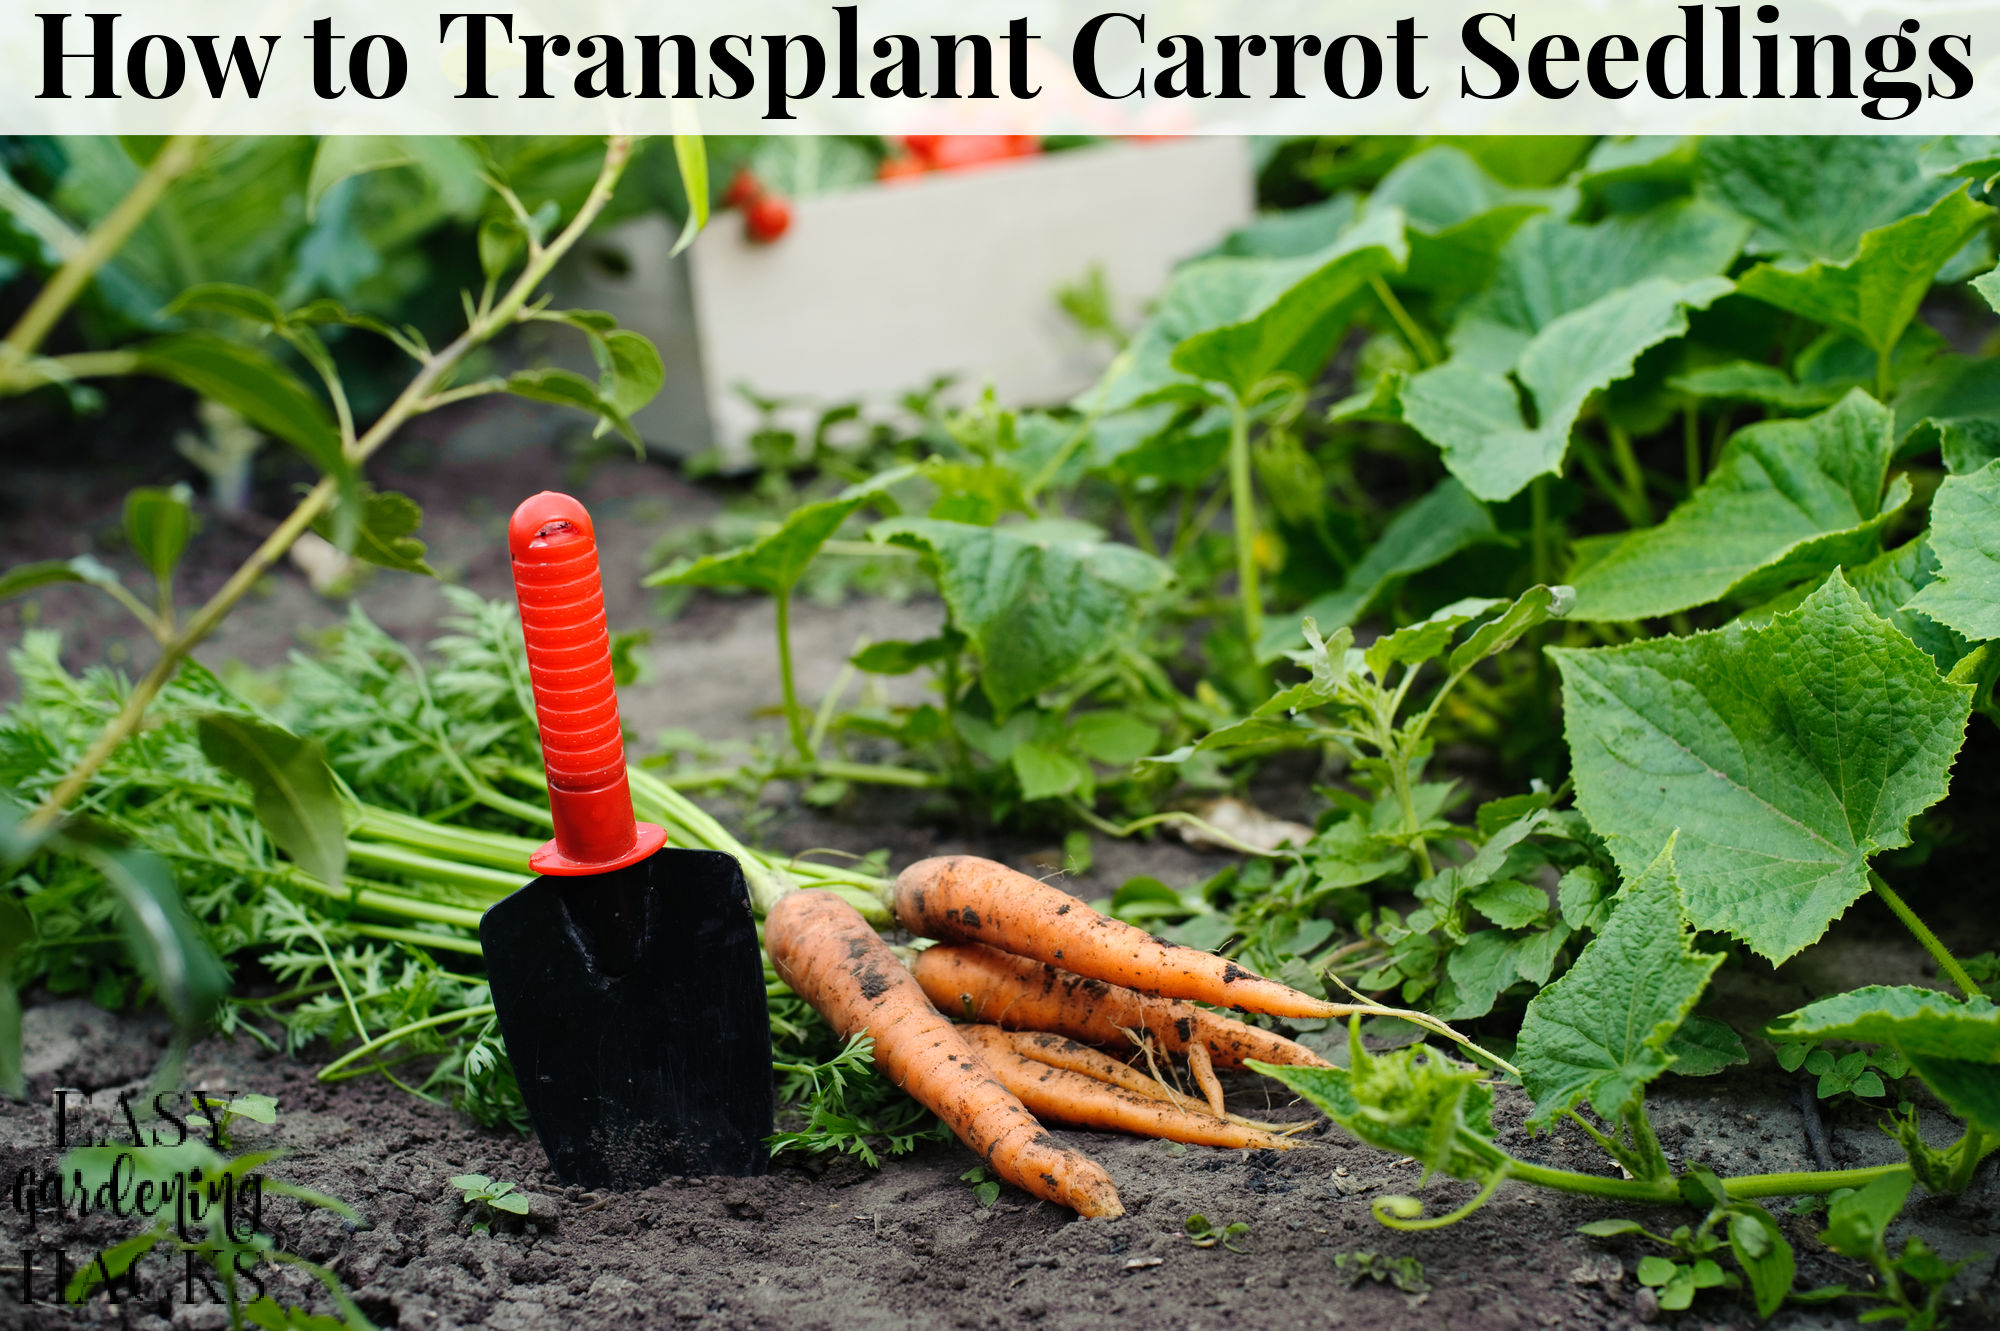
Transplanting carrot seedlings at the right time is crucial for growing sweet, crunchy carrots Moving the delicate seedlings from indoors or crowded beds to the garden requires care to avoid disturbing their sensitive taproots With some simple preparation and the proper transplanting technique, you can minimize stress on your seedlings. Follow these steps and your carrots will thrive through harvest.
When to Transplant Carrot Seedlings
Timing is key for successful carrot seedling transplants You want to move them after they’ve developed roots but before the taproot gets too long Some ideal windows are
-
When seedlings have 3-4 true leaves (not the first round seed leaves). This is generally 2-3 weeks after germinating.
-
Once the taproot forms but is still short, around 1 inch long
-
When cell packs or beds are full and seedlings need more space.
Aim to transplant on a calm, cloudy day to reduce transplant shock. Cool weather is also best to avoid wilting.
Preparing for Transplanting Carrot Seedlings
Advance planning ensures your seedlings transition smoothly on transplanting day. Follow these tips:
-
Water seedlings 1-2 days before to moisten soil so roots are loose.
-
Prepare garden beds with compost-enriched, loose soil for transplanting.
-
Space holes 2-3 inches apart to prevent crowding at maturity.
-
Consider trimming very long tops by 1/3 to balance roots and shoots.
With ideal growing conditions awaiting, your seedlings will thrive after transplanting.
Step-By-Step Guide to Transplanting Carrot Seedlings
Here is a step-by-step guide to carefully transplanting carrot seedlings:
1. Water Seedlings Again Right Before Transplanting
Moisten soil immediately before moving seedlings. Watering trays or garden beds prevents roots from drying out.
2. Gently Remove Individual Seedlings
For trays, squeeze sides to loosen plugs then use a spoon or popsicle stick to lever out the bottom with roots and soil intact.
For direct sown seedlings, use a spoon or hands to lift each plant, minimizing root disturbance.
3. Quickly Move Seedlings to Holes and Cover Roots
Rapidly place each seedling into the prepared garden hole at proper spacing. Fill holes with surrounding soil, firming gently to remove air pockets.
4. Water Transplants Immediately and Slowly
Water deeply right after transplanting without washing away soil. Proper watering encourages new roots to grow into surrounding soil.
5. Provide Temporary Shade
Place cardboard, row cover, or shade cloth over seedlings for a few days if hot and sunny. This prevents wilting as they establish.
6. Monitor for Pests
Watch for pests like carrot rust fly that target tender seedlings. Use row covers as prevention. Act quickly if pests appear.
With attentive care during this sensitive time, your carrot seedlings will flourish in their new homes. Keep soils moistened as roots recover and expand.
Caring for Transplanted Carrot Seedlings
Continue careful monitoring as seedlings adjust after transplanting:
-
Check soil daily, water thoroughly when surface dries 1 inch deep
-
Watch for wilting leaves and provide shade/misting if needed
-
Weed carefully to avoid disturbing fragile roots
-
Apply light organic fertilizer like compost tea after 2-3 weeks
-
Watch for pests/diseases and address issues immediately
-
Be patient! Growth may slow at first as roots recover
Attentive aftercare ensures your seedlings establish smoothly and start growing rapidly again.
Troubleshooting Transplanting Issues
Even experienced gardeners encounter transplanting mishaps occasionally. Here are some common issues and solutions:
Damaged roots – Replant damaged seedlings at proper depth, provide shade and gentle watering until established again.
Leaning stems – Replant any leaning seedlings upright, firming soil. Support stems if needed.
Drying out – Increase watering frequency after transplanting. Check soil daily and water at first signs of drying. Provide shade.
Wilting – Gently mist and shade wilting seedlings until new roots grow and they transition.
Slow growth – Some growth stall is normal after transplant shock. Nurture plants with optimal care and be patient.
Stay vigilant until new roots develop to get your seedlings through this vulnerable period and growing strong again.
Tips for Transplanting Carrot Seedlings Successfully
Follow these tips to help your carrot seedlings thrive before, during, and after transplanting:
-
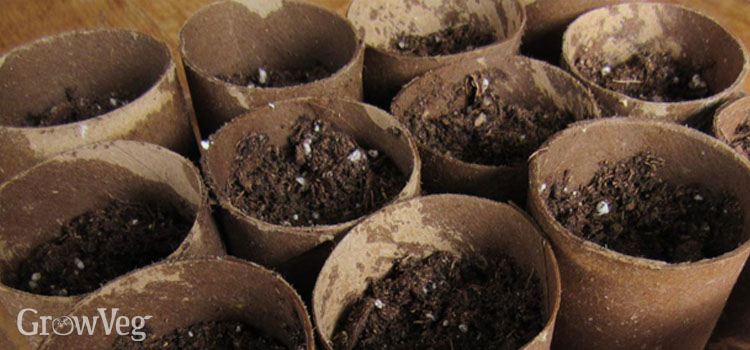
Start seeds in cell trays rather than direct sowing to reduce transplant shock.
-
Wait to transplant until several true leaves emerge, around 2-3 weeks old.
-
Ensure soil is moist but not soggy when transplanting delicate roots.
-
Move quickly and gently to prevent root damage during transplant.
-
Space transplants appropriately, 1-3 inches depending on variety.
-
Provide temporary shade to reduce wilting in sun.
-
Water frequently after transplant for smooth establishment.
-
Monitor for pests like carrot rust fly that attack seedlings.
With extra care for their sensitive roots, your carrot seedlings will transplant successfully and mature into a bountiful harvest.
Enjoying the Rewards of Transplanting Carrot Seedlings
With proper transplanting and attentive follow-up care, your carrot seedlings will be established and thriving in their new permanent homes in no time.
Over the coming weeks, keep an eye on their progress. Taproots will grow firmer as they delve into the welcoming enriched soil. Leaves will regain vigorous color as the plants power through transplant shock. Growth will pick up speed.
Before you know it, those delicate seedlings will be maturing into long, straight carrots, their swollen roots ripening underground. All your diligent care during transplanting will pay off in a productive crop.
Just wait for that first crunchy bite of homegrown sweetness when harvest arrives. All the worry over fragile seedlings will give way to the immense satisfaction of fresh carrots from your own garden. Great job – now enjoy the fruits of your labor!
Prepare a Deep, Fertile Bed
A week or two before I plant carrots, I use a digging fork to loosen the soil as deeply as possible, rake out every rock I can find, and then repeat the process, this time working in a low-analysis organic fertilizer. Improper fertilization can be costly with carrots. Too much nitrogen, especially from manure, can cause roots to become forked and excessively hairy. But failing to fertilize up front is risky, too, because applying liquid feed to maturing plants can cause the roots to crack. The solution is to use a low analysis organic fertilizer before planting, applied following label directions and thoroughly worked into the soil. I save my composted chicken manure for tomatoes and peppers.
The typical storage life of carrot seeds is three years, after which viability becomes iffy. However, priming seeds for four days often can invigorate old seeds, so you can use the last of a packet you loved in past seasons. Here’s the procedure: Place seeds in a heatproof cup and cover with very warm water (150°F/65°C). When cool, strain into a paper towel. Fold the towel to cover the seeds and place in an airtight container at room temperature for four days, checking daily to keep the paper towel lightly moist. Remove the seeds from the container and allow to air dry for a few hours, then plant immediately.
Protect Carrots from Animals
Where I live, rabbits will ruthlessly thin young carrots if allowed to do so, and deer love to munch on carrot foliage. I solve both problems by growing carrots under cages made from wire fencing, with the ends cut and folded in to form boxes. When deer start nipping off the leaves that grow through the cage, as shown in the photo above, I pop a second cage on top of the first.
Ready for more tips and inspiration? Ben’s video on Growing Carrots from Sowing to Harvest covers cool ways to use the Garden Planner improve your luck with carrots.
You Will Wish You Watched This Before Thinning Carrots!
FAQ
Do carrot seedlings transplant well?
As carrots are a root crop, It is generally recommended that they are direct sown rather than being grown in a seed tray and then transplanted into the final growing space. Transplanting can damage the tap root and raise the risk of ending up with twisted or misshapen roots.
How deep do you plant carrot seedlings?
Incorporate plenty of organic matter and a complete fertilizer into the area before planting. Plant seeds ¼-½ inch deep. Thin seedling carrots to 3 inches apart in the row with rows 12-18 inches apart. Plant 2-3 weeks before the last frost.
When should you separate carrot seedlings?
When the carrot seedlings are about 1-2 inches tall, thin them to a spacing of 2-3 inches apart. Gently pull out the weaker seedlings, leaving only the healthiest ones. Thinning ensures that each carrot plant has enough room to grow and access to nutrients.
What do carrots not like to be planted next to?
- Dill: Dill produces compounds that are harmful to carrots and can stunt their growth and development.
- Fennel: Fennel is harmful to many plants. …
- Parsnips: Though parsnips don’t harm carrots directly, they are susceptible to the same diseases and pests as carrots.