 If you’re diving into gardening with raised beds, understanding how to properly fill them is crucial. Here’s a straightforward guide to setting up your raised garden bed for optimum plant health and yield.
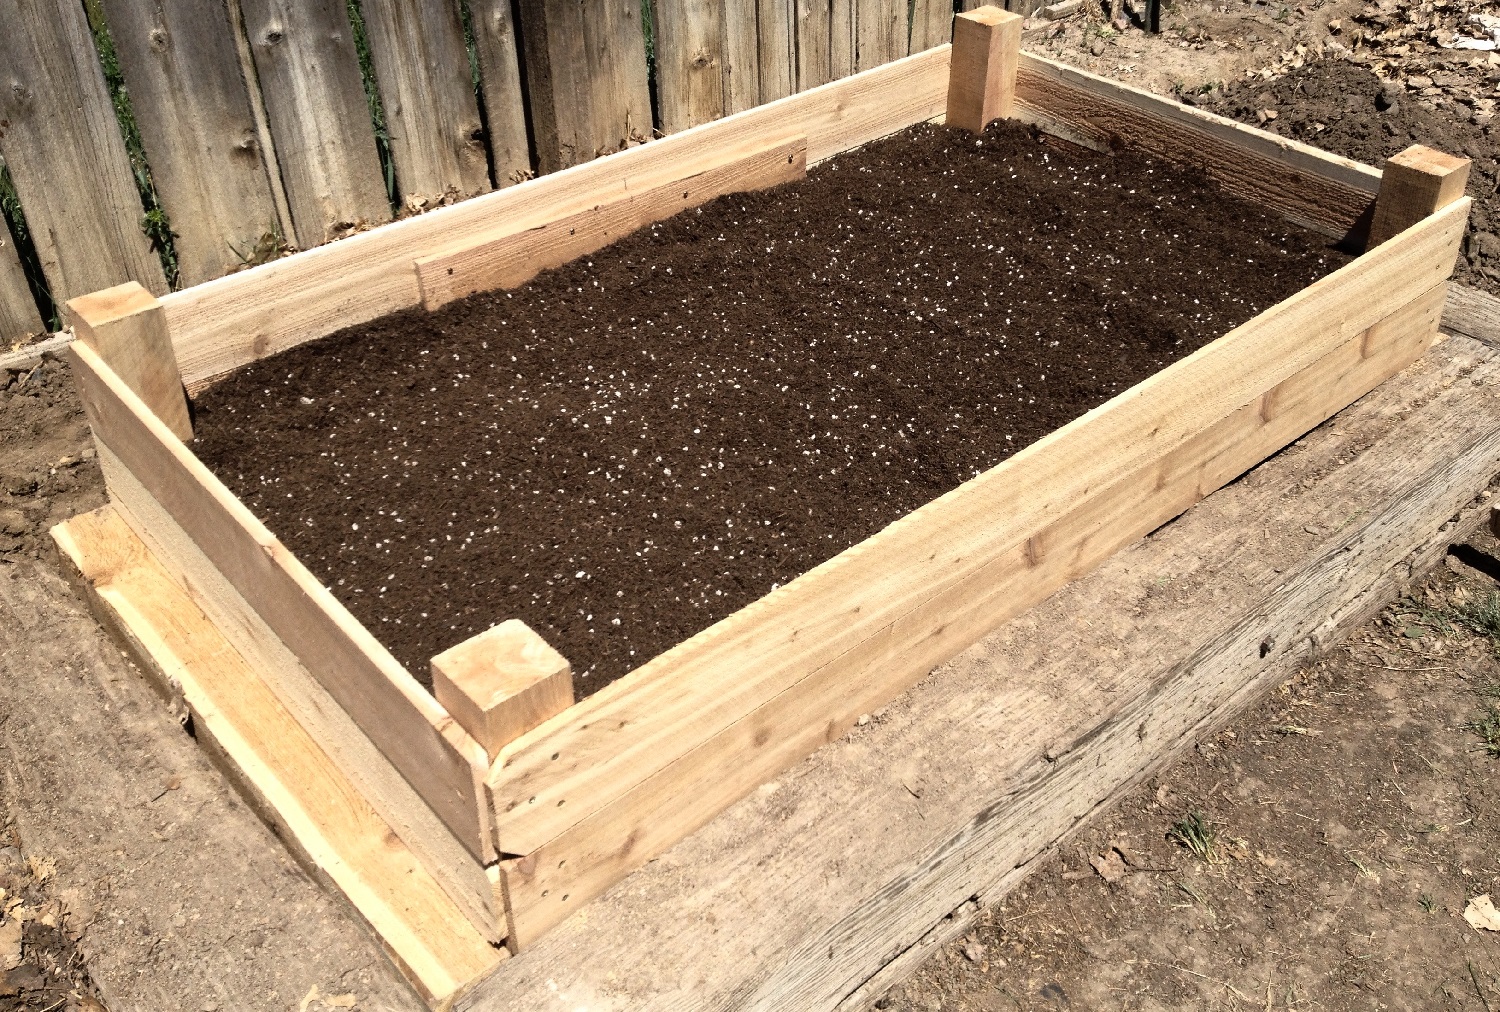
Raised garden beds offer excellent drainage, soil quality control, and easier access for planting and maintenance. They can also help prevent soil compaction, which is common in traditional gardens due to frequent walking and activity around the plants.
Hey there, fellow garden enthusiasts! I’ve been getting tons of questions about how to properly layer a raised garden bed, and today I’m gonna spill all the dirt (pun intended!) on this topic. After years of trial and error in my own garden, I’ve figured out the perfect recipe for success.
Why Proper Layering Matters?
Before we dive deep into the layers, let me tell you why this is super important. Think of your raised bed like a cake – each layer serves a specific purpose and contributes to the overall success of your garden. Get these layers right, and you’ll be harvesting vegetables like a pro!
The Perfect Layer Structure (From Bottom to Top)
1. Foundation Layer
- Hardware Cloth (if you’ve got pesky burrowing animals)
- Weed Barrier Options:
- Weed barrier cloth
- Burlap
- Cardboard (multiple layers)
- Floor protection paper (X-Board or Ram Board)
Pro tip If you’re using cardboard, remove all tape and avoid the glossy printed stuff. Trust me I learned this the hard way!
2. Bottom Filler Layer
Here’s where things get interesting! You’ve got several options:
Best Option: Complete Soil Fill
I’m gonna be straight with you – filling your entire bed with soil is expensive but worth it It gives your plants maximum root space and the best chance for success
Budget-Friendly Alternatives:
Leaves Method:
- Fill bed 6 inches at a time
- Compress each layer by walking on it
- Wet thoroughly with garden hose
- Keep adding layers until 2/3 full
- Top with 8-10 inches of soil/compost
Hugelkultur Method (Experimental):
- Use partially decomposed sticks (not fresh wood)
- Layer with leaf mulch
- Top with soil and compost
3. Main Growing Medium Layer
This is where the magic happens! You want:
- High-quality topsoil
- Rich compost
- Organic matter
What NOT to Put in Your Raised Bed
Let’s keep it real – I’ve seen people try some crazy stuff! Here’s what you should absolutely avoid:
❌ Plastic bottles
❌ Trash bags
❌ Fresh wood chips
❌ Thick layers of gravel
❌ Pressure-treated wood products
Tips for Success
-
Drainage: Your raised bed structure should provide adequate drainage naturally – don’t overthink it!
-
Settling: Whatever you use in lower layers will decompose and compress over time. Plan to top off your bed with additional soil each season.
-
Timing: If using organic materials like leaves or sticks, consider:
- Waiting one season before planting
- Starting with annual plants only
- Being prepared to add more soil as materials break down
My Personal Experience
I recently set up two test beds – one with leaf mulch bottom and another with the Hugelkultur method. Still running pH tests weekly, and lemme tell you, it’s been interesting! I’ll keep updating this as I learn more.
Maintenance Tips
- Regular Soil Testing
- Check pH levels monthly
- Monitor moisture retention
- Watch for uneven settling
- Annual Refreshing
- Add fresh compost in spring
- Top off settling areas
- Remove any exposed barrier material
Cost-Saving Strategies
If budget’s tight (and when isn’t it?), here’s what I recommend:
- Collect fall leaves for free organic matter
- Start your own compost pile
- Join local gardening groups for material exchanges
- Watch for bulk soil sales in early spring
Common Questions I Get
Q: How deep should my raised bed be?
A: Aim for at least 12 inches, but 18-24 inches is ideal for most vegetables.
Q: Can I use grass clippings as a layer?
A: Yes, but mix them with brown materials to prevent matting and smell.
Q: Do I really need a bottom barrier?
A: Yes! It’s worth the extra effort to prevent weeds and maintain soil quality.
Final Thoughts
Remember, there’s no one-size-fits-all solution here. The perfect layering system depends on your climate, budget, and what you’re planning to grow. Start with these basics and adjust based on what works in your garden.
The most important thing? Don’t stress too much! Gardening should be fun, and even if you don’t get the layers perfect the first time, you can always adjust next season. That’s the beauty of gardening – there’s always another chance to get it right!
Now get out there and start layering! And hey, if you’ve got any cool layering tricks that work in your garden, drop them in the comments below. We’re all learning together here!
Starting from the Bottom: The Base Layer
Your first layer should focus on drainage and preventing weeds. Start with a layer of cardboard or newspaper. This natural barrier decomposes over time but initially helps to block weeds and grass from coming up into your bed. On top of this, add a layer of gravel or small rocks. This improves drainage, keeping the soil above from becoming waterlogged.
The Top Layer: Your Growing Medium
This is where your plants will root and grow. For the top layer, use a mix of topsoil, compost, and potting soil. This combination ensures that your plants have the nutrients they need. The topsoil provides bulk and density, the compost offers rich nutrients, and the potting soil ensures lightness and good moisture retention.
Depending on what you plan to grow, you might need to adjust your soil mixture. For vegetables, ensure your soil is rich in compost to support their nutrient needs. For flowers, you might opt for more potting soil to keep the mix light and aerated.