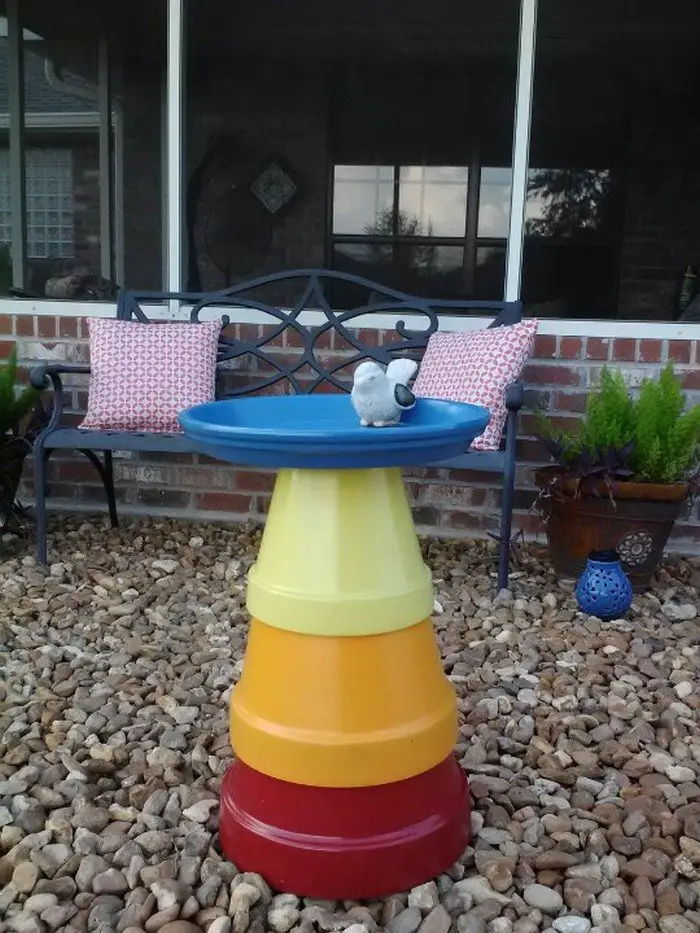
Here’s another easy garden project with clay pots that not only you, but birds will love as well! A bird bath from clay pots. Flower pots are one of the most common items to decorate a garden with as they are easy to work with.
This easy project is just another brilliant garden idea for feeding lovely birds in our gardens. It relies mostly on creativity since it’s just a stack of clay pots and saucers. It doesn’t matter how many flower pots and saucers you have available, and there’s nothing difficult about building your clay pot birdbath. 🙂
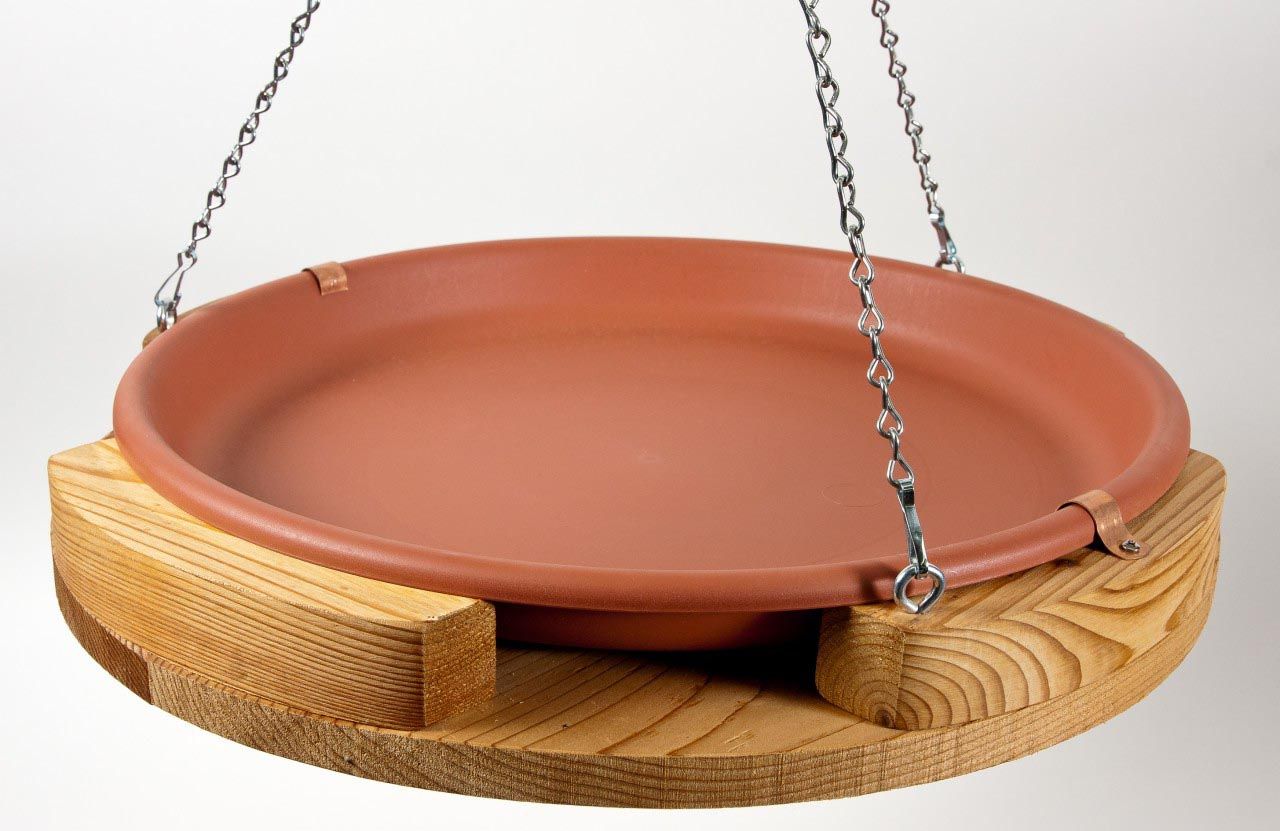
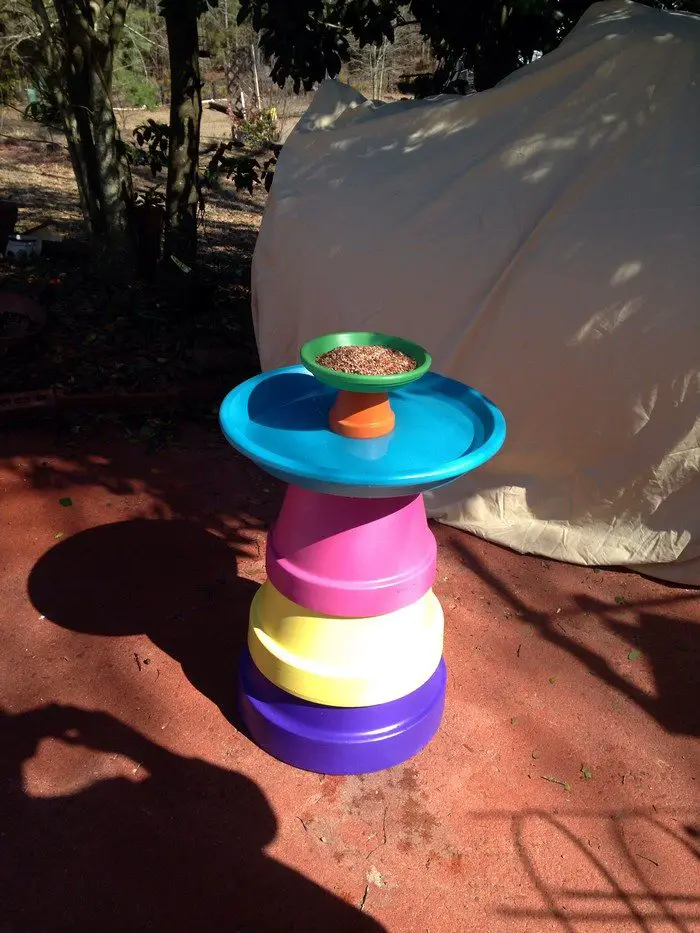
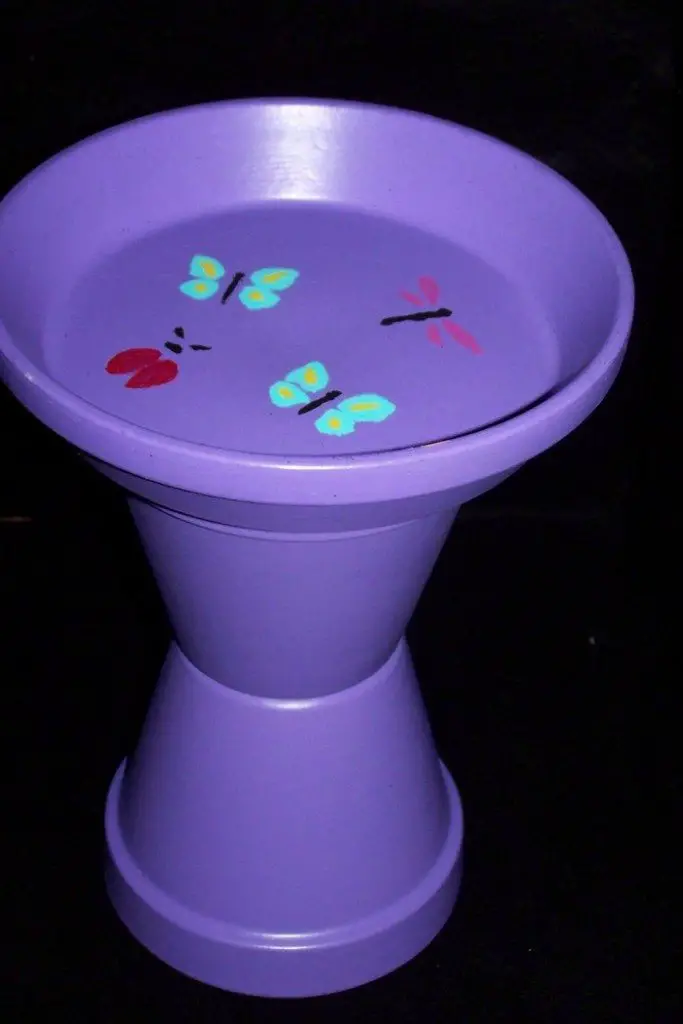
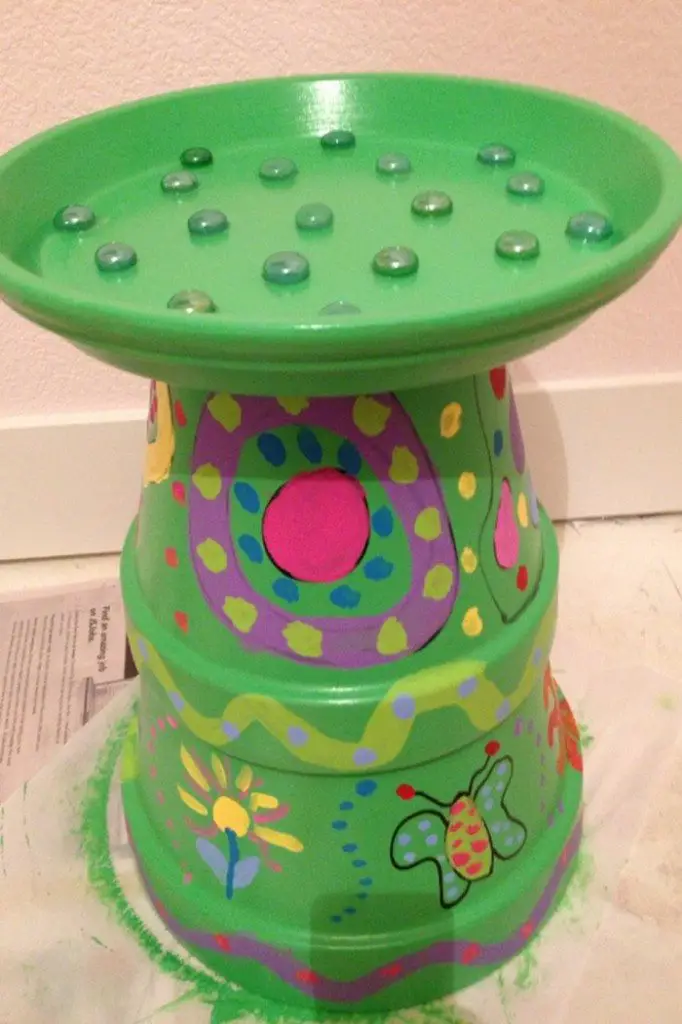
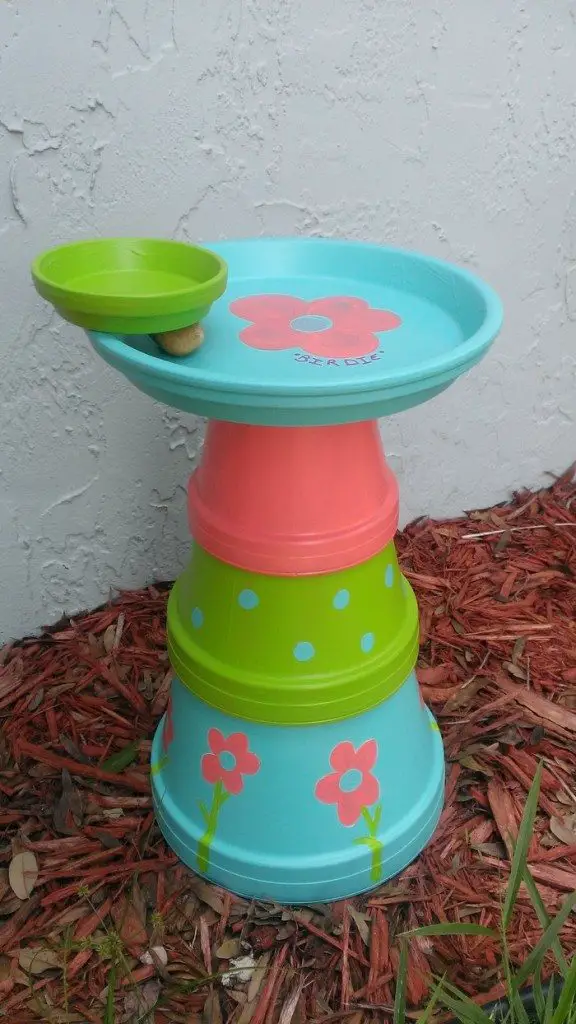
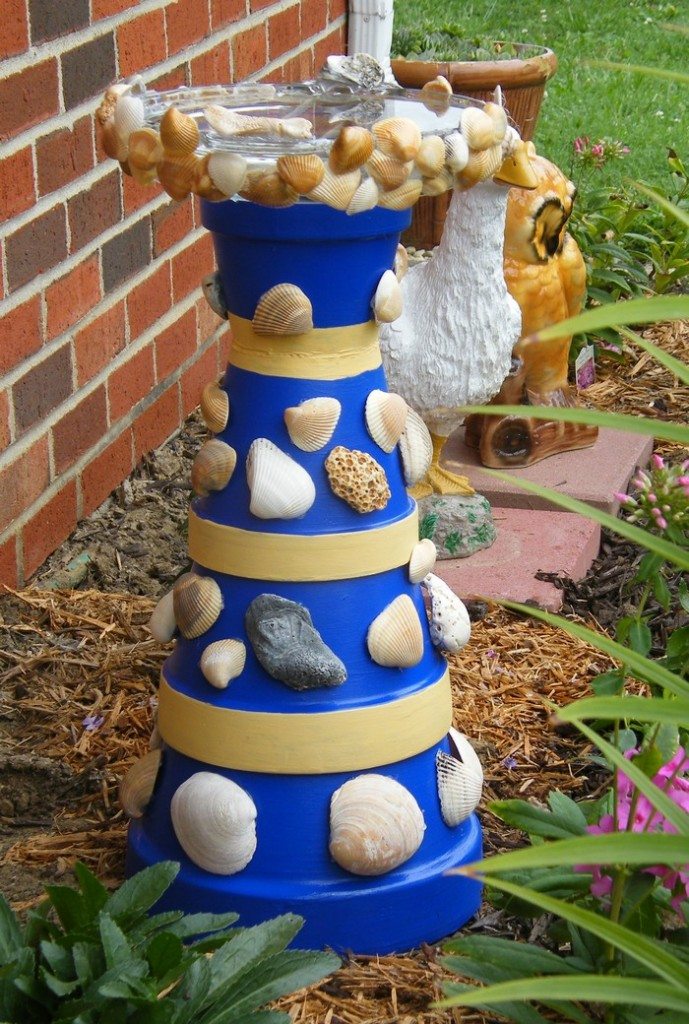
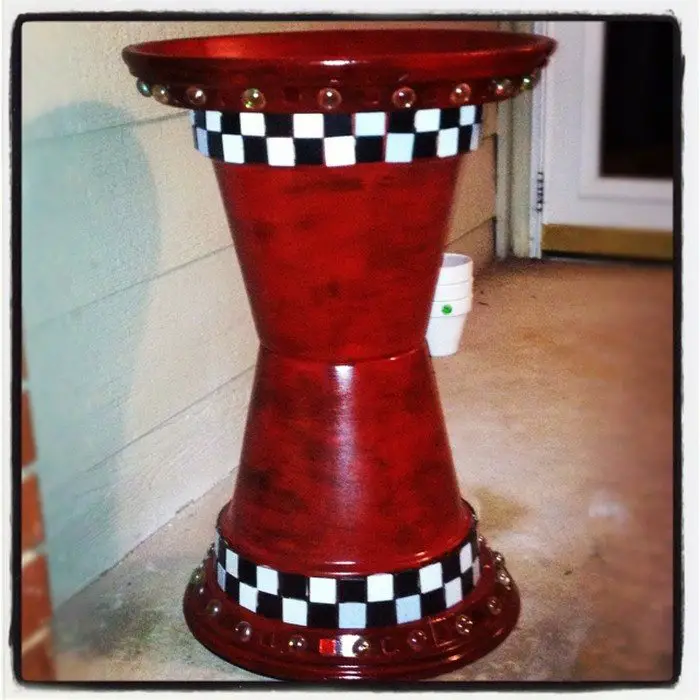
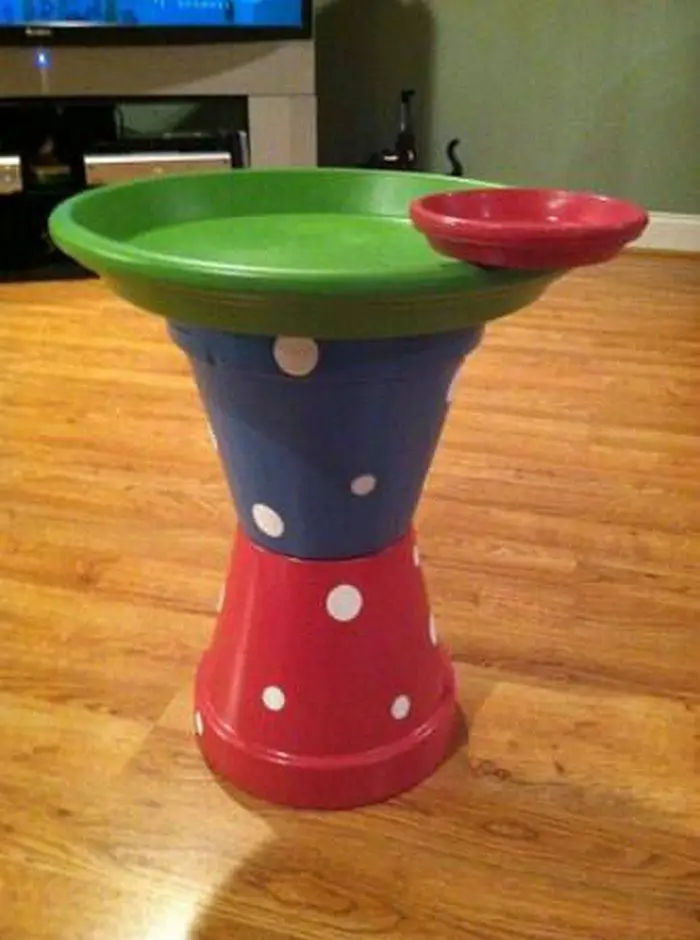
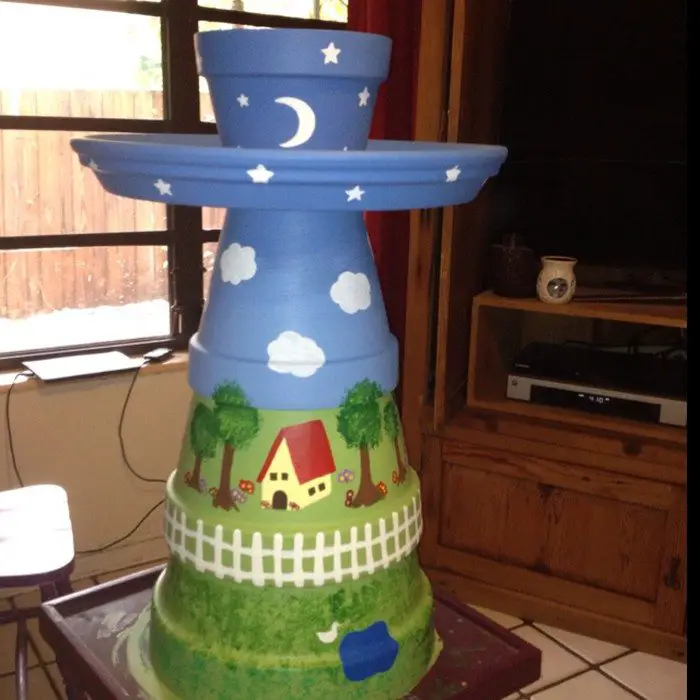
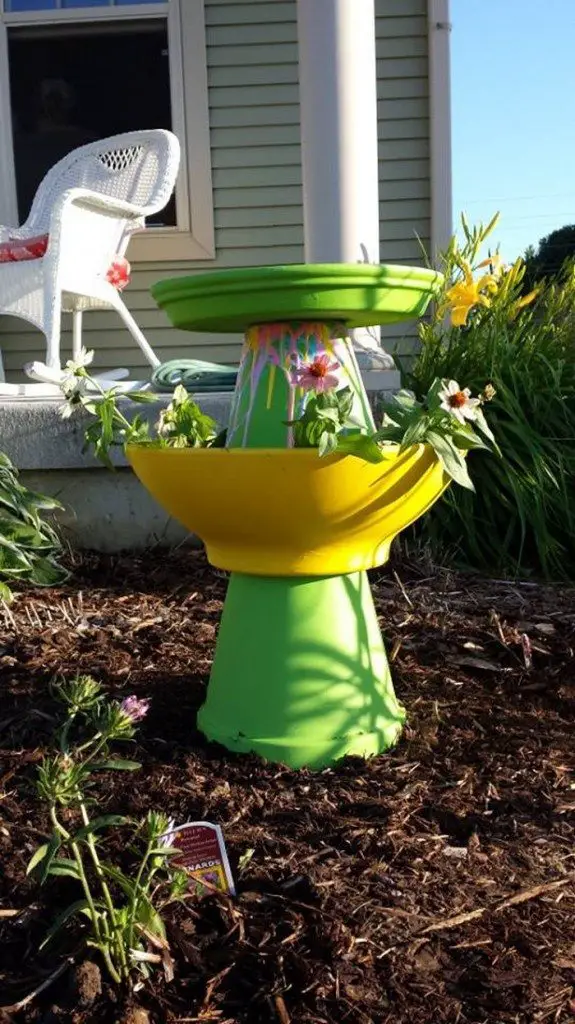
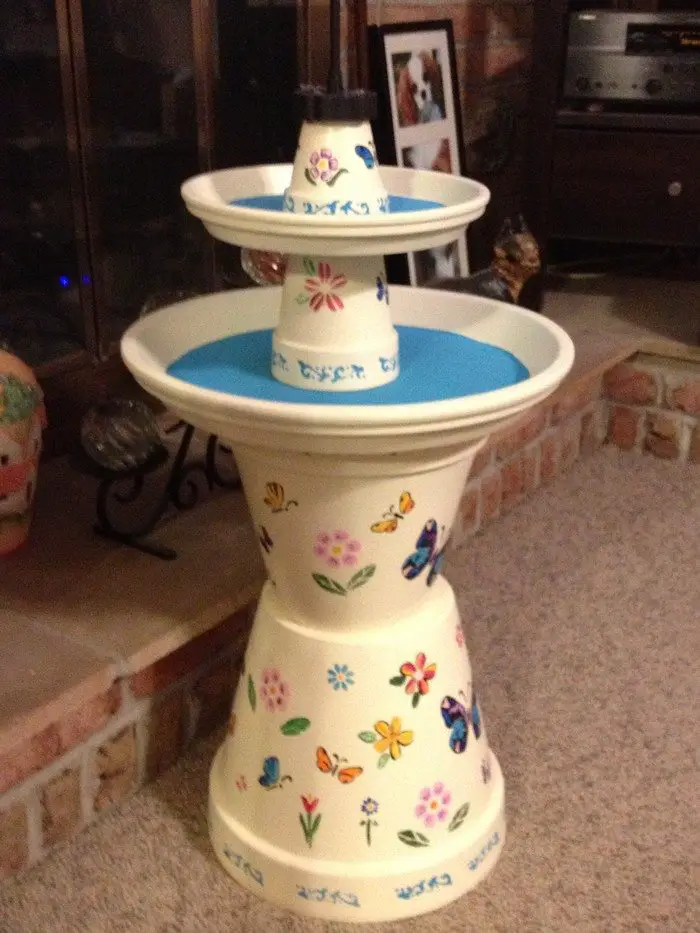
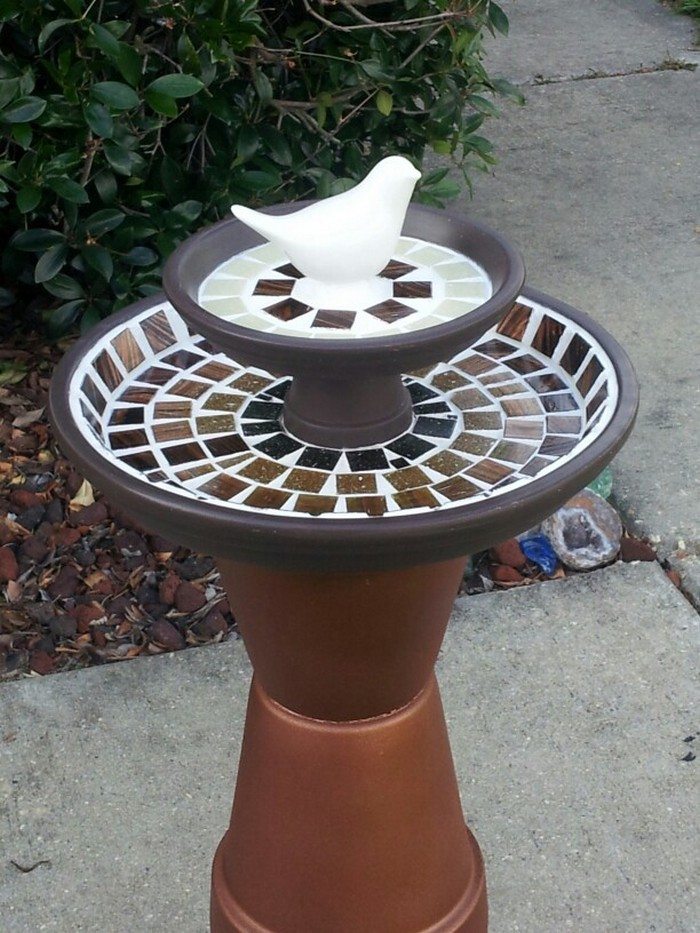
To get you inspired, we’ve collected 15 artistic and creative examples of a DIY clay pot bird bath below. Take note of the different ways the pots were put together!
A homemade bird bath is a delightful way to welcome feathered friends into your outdoor space. With a few terracotta pots, creativity, and simple DIY skills you can craft a unique birdbath that both you and the birds will cherish Terracotta pots make ideal materials for constructing an inexpensive yet beautiful bathing spot for our avian neighbors Let’s explore how to make a customized birdbath from terracotta pots.
Benefits of Using Terracotta Pots
Terracotta pots offer several advantages when building a DIY bird bath:
-
Inexpensive – Terracotta pots are an affordable option available at most gardening stores Priced as low as $1-5 each, they won’t break the bank.
-
Durable – Terracotta is hardy and weather-resistant, allowing your birdbath to withstand the elements year-round.
-
Customizable – With various sizes and shapes of pots and saucers available, you can get creative with the design.
-
Decorative – Terracotta has a nice rustic, earthy look that enhances gardens. Painting or embellishing adds more flair.
-
Porosity – The porous surface helps water evaporate, preventing mold or stagnant water from accumulating.
Overall, terracotta pots offer versatility, durability, and aesthetic appeal – ideal properties for crafting a unique backyard birdbath.
Step-by-Step Instructions
Follow these steps to make your own beautiful bird bath from terracotta pots:
Supplies Needed
- Terracotta pots in various sizes
- Terracotta saucers
- Spray paint and/or acrylic craft paint in desired colors
- Spray sealant
- E6000 glue or other strong waterproof adhesive
- Decorations like glass beads or marbles (optional)
Directions
-
Plan the design and purchase the supplies. Think about the look you want and find pots/saucers that align with your vision.
-
Wash and dry all pots thoroughly. This removes debris and ensures proper paint adhesion.
-
Paint pots and saucers with spray paint. Apply several thin coats for even coverage, allowing each coat to fully dry before adding the next.
-
Paint decorative designs if desired. You can leave as is or get creative with patterns using acrylic craft paint. Let the paint cure fully before assembling.
-
Arrange pots in desired order and glue together. Stack the pots from largest on bottom to smallest on top. Adhere saucers with strong glue.
-
Let assembly cure for at least 24 hours before handling. The glue needs proper bonding time to gain full strength.
-
Add decorative embellishments like glass beads or marbles using glue. Work in small sections, letting glue set fully before moving on.
-
Spray with sealant when completely assembled and cured. Multiple thin coats ensure weatherproofing.
-
Add water and enjoy your new birdbath! Maintain clean water to create an appealing space for birds.
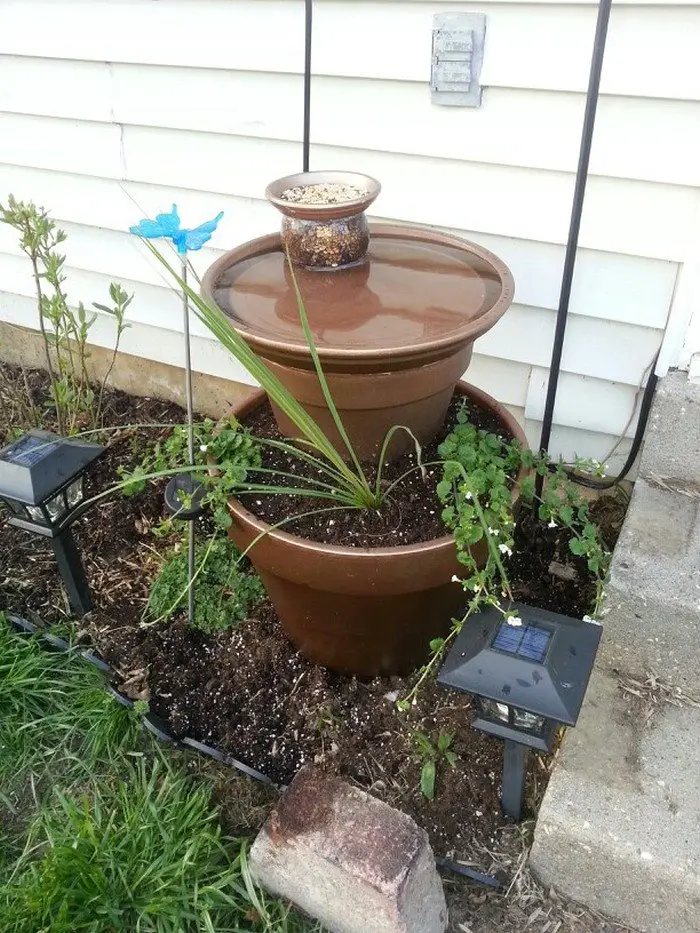
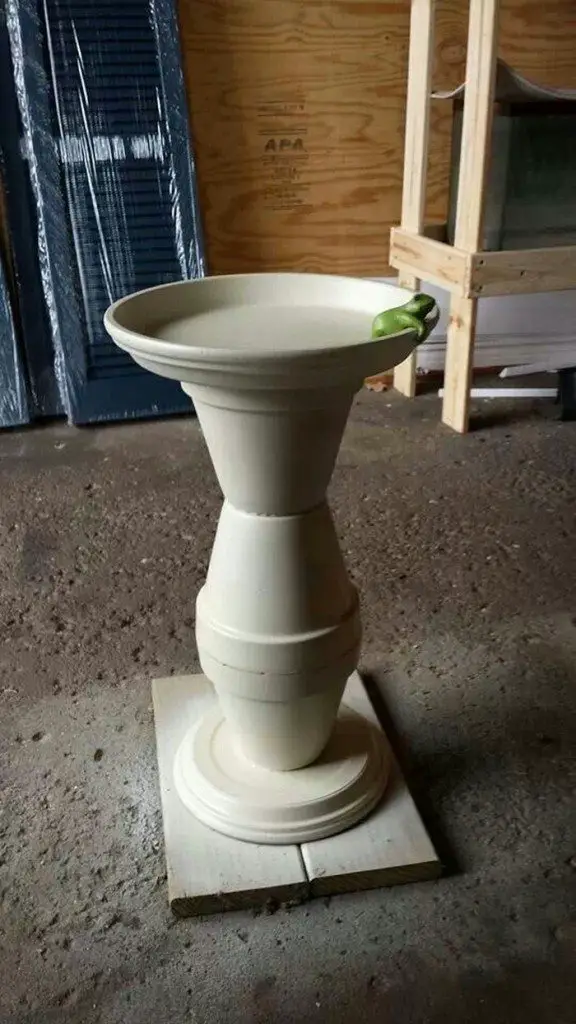
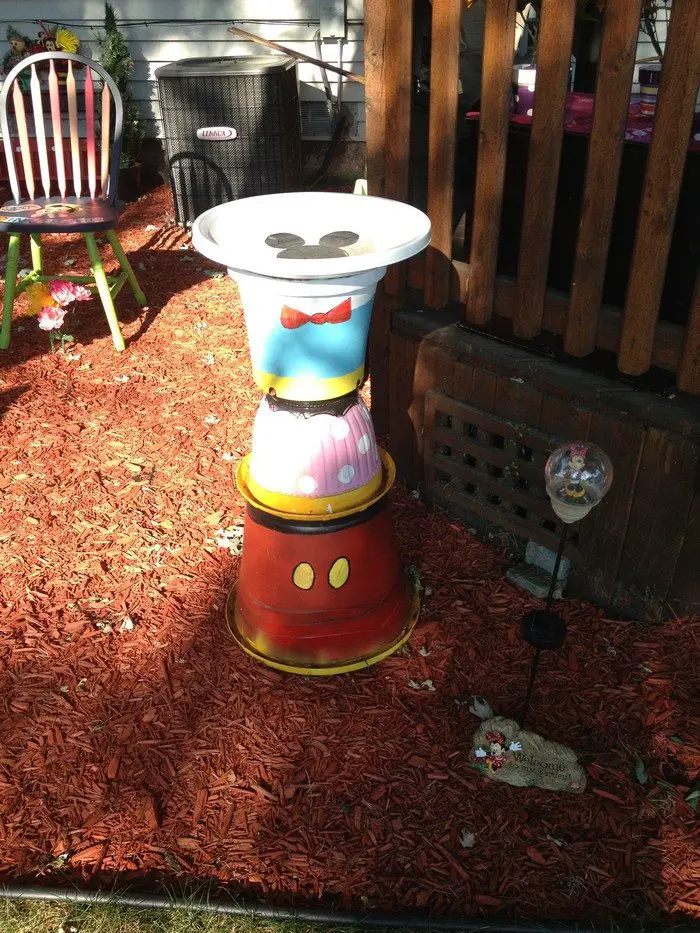
Ideas and Inspiration
From colorful mosaics to minimalist looks, get inspired by these creative ways to use terracotta pots for making baths:
-
Stack pots and saucers in alternating sizes for visual interest.
-
Paint the interior blue and add white leaf accents for a natural vibe.
-
Glue pretty glass stones, beads or marbles around the edges.
-
Use a drill to add small holes for hanging plants or decor.
-
Stencil fun shapes on pots or go for an ombre color effect.
-
Incorporate flowers, succulents or moss around the pots in the garden.
-
Use a mix of round and square pots for unique shaping.
There are so many ways to customize and make it your own. Combine colors, textures, shapes and embellishments to design a bath that showcases your personal style.
Helpful Tips for Success
Follow these tips when tackling this project:
-
Check pot and saucer sizes to ensure a stable, secure stack.
-
Use painters tape for crisp paint lines and to protect pot rims from drips.
-
Allow plenty of curing time between steps. Rushing can cause issues.
-
Add sealant to make pots watertight before gluing if stacking multiple empty pots.
-
Arrange pots on their side when adding beads to prevent sliding.
-
Use a drill with a masonry bit for clean holes in terracotta if adding hangers.
-
Consider placing pots on a patio stone or bricks to elevate above ground.
With the right supplies, patience, and techniques, you can create a stunning birdbath from terracotta pots for your backyard. The birds will thank you for providing a new spot to play, splash, and preen!
FAQs
How do I waterproof terracotta for a birdbath?
Seal terracotta pots with a waterproofing spray sealant formulated for terracotta and masonry. Apply multiple thin coats per manufacturer instructions to plug pores and prevent water absorption.
What kind of glue should I use?
Use a strong waterproof adhesive like E6000 that bonds well to terracotta and withstands moisture. Avoid basic school glues which can fail outdoors.
How do I clean and maintain a terracotta birdbath?
Empty and scrub weekly with a soft brush and mild soap to prevent algae. Refill with fresh water to give birds a clean space. In winter, bring pots indoors to prevent cracking from freeze/thaw cycles.
What if my pots don’t stack securely?
If pots are wobbly, use caulk or glue dots inside joints for stability. You can also place pots on bricks or stones first to create a more solid base.
Crafting with terracotta pots allows endless options for personalizing your unique bird bath. With some creativity and effort, you can provide birds with a beautiful handmade oasis they will appreciate.
DIY Bird Bath Enhancements
Enhancing your clay pot bird bath can make it more attractive and functional. Adding simple features can transform your bird bath into a centerpiece of your garden. Here are some creative ideas to elevate your DIY bird bath.
Add a Solar-Powered Fountain
Installing a solar-powered fountain in your bird bath adds the soothing sound of moving water, which attracts more birds. Solar fountains are eco-friendly and easy to install. Simply place the solar panel in a sunny spot and position the fountain in the center of your bird bath.
Incorporate a Drip System
A drip system can create gentle ripples in the water, attracting birds and keeping the water fresh. You can use a simple drip irrigation kit or repurpose an old hose with small perforations. Position the drip system so that it gently trickles water into the bird bath throughout the day.
Create a Multi-Level Bird Bath
For a more dynamic bird bath, stack additional saucers or pots to create multiple levels. This design accommodates different bird species and adds visual interest. Ensure each level is stable and securely attached with waterproof adhesive.
Use Decorative Stones and Pebbles
Line the bottom of the bird bath with decorative stones and pebbles. This not only adds aesthetic appeal but also provides traction for birds. Choose smooth, flat stones and arrange them in a pleasing pattern.
Add Plants for a Natural Look
Incorporate small, bird-friendly plants around the base of your bird bath to create a natural and inviting environment. Plants like ferns, hostas, or ornamental grasses can provide perches and shelter for birds. Make sure the plants don’t overshadow the bird bath or obstruct access.
Install a Heater for Winter Use
To keep your bird bath functional during winter, consider adding a bird bath heater. These devices keep the water from freezing, ensuring birds have access to fresh water year-round. Choose a heater that is safe for use in ceramic or clay baths and follow the manufacturer’s instructions for installation.
Add Colorful Mosaic Tiles
Enhance the visual appeal of your bird bath by decorating the rim and exterior with colorful mosaic tiles. Use weather-resistant adhesive to attach the tiles and grout to fill the gaps. This artistic touch can make your bird bath a standout feature in your garden.
Provide a Perch
Attach small branches or twigs around the rim of the bird bath to provide perches for birds. This allows them to rest and preen after bathing. Ensure the perches are securely attached and placed in a way that doesn’t obstruct the bird bath.
Integrate Lighting
Adding solar-powered garden lights around your bird bath can create a beautiful nighttime display. Position the lights to highlight the bird bath without disturbing the birds. This also adds a magical touch to your garden during the evening.
By incorporating these enhancements, you can create a bird bath that not only attracts birds but also becomes a beautiful focal point in your garden.
Building a Bird Bath From Terra Cotta
- 14-inch Terra Cotta Saucer
- 12-inch Terra Cotta Saucer
- 3 pcs, 8-inch Terra Cotta Pots
- Apple Green Spray Paint
- 1 bag of Flat-backed Glass Marbles
- Plumbers Goop
Step 1: Prepare Your Workspace
Work in a well-ventilated area—probably outdoors or in a garage with the door open. To guard your workstation from paint and glue, lay down newspapers or a drop cloth.
Step 2: Clean the Terra Cotta Pots and Saucers
To get any dust or debris off the pots and saucers, wipe them clean with a moist towel. Let them dry totally before moving forward.
Step 3: Paint the Pots and Saucers
Thoroughly shake the Apple Green Spray Paint. Spray paint on the 12-inch saucer and the three 8-inch terra cotta pots in a light, equal coatings. The 14-inch saucer will be the bird bath basin; leave it unpainted. After the paint dries totally, apply a second coat if needed for total coverage. Let the saucers and pots dry for minimum 24 hours.
Step 4: Assemble the Base
Set one of the 8-inch pots upside down on your work surface. Around the pot’s rim, apply a liberal layer of Plumbers Goop. Top the first pot with the second 8-inch pot upside down so the rims line exactly. To help the glue set, press hard and hold for a few minutes. Apply Plumbers Goop all around the second pot’s rim; then, top with the third 8-inch pot inverted. Press and hold tightly. To guarantee a firm bond, let the glue set for minimum twenty-four hours.
Step 5: Attach the 12-inch Saucer
Apply Plumbers Goop to the bottom of the third pot—which is top of the stacked pots—once the pots are firmly bonded together. Press firmly after centering the 12-inch sacer atop the third pot. Hold for few minutes to let the adhesive set. Let the assembly cure for minimum twenty-four hours.
Step 6: Decorate with Glass Marbles
You can begin decorating the 14-inch sacer once the assembly has completely cured. Treat every glass marble’s flat surface with plumbers’ goop. Press the marbles in a decorative design of your choice onto the rim and within the 14-inch saucer. This will give your bird bath some glitz and colour. Let the glue absolutely dry.
Step 7: Final Assembly
Top the 12-inch sacer with the 14-inch saucer. Standing on the 12-inch saucer, the 14-inch saucer—which functions as the bird bath basin—is elevated. Before submerging the assembly under water, make sure it is sturdy and safe.
Step 8: Position Your Bird Bath
Decide where in your garden would be appropriate for your new bird bath? It should be a shady space away from predators and to help to keep the water cool. To stop the bird bath from toppling over, set it on a level platform.
Step 9: Fill with Water and Enjoy
Top the 14-inch saucer with fresh, pure water. See birds flocking to take advantage of their fresh bath. Change the water often to maintain its cleanliness and appeal for your feathery companions.
Click on any to start lightbox display. Use your Esc key to close the lightbox.![]()
You can get more step-by-step instructions here…