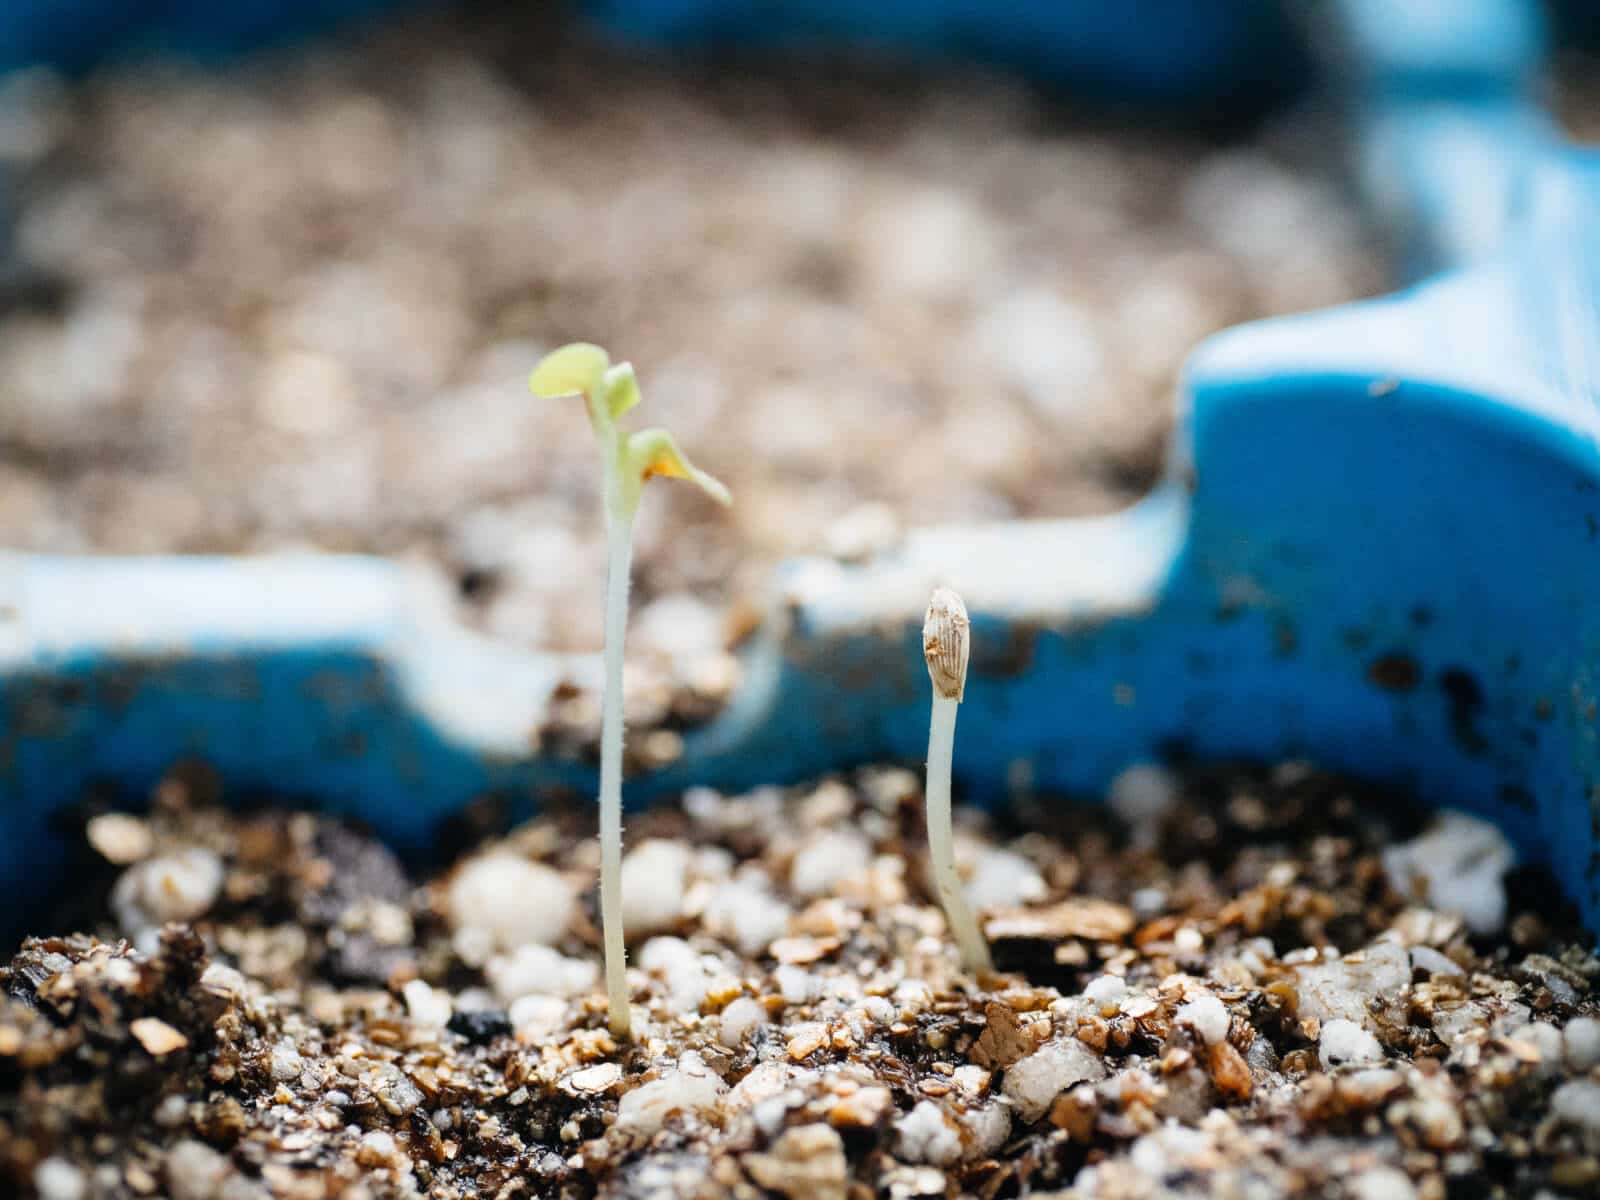
If you’ve ever purchased potted plants or veggie starts, or opened a bag of commercial potting mix, you may have noticed tiny white balls in the soil that look like Styrofoam bits.
These white balls are actually important soil components called perlite, and they’re not simply fillers or artificial rocks as some people might believe.
First, let’s go over what perlite isn’t: Perlite is not a type of soil, it’s a soil additive that can also be used as a growing medium.
Perlite is not a fertilizer, and has no nutritional or microbial value to plants or soil. Its benefits are derived solely from keeping the soil structure loose and light.
What perlite is: an inorganic, non-toxic, lightweight soil amendment. But don’t let the “inorganic” part dissuade you if you’re an organic gardener! (More on that below.)
Also known as expanded pyrite, perlite is a mined volcanic rock that is mixed into many industrial building products for stability, such as masonry construction, loose-fill insulation, cement, and plaster. It’s also used as filter media for swimming pool filters, and as a filter aid for beverages (like juices, beer, and wine) and for waste water.
In the gardening world, perlite is used to improve soil structure by providing drainage and aeration. “Air for the soil” is what I like to call it, and it’s the next best thing to compost for circulating air between the roots for strong, healthy plant growth.
Look under a microscope and you’ll find that perlite is filled with many tiny cavities that hold water (like a sponge), making it efficient at delivering moisture to plant roots. All these nooks and crannies enable perlite to hold three to four times its weight in water.
It’s also capable of storing nutrients for a short period when they otherwise might wash away immediately.
At the same time, the cavities mean perlite is quite porous, so it drains excess water more readily than vermiculite and other potting media. This is a good thing, since keeping your soil from becoming waterlogged is the number-one way to prevent root rot and fungal diseases.
Disclosure: If you shop from my article or make a purchase through one of my links, I may receive commissions on some of the products I recommend.
Perlite is a popular soil amendment used by gardeners and indoor plant enthusiasts. But can you put perlite on top of the soil? In this article, we’ll take an in-depth look at using perlite as a top dressing and examine the pros and cons.
What is Perlite?
Perlite is a volcanic rock that has been superheated to form small lightweight white particles containing lots of tiny air pockets. It’s an inorganic sterile, and pH neutral growing medium.
The main benefits of perlite are
- Improves aeration and drainage
- Helps prevent soil compaction
- Allows better water retention
- Promotes healthy root growth
It’s most commonly used in seed starting mixes, container gardening, and hydroponics. Perlite is available at most garden stores and nurseries.
Top Dressing With Perlite
Applying perlite as a top dressing directly onto the soil surface is a popular way to use it Here are some of the main advantages of using perlite as a top dressing
-
Enhances drainage – The perlite will create air pockets between the soil particles, allowing excess water to drain away more freely. This helps prevent soggy soil and root rot.
-
Reduces soil compaction – Over time, regular soils can become compressed, limiting air circulation. A perlite top dressing keeps the surface soil loose.
-
Insulates soil – The white color of perlite can help reflect heat and light, protecting plant roots. This is especially helpful for container gardens.
-
Suppresses weeds – Spreading perlite across the top of garden beds can block light from reaching weed seeds. It provides a blank canvas for your plants.
-
Conserves moisture – While allowing drainage, perlite also helps retain moisture at the surface where plant roots can access it. Less water evaporates from the soil.
-
Safe for plants – Perlite has a neutral pH and won’t alter the soil chemistry. It’s sterile and won’t promote disease.
How Much Perlite to Use as a Top Dressing
When using perlite as a top dressing, there are a couple of guidelines to follow:
-
For containers, apply a layer 1⁄4 to 1⁄2 inch deep. For in-ground gardens, a thinner 1⁄8 to 1⁄4 inch layer is usually sufficient.
-
Concentrate the perlite around the base of each plant, as this is where the feeder roots are located. There’s no need to spread it across the entire surface.
-
Add more perlite to the soil surface each time you replant containers or beds. Over time it will get mixed in with the underlying soil.
-
When top dressing seedlings or freshly transplanted plants, use a thinner layer of 1⁄8 inch so the tender roots aren’t smothered.
-
For succulents and cacti that require fast drainage, use a deeper 1⁄2 to 1 inch layer.
The perlite layer doesn’t need to be perfectly even. Apply it by hand and lightly rake it out. Focus on where it’s needed most around each plant.
Pros and Cons of Using Perlite as a Top Dressing
Let’s summarize the main advantages and disadvantages of using perlite as a soil top dressing:
Pros:
- Improves drainage
- Reduces compaction
- Insulates soil
- Conserves moisture
- Suppresses weeds
- Safe for plants
Cons:
- Can blow away in windy areas
- Appearance – some gardeners don’t like the white color
- Need to reapply periodically
- Provides no nutrition (need to fertilize)
To avoid the perlite blowing away, make sure to water it gently at first to moisten and settle it into the soil surface. Sheltered gardens are ideal.
While perlite has a dull white appearance, this can be alleviated by applying a thin layer of mulch over the top. Bark chips, gravel and other decorative toppings will hide the perlite underneath.
Overall, the benefits of using perlite as a top dressing outweigh the minor drawbacks. The improved drainage and aeration it provides makes it a useful amendment for most gardens and container plantings.
Alternatives to Perlite Top Dressings
If you choose not to use perlite or it’s unavailable, here are a few suitable alternatives:
-
Pumice – Small gravel-like particles that create excellent aeration and drainage. It’s heavier than perlite.
-
Vermiculite – Absorbs and retains more moisture than perlite. Use for moisture-loving plants.
-
Sand – A cheap option but doesn’t provide as much drainage and air space as perlite.
-
Calcined clay – Granular particles like kitty litter but made from baked clay. Improve drainage while adding weight for stability.
-
Coconut coir – Made from coconut husks and available as a fine textured mulch. Will retain moisture well.
-
Leaf mold – Partially decomposed leaves make a lightweight organic mulch full of nutrients.
Using Perlite in Potting Mixes
While perlite works great as a top dressing, it’s also commonly mixed into potting soils and DIY potting mixes.
The general recommendation is to use perlite and organic materials in a ratio of 1:1 or 1:2. Some examples:
- 1 part perlite : 1 part potting soil
- 1 part perlite : 2 parts peat moss
- 1 part perlite : 2 parts compost
When making your own mix, aim for perlite to comprise 20-30% of the total volume. This creates the ideal balance of drainage, aeration and moisture retention.
Be sure to mix thoroughly so the perlite and other ingredients are evenly distributed. This will provide proper drainage throughout the container, rather than just at the bottom.
Troubleshooting Perlite Issues
Using perlite does come with a few minor challenges. Here are some troubleshooting tips:
Problem: Perlite floating to the top of pots after watering.
Solution: Gently poke it back down into the soil. Adding a thin layer of mulch over the top will help hold it in place. Use a courser grade perlite next time.
Problem: White perlite showing through dark soils.
Solution: Cover with mulch or mix a small amount of soil into the perlite before top dressing. For pots, choose a container with a similar color to the perlite.
Problem: Perlite blowing away outdoors.
Solution: Apply during calm weather and water gently to settle it into the soil. Or switch to a heavier top dressing like pumice or gravel.
Problem: Difficult handling the tiny perlite particles.
Solution: Practice wetting hands frequently to avoid particles sticking to fingers. Use a tray to scoop and transport perlite. Apply top dressings directly from the bag instead of a secondary container.
Perlite is a versatile soil amendment that can be used as an effective top dressing to improve drainage, decrease compaction, and promote healthy plant root systems. Focus on applying it around the bases of plants where the roots are located.
When mixed into potting soils at 20-30% volume, perlite creates an ideal growing medium. Troubleshooting perlite issues is easy with some minor adjustments. With proper use, perlite can help improve the growth of all types of container and garden plants.

To aerate garden soil
In raised beds or in-ground garden beds that have trouble with cakey clay soil, you can improve drainage by raking in a 2-inch layer of perlite into the top 6 to 12 inches of soil, at the same time you amend the soil with compost and other nutrients.
In heavier soils, try adding perlite to your garlic planting beds in fall, as the perlite helps keep bulbs from being waterlogged in winter and spring. Perlite also helps the soil dry out in the week or two before your garlic crop is ready for harvest.
Because it doesn’t break down, a single application of perlite can keep the planting bed light and loose for several years! (Over time, other organic matter like compost, mulch, and root systems will change the soil composition naturally.) It was my “secret ingredient” during my years of gardening in Southern California, when I needed something more than just compost to break up all the hard dirt clods in our beds.
Does perlite cause fluoride burn in plants?
There’s a rumor that perlite is responsible for fluoride burn in houseplants, which appears as brown leaf spots or scorched leaf tips in susceptible plants like dracaena, spider plants, and Easter lilies.
If you’re using a commercial potting soil that contains perlite, however, the chances of that happening are very slim.
Fluorine toxicity can be caused by many things, including fluoridated water, superphosphate fertilizers, low soil pH, and other environmental conditions that have little to do with potting medium that simply has perlite in it.
5 quick tips Perlite
FAQ
Should I put perlite on top of soil?
Putting perlite on the top isn’t going to accomplish much. The point of perlite is aerating the soil. To aerate the soil it needs to be mixed in.
How do you add perlite to existing soil?
Place a generous layer of a mixture of 1/2 perlite and 1/2 peat moss or compost and mix into soil. (If the soil is already rich in organic matter, the peat or compost may be eliminated.) If the garden area is very large, the home gardener may condition only the rows or areas where planting is to take place.
When not to use perlite?
However, using perlite in excess creates large dust clouds, so it might not be the best choice for those with asthma. Additionally, perlite contains fluoride. Because some plants seem to be sensitive to fluoride, you might prefer to use a different material if you are caring for the following plants: Spider plants.
What are the disadvantages of perlite?
-
Non-Renewable Resource:Perlite is derived from volcanic rock and is a non-renewable resource, unlike some organic alternatives.
-
Dust and Irritation:Perlite can be dusty, potentially causing respiratory irritation, skin irritation, and eye irritation, especially when working with it in large quantities.
-
Nutrient Retention:Perlite doesn’t hold onto nutrients well, meaning plants may require more frequent fertilization when grown in perlite-amended soil.
-
Lightweight and Transport:Perlite is lightweight, which can be an advantage in some cases, but also means it can easily be blown away or float to the top of the soil, especially in containers or raised beds.
-
Potential for Clogging:While perlite is coarse, it can still be granular enough that solids loading and even plant roots can cause clogging in certain applications, particularly in hydroponic systems.
-
Algae Growth:Perlite can be prone to algae growth, which can foster both fungal gnat and irrigation issues.
-
Not Ideal for Flood-and-Flush Systems:Perlite’s lightweight nature and tendency to float make it unsuitable for flood-and-flush hydroponic systems.
-
Potential for Compaction:While perlite is good for aeration, it can still compact over time, reducing its effectiveness.
-
Cost and Availability:Perlite can be expensive or difficult to find, depending on the location and supplier.
-
Damage to Sensitive Parts of Machines:Perlite can cause issues in some automatic transplantation machines, potentially damaging sensitive parts due to its coarseness.
-
Blunts Knives:Perlite’s coarseness can blunt knives used for cutting out cuttings during the propagation phase.