How to draw a realistic jingle bell! Now, this lesson may look challenging, but we’re going to take it one step at a time. It’ll shock you how easy this lesson actually is.
The sound of jingle bells is synonymous with the holiday season. Their cheerful tinkling instantly evokes images of Santa’s sleigh festive decorations and joyful celebrations. Though jingle bells may seem simple in design, drawing them can be tricky for beginning artists. In this step-by-step guide, we’ll walk you through the process of illustrating a basic jingle bell using simple shapes and lines. With a little practice, you’ll be able to add some festive flair to your holiday drawings and cards.
Supplies Needed
- Paper
- Pencil
- Eraser
- Ruler (optional)
Before we begin, make sure you have some paper, a sharp pencil, and an eraser on hand. A ruler can come in handy for drawing straight lines, but it’s not essential for this project
Step 1: Draw a Circle
We’ll start our jingle bell by drawing a circle. This will form the main body of the bell. Lightly sketch a circle near the center of your paper. Don’t worry about making it perfect right now—we can adjust and refine the shape in later steps.
Step 2: Add a Smaller Circle at the Top
Now we’ll draw a second, smaller circle at the top of the bigger circle. This will create the open, dome-shaped top of the bell. Position it so the edges overlap the bigger circle slightly. The size of this circle will affect the proportions of your bell, so you may need to erase and redraw it a few times until you’re happy with the look.
Step 3: Connect the Circles with Lines
Lightly sketch two straight lines connecting the edges of the smaller and larger circles. This forms the tapered shape of a bell. The lines do not have to match exactly; some difference in length gives the bell an organic, hand-drawn look.
Step 4: Draw the Handle
On one side of the bell, sketch a rectangle extending from the body. This is the bell’s handle. Make it somewhat narrow in relation to the size of the bell. Don’t worry if your lines are a little wobbly—this adds character.
Step 5: Add Dimension with Shadows
At this point, we have the basic shape of our jingle bell. Now we can start adding dimension and texture. Lightly shade the area underneath the handle and the interior of the bell. Try using curved, parallel strokes to indicate the rounded surface of the bell.
Step 6: Draw Decorative Lines
Jingle bells often have decorative lines etched around the surface. Using your ruler, draw several straight lines circling the bell, spaced evenly apart. You can add curves and angles for visual interest. Erase any excess pencil lines outside the bell.
Step 7: Add Details and Shading
To give our bell more polish, reinforce the outline with darker, more deliberate pencil marks. Add details like a screw or fastener on the handle. Shade the edges and curve of the bell to accentuate its spherical form. Erase any visible sketch lines within the bell.
Step 8: Finish with Dark Shadows and Highlights
For extra dimension, shade the interior of the bell with slightly darker pencil marks, leaving a bright highlight along one side. Darken the handle and the area beneath it for contrast. Add any final details, like light reflective marks along the edges.
And there you have it—a simple yet festive jingle bell drawing! With a solid understanding of basic shapes as a guide, you can start sketching all kinds of bells. Vary the proportions, add clappers, bows, or other embellishments. The options are endless. So grab your pencil and get those creative jingle bell juices flowing!
Here are some additional tips to take your jingle bell illustrations to the next level:
Consider Line Quality
- Loopy, fluid lines evoke the soft curves of a fabric bell
- Short, sketchy strokes imitate the texture of hammered metal
- Clean, precise lines reflect the smooth surface of glass or plastic
Play with Proportions
- Long, narrow bells have a tapered, cone-like shape
- Short, squat bells look full and round
- Exaggerated handles add whimsy
Include Unique Details
- Etch names, dates, or messages for personalized flair
- Add a clapper inside for added realism
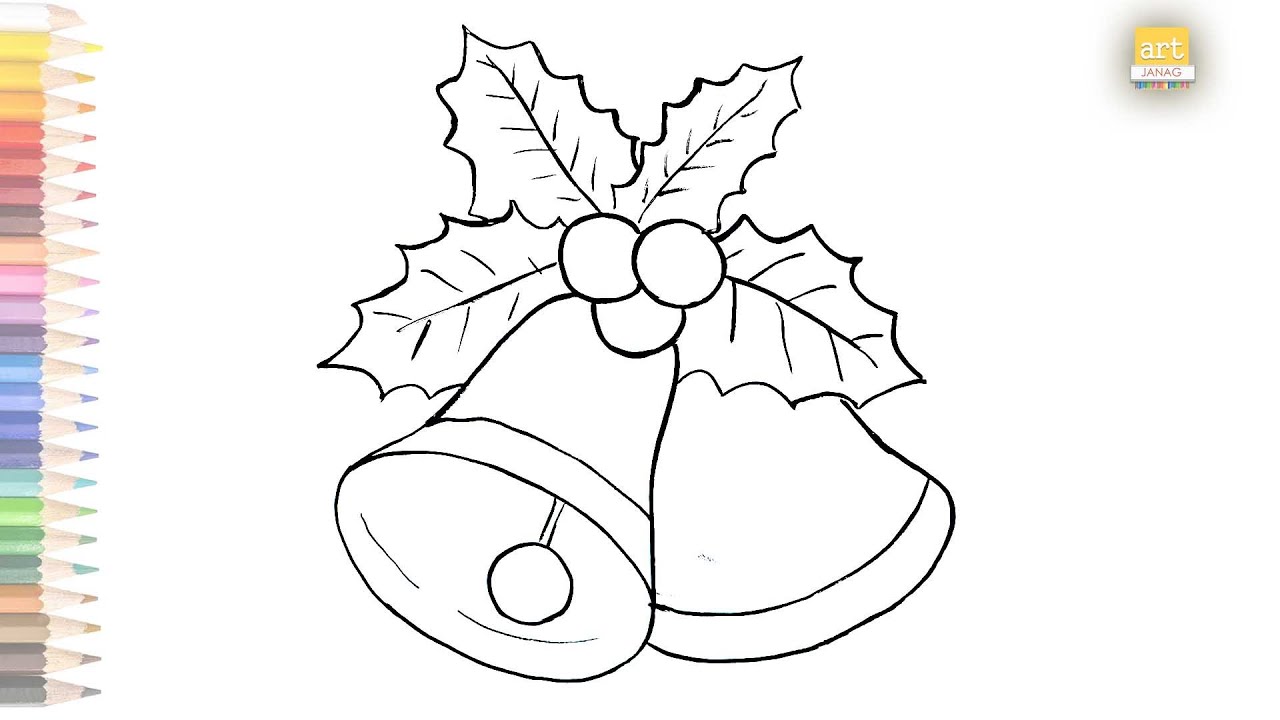
- Incorporate bows, holly, or other embellishments
Practice Shading
- Lightly shade the interior to convey a 3D, spherical form
- Darken overlaps and shadows for greater depth
- Leave bright highlights along edges to imitate sheen
Use Color
- Red and green bells evoke classic holiday hues
- Metallic gold and silver capture shiny decorations
- Unexpected colors like purple or blue are fun too!
With the right approach and a little imagination, you can take a basic jingle bell sketch and transform it into a lively, unique illustration. The cheerful sound of jingle bells may only ring out for one season, but with your creativity, you can capture their magical spirit in your drawings all year round.
How to draw a Jingle Bell Step by Step | Jingle Bell Drawing Lesson
FAQ
How to make jingle bells easy?
- Step 1- Find and cut your soda cans: If your family is anything like mine- you have soda cans in your house! …
- Step 2 – CAREFULLY cut the soda cans: Ok… …
- Step 3 – Paint and assemble your jingle bell. …
- Step 4 – Add your topper, and decide where your Jingle Bell Soda Cans are going:
What did the original jingle bells mean for slavery?
The sound of the bells, the awkwardness of the scroll pieces, and the heavy weight of the collar were all a deterrent to escape. This collar with bells would have been used to deter enslaved men and women from attempting to escape to freedom.