In this quick tutorial youll learn how to draw an Eucalyptus Tree in 5 easy steps – great for kids and novice artists.
The s above represents how your finished drawing is going to look and the steps involved.
Below are the individual steps – you can click on each one for a High Resolution printable PDF version.
Make sure you also check out any of the hundreds of drawing tutorials grouped by category.
Eucalyptus trees, commonly known as gum trees, are iconic symbols of Australia With their tall, straight trunks, bushy canopies, and peeling bark, they are easily recognizable. Learning to draw a eucalyptus tree is a great way to capture the unique beauty of these trees and create an Australian landscape scene. In this step-by-step guide, we will walk through the process of drawing a eucalyptus tree using simple shapes and lines
Gather Your Drawing Materials
Before starting any drawing project, make sure you have the right materials on hand. For drawing a eucalyptus tree, you will need:
-
Paper – Blank white paper or sketchbook paper works best, Try to use heavier paper that can handle erasing and blending
-
Pencil – HB and 2B pencils are good options. HB is used for lighter sketching and 2B for darker shading.
-
Eraser – A kneaded eraser is helpful for lifting graphite smoothly.
-
Blending stump or tissue – Used to blend and soften pencil strokes.
Once you have gathered your materials, you are ready to start sketching your eucalyptus tree!
Sketch the Basic Tree Shape
Let’s begin by lightly sketching the basic shape of the tree using simple lines and shapes:
-
Draw a straight vertical line near the center of your paper. This will be the trunk. Leave plenty of room at the top for the canopy.
-
At the bottom of the trunk line, draw a slightly curved horizontal line representing the ground.
-
On the left side of the trunk, sketch a sideways teardrop shape. This will be the basic shape for the left side of the canopy.
-
On the right side, draw another teardrop shape that mirrors the left side.
-
Connect the points of the teardrops with curved lines to complete the basic outline of the canopy.
-
Draw two straight lines descending from the bottom of the canopy shape to indicate thick branches.
Take your time with the initial outline. It helps to lightly sketch the shapes and lines so you can adjust and erase as needed.
Refine the Trunk and Branches
With the basic tree sketched, we can start refining the details. Let’s work from the bottom up:
-
Widen the trunk at the base where it meets the ground. Eucalyptus trunks tend to be thicker near the base.
-
On the two main branches, draw a “V” shape fork where smaller branches will connect.
-
Add more “V” shaped forks along the main branches for smaller branching.
-
Draw the branches tapering in width and length as you move up the tree.
-
Erase any unnecessary sketch lines in the trunk and branches.
Take your time detailing the trunk and branches. Consider adding knots, bumps, or gnarly textures to show the aged, weathered look of eucalyptus bark.
Draw the Canopy and Foliage
Now we can bring the canopy to life:
-
On the ends of the branches, draw small “V” shapes to represent twigs and stems.
-
Draw leaf clusters at the ends of the twigs using short, scribbly lines. Keep the leaves sparse near the tips.
-
Move down each branch, adding more leaf clusters. Overlap the leaves around the branches to give a 3D effect.
-
Try varying the shapes and sizes of the leaf clusters. Eucalyptus leaves can be round, oblong, or spear-shaped.
-
Add a few leaves along the upper part of the trunk for variety.
The foliage is what gives the eucalyptus tree its iconic bushy canopy look. Take your time scribbling and shading the leaves.
Add Shadows and Ground Details
The final steps are adding shadows and ground details:
-
Lightly shade the side of the trunk facing away from the light source. Darken the shadows where branches intersect.
-
Shade larger patches beneath the tree canopy to show cast shadows.
-
Draw choppy grass, pebbles, or dirt at the tree base. Add a few rocks if desired.
-
With a kneaded eraser, lighten any distracting sketch lines or smudges.
-
Darken and refine any details as needed with your 2B pencil.
The shadows help ground the tree and emphasize the light source. Don’t forget to sign your finished artwork!
Tips for Drawing Eucalyptus Trees
Here are a few quick tips to help you succeed when drawing eucalyptus trees:
-
Study reference photos so you understand the proportions and structure.
-
Start with light sketch lines to map out the basic shape.
-
Draw the trunk and branches first, then add foliage on top.
-
Overlap leaf clusters around branches to show depth.
-
Vary the leaf shapes and sizes for realistic variety.
-
Use strong cast shadows below the canopy.
-
Take your time and pay attention to the details!
With a bit of practice and patience, you will be drawing fabulous eucalyptus trees. The unique details are what brings these iconic trees to life on paper.
Now that you know how to draw a basic eucalyptus tree step-by-step, try experimenting with different shapes, poses, or styled renditions. You could draw a eucalyptus grove, lone desert eucalyptus, or even an imaginative rainbow eucalyptus! Let the creative ideas flow and enjoy bringing these classic Australian trees to life through drawing.
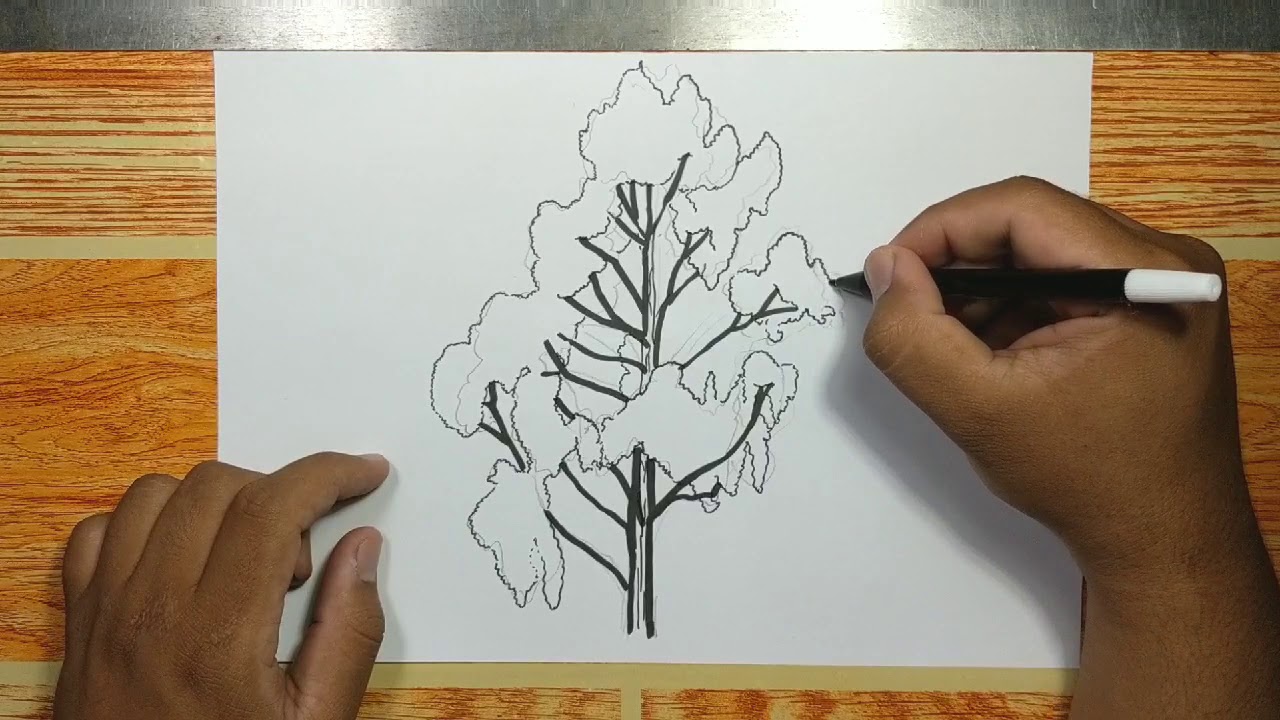
How to Draw an Eucalyptus Tree – Step-by-Step Tutorial
Step 1: To start, draw the roots. In a very close small bundle, draw a few small wavy slanted lines that are all connected at the top.
Step 2: Now, draw the trunk. From the very far left root, draw a straight line going up. Draw another straight line going up from the very far right root but make this line a little bit longer.
Step 3: Next, draw the branches of the tree. On the right side of your trunk toward the top, draw a small line coming straight out. Draw a long line slanting upward, coming out of your last line. In the middle of this line, draw a little line that curves outward. On the left side of your trunk, draw a small slanted line coming out with another slanted line a little space out from that one. At the top of the right side of your trunk, draw a small curved out line. Draw another curved out line the opposite direction from the last branch you drew on the left side. In the middle of your two curved lines, draw a âVâ.
Step 4: Then, draw the twigs coming off of the branches. Draw small âVâsâ at the end of all your branches. In the middle of the left side of your trunk, draw a curved line coming out but leave a gap in the middle. At the top of your gap, draw a small curved line going out in the same direction as your last curved line.
Step 5: Lastly, draw the leaves. Where you left your gap in one of your twigs, draw a small circle but instead of using a line, use little humps to create your circle. Draw big and little different types of shapes using small humps, coming out of the end of your branches and twigs.
How to draw EUCALYPTUS TREE step by step
FAQ
What does eucalyptus symbolize?

Eucalyptus symbolizes protection, strength, and renewal. Its aromatic leaves and resilience in various environments contribute to these meanings.
Are eucalyptus trees easy to grow?
IS IT EASY TO GROW EUCALYPTUS FROM SEED? In theory, yes. Eucalyptus needs light, water, and heat like any other cut flower. In practice, there are things that make it especially challenging in a cold climate and short growing season. For one, eucalyptus needs around 200 days to mature.
Where do rainbow eucalyptus trees grow in the USA?
Eucalyptus deglupta trees have been spotted in Hawaii and the southern parts of California, Texas, and Florida. However, as the U.S., is not the tree’s native environment (and the ones here were planted by seeds brought from other parts of the world), they typically only reach heights of 100 to 125 feet.