The first time I ever tried rhubarb, it was a squishy mess inside a pie at a chain restaurant somewhere. I never wanted to eat it again.
That all changed the summer I moved to Alaska, when my parents convinced me to try the pie at a quaint local establishment, with the best view ever of the surrounding mountains and the Matanuska Glacier.
Because of the breathtaking view plus gasp-worthy pie combo, we visit as often as we can.
We link to vendors to help you find relevant products. If you buy from one of our links, we may earn a commission.
Now an enthusiastic rhubarb convert, the sweet, tart tang of the red-green stalks haunted my winter dreams and made me ache for summer. Even though all of my friends had pie-plant patches in their gardens, I still didn’t.
That’s when I realized that I needed to grow rhubarb in containers at home during the winter.
My state may freeze for over half the year, but that doesn’t mean I can’t get a head start on growing my favorite pie filling in the world.
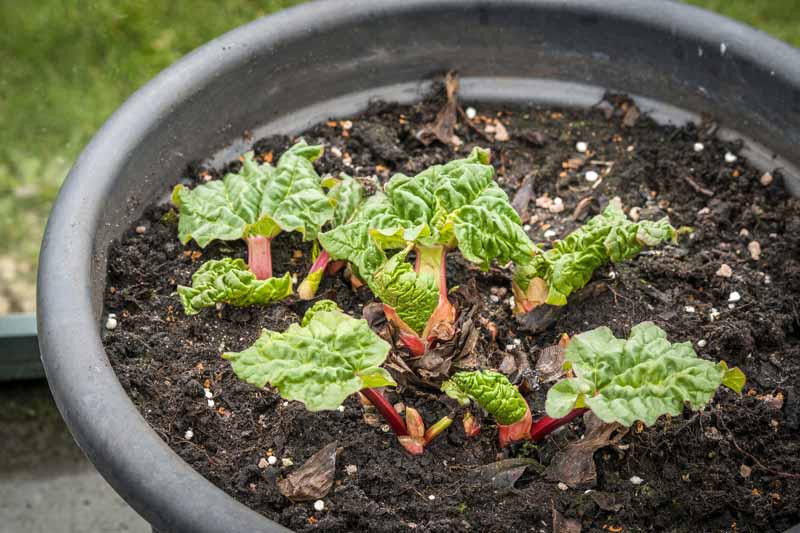
Rhubarb is a perennial vegetable that produces tasty stalks ideal for making desserts like pies, crumbles, and jams While traditionally grown in the ground, rhubarb can also thrive when grown in containers With the right pot, soil, and care, you can harvest your own homegrown rhubarb, even if you have limited garden space.
Choosing a Container
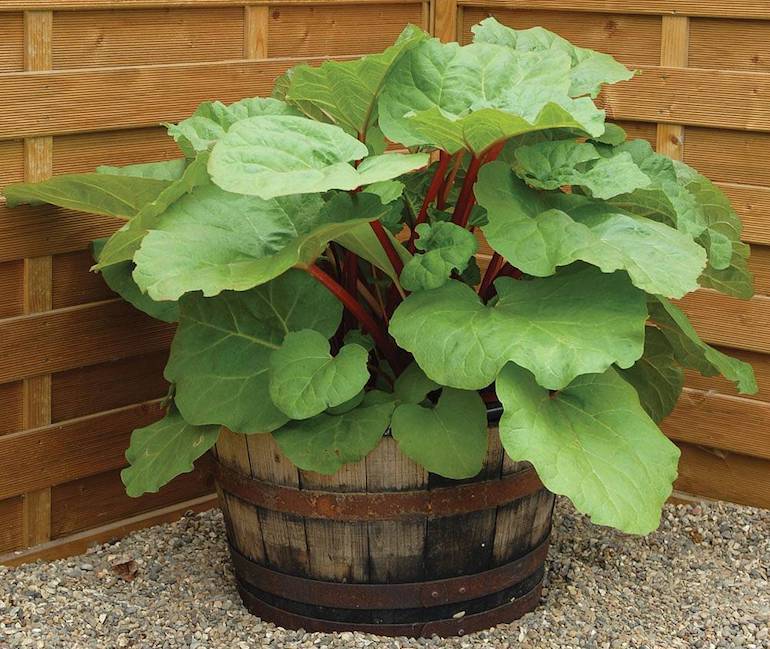
Rhubarb plants develop a deep, spreading root system as they mature Select a container at least 20 inches wide and deep to accommodate growth. Larger pots like half whiskey barrels work well too. Make sure the container has drainage holes to prevent soggy soil Plastic, ceramic, and wood containers all work for rhubarb.
Potting Mix
Rhubarb requires fertile, well-draining soil. Use a quality potting mix amended with compost or manure. A soilless mix blended with compost also provides the moisture retention and nutrition rhubarb needs. Maintain a soil pH between 5.5 and 6.5.
Planting Rhubarb
You can grow rhubarb from divisions, crowns, bare root plants, or seeds. Crowns offer the fastest harvest, while seeds take longer to establish.
Planting Crowns and Roots
Plant dormant crowns and roots in early spring. Dig a hole and set the crown or roots 4-6 inches deep, with the buds facing up. Backfill soil and water well.
Starting from Seed
Sow seeds indoors 8-10 weeks before the last frost. Transplant seedlings outside after hardening off for 7-10 days.
Container Size
One rhubarb plant per container is sufficient in most cases. Plant multiples only in very large planters.
Growing and Care
Sun and Temperature
Place containers in full sun. Move pots to a sheltered spot if temperatures drop below 25°F.
Watering
Keep soil consistently moist but not soggy. Water at the base of plants to avoid wet foliage. Add mulch to retain moisture.
Fertilizer
Apply a balanced fertilizer or compost in early spring as growth resumes.
Dividing
Divide congested rhubarb plants every 4-5 years. Do this in early spring or fall.
Harvesting
Wait 1-2 years after planting before taking any stalks. Harvest stalks when they reach 12-18 inches tall. Twist and pull stems to remove. Take no more than 1/3 of stems at first harvest. Gradually increase harvesting over the next 2-3 years. Stop harvesting after midsummer to allow the plant to recover for winter dormancy.
Tips for Success
-
Provide winter chill for best growth. Cool storage for 6-8 weeks if needed.
-
Remove flower stalks to promote leaf growth.
-
Keep container soil consistently moist.
-
Fertilize in early spring to support growth.
-
Harvest lightly the first 2-3 years after planting.
With the right care and cultivation, growing rhubarb in containers can be very rewarding. You’ll enjoy harvesting fresh rhubarb stalks for delicious spring and summer treats. Follow these tips for robust, productive plants in pots tailored to your available space.
Why Grow Rhubarb in a Container?
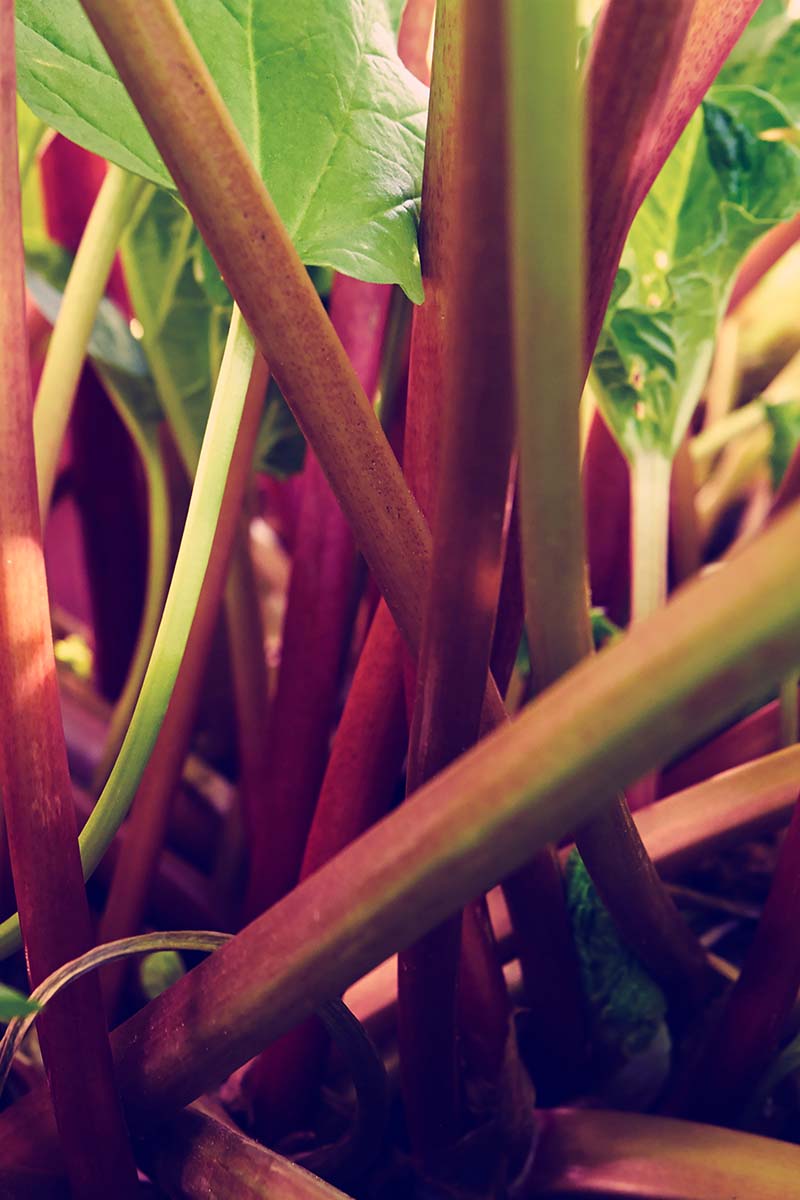
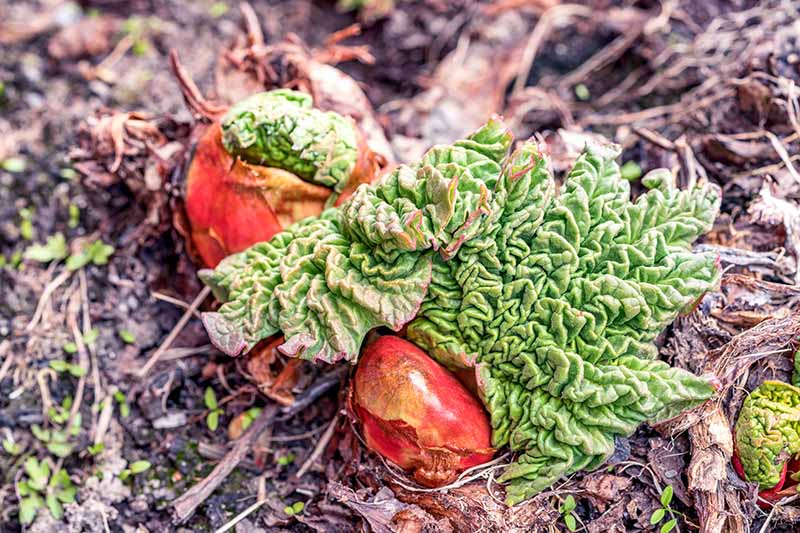
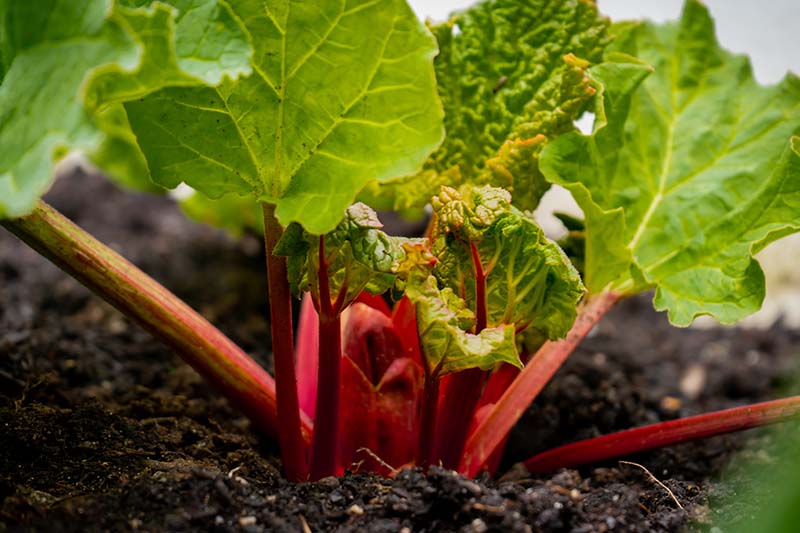
A member of the Polygonaceae family, Rheum rhabarbarum produces red or reddish-green stalks from springtime to early or midsummer, depending on the variety.
While the leaves are inedible, or even toxic if consumed in large amounts, the stalks are deliciously edible.
Cooked down with buckets of sugar, they shine in a pie. That’s reason enough for me to want to grow a whole field of pie plant!
Growing rhubarb in containers is an easy way to have your own fresh harvest of stalks, even if you haven’t got much space in your garden.
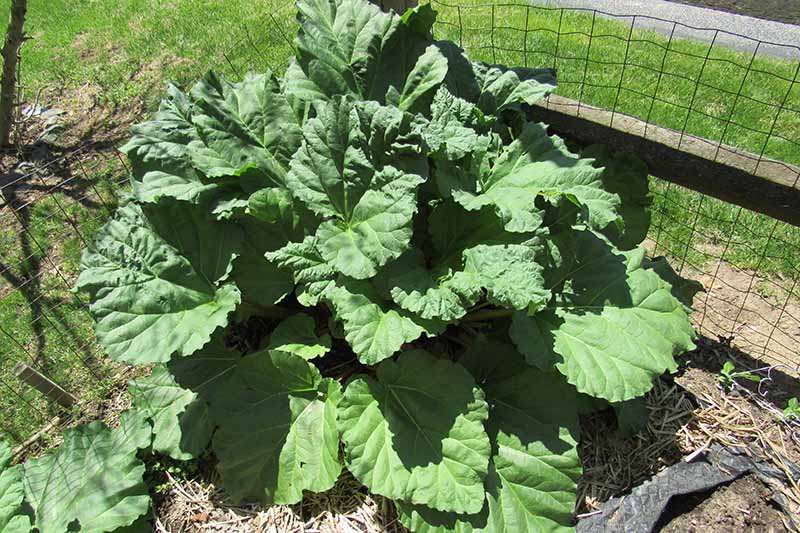
Containers also help keep this plant in check. Once it’s established in your yard, rhubarb tends to take over, spreading so tall and wide – up to four feet both ways – that it can overshadow other crops growing in the area.
In southern climes – USDA Hardiness Zones 9 and above – rhubarb plants perish when temperatures rise in the summer, which is why it’s often grown as an annual in those locations.
If it isn’t too hot out – meaning temperatures stay around or below 80°F throughout the hottest parts of the year – rhubarb thrives, and then naturally goes into dormancy during the late fall and into the winter months.
Rhubarb then needs to chill out at a temperature of between 28 to 49°F or below for at least six weeks.
This varies according the the cultivar you are growing, but on average, this plant needs 500 chill hours for best yields.
For those in Zones 7 or 8, the weather doesn’t always comply with this requirement.
Bringing your plant into a cool place like a basement or barn during these months will keep it happy during its winter rest period, allowing it to put all its energy into producing tasty new stalks come spring.
This is easy to do if you grow your plants in a container.
Planting a Dormant Bare Root Ball
A dormant bare root ball is essentially the same thing as a division. This is what the plant is called when you purchase it from a nursery, and it will generally include just one pale, dormant bud.
Dig a hole eight to ten inches deep, depending on the size of your bare root.
Set the bare root inside, leaving the bud, exposed. Whatever you do, make sure to find the bud. It’s usually a very pale, one-inch-long bud near the top of the bare root.
The surest way to kill a bare root is to plant it root-side-up, bud-side-down.
If you don’t see a bud anywhere, contact the seller and explain the situation. They may be able to help you find the bud, or send a replacement.
Water your newly planted root ball thoroughly, find it a sunny, warm location, and keep the soil moist. If you plant in the fall, there’s no need to water the bare root once temperatures drops consistently to 60°F or below.
The plant will stay comfortably dormant until springtime.
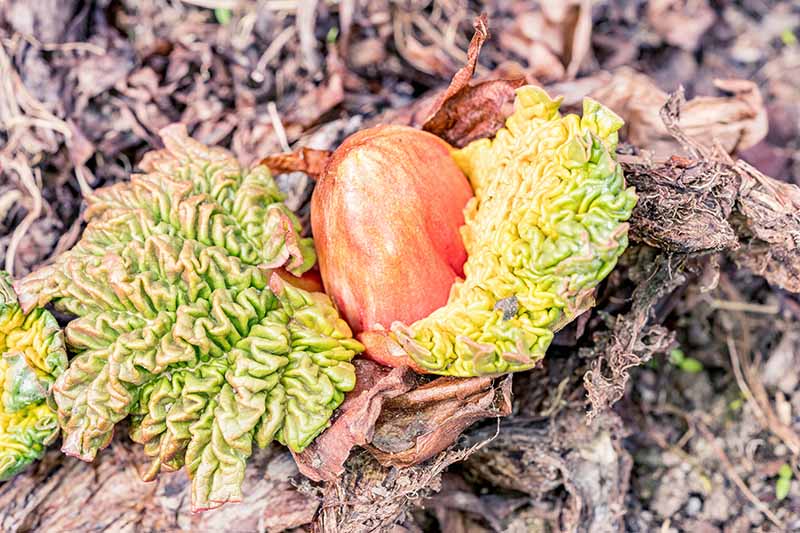
With springtime planting, leaves should emerge within two or three weeks. Don’t harvest during the first season.
Rhubarb planted from small bare roots needs time to establish a strong and healthy root system, giving you a better second-season yield and a hearty third-season yield, as well as high yields in the years to follow.
Since these plants are very long-lived, they can keep producing for decades.
Since Alaska – along with other northern states from Washington to Maine – are excellent locations for growing rhubarb, I decided to start my own from seed in late January.
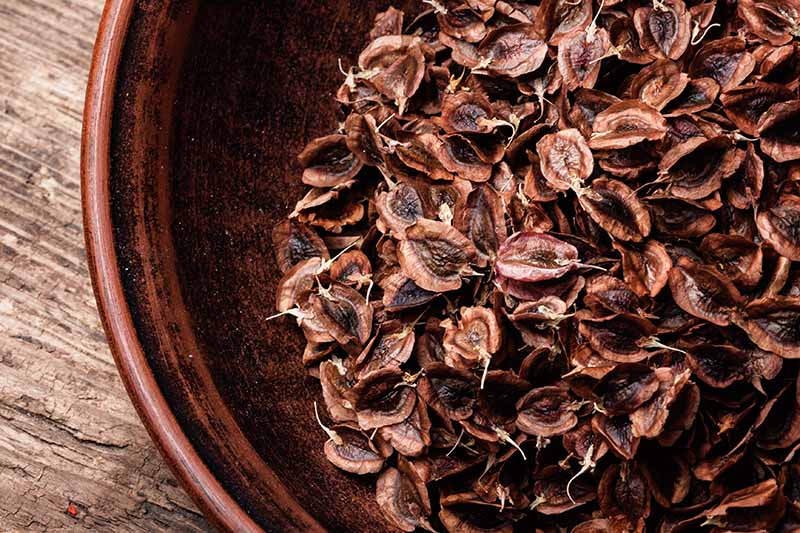
Rhubarb seeds are kind of funky looking, shrouded in a papery casing.
To speed up germination, soaking the seeds in tepid water for at least two hours before sowing is recommended, to loosen the casing around the seeds.
Typically, you’ll start seeds indoors about three months before your area’s average last frost date.
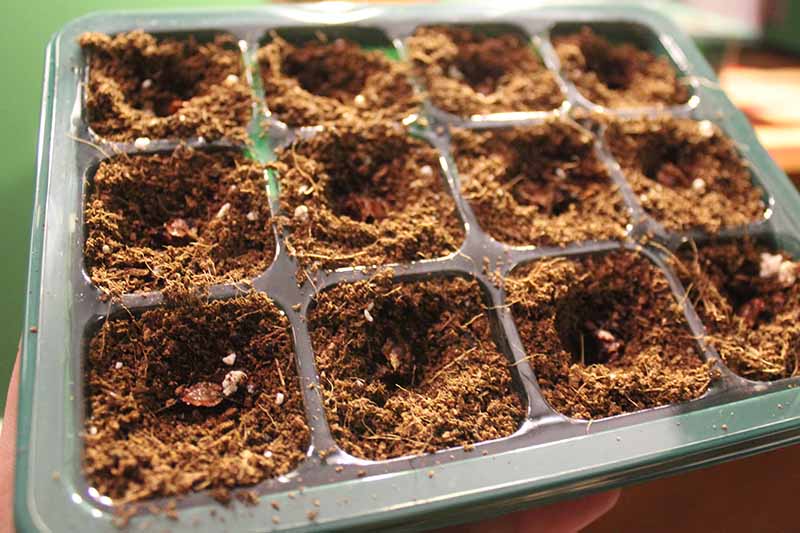
I chose to start my seeds in neat little starter trays, which you can find at Gardener’s Supply. They call it the Deep Root Seed Starting System.
It’s definitely heavier duty than anything else you’ll find on the market and the reusable growing tray is made up of 15 extra deep cells.
This setup includes a capillary mat and water reservoir that helps you make sure that your seedlings remain moist, but not waterlogged.
To sow, make a one-inch-deep hole about the size of your fingertip, and drop one seed into each cell.
Lightly cover each seed with soil, and give them a gentle but thorough watering.
Germination can take anywhere from seven days to two weeks.
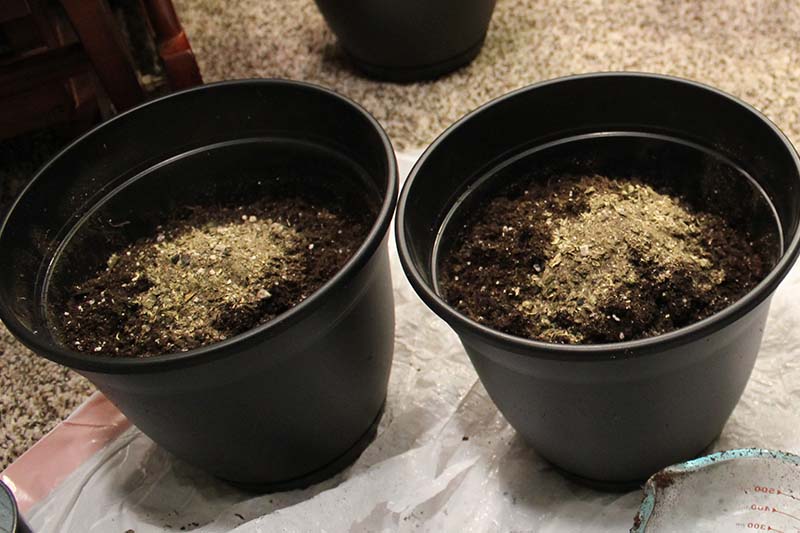
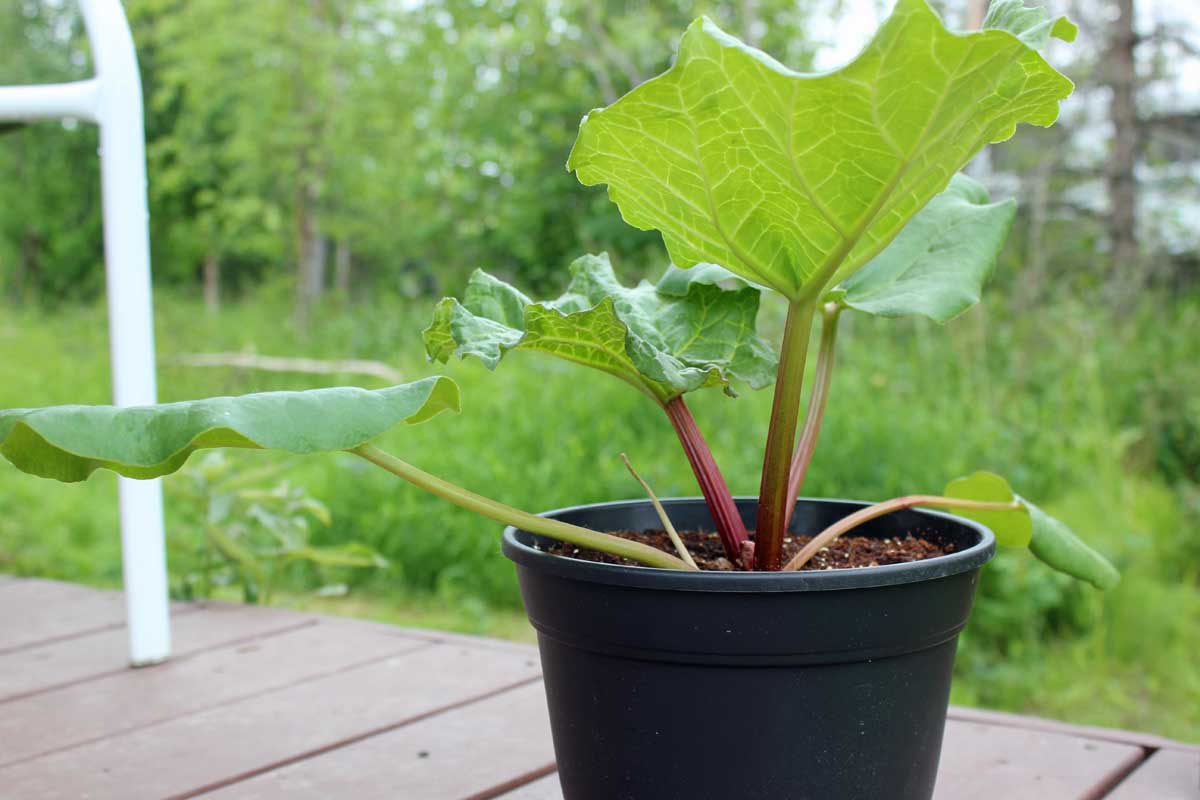
After three weeks, I transplanted my baby seedlings into my eight-inch-wide, seven-inch-deep pots, prepared as described above with potting soil and a little granular fertilizer.
Place them in an area that receives at least six hours of sunlight per day (or use a grow light), and maintain even moisture, but don’t let them become waterlogged.
As the rhubarb grows, you’ll notice more leaves developing on the stems.

In spring, when all risk of frost has passed and the seedlings are four to six inches tall, your plants will be ready for hardening off and moving outdoors in a larger container.
To harden them off, place the pots in a partly sunny area protected from wind, rain, and excessive sunshine, starting with two hours of outdoor exposure a day.
Over the space of a week, gradually increase their outdoor playtime to eight hours, and then they will be ready to grow outdoors full-time.
And voila! Your pie plant is on its way to becoming a one-year-old crown. Next summer, you’ll get to enjoy stalks from your very own seed-grown rhubarb.
Once established, rhubarb is easy to care for. Always keep in mind that it grows best in a sunny spot with evenly moist soil.
When growing it in containers, remember that the soil can dry out more quickly than it would in the garden. Keep an eye out for dehydration, especially during periods of hot weather.
If you haven’t had sufficient rain, you may need to provide extra irrigation.
Mulching with shredded bark, wood chips, or compost can help the soil to retain moisture, just be sure not to let the mulch touch the crowns – keep it about an inch away from the stems of your plants.
In the late fall, after harvest, the plant will die back and go dormant for the winter. As mentioned above, it needs a winter chilling period of about six weeks with temperatures between 28 and 49°F.
Come spring, when you see the first signs of new growth, fertilize with a balanced 10-10-10 (NPK) granular fertilizer. Note that this may not be necessary if you are mulching with compost, as it will gradually break down and provide extra nutrients to the soil.
You won’t need to worry about this for about three or four years, but once your plants start to look too big for their containers, it’s time for some division.
Wait until late fall or early spring to do this – when the plant is either about to go dormant for the winter, or when it’s just waking up in springtime.
With a trowel or hand rake, scrape at the outside of the root until you can reach down and pull it out with two hands. Take a flat spade in two hands and hit the root with it, slicing the tuberous yellow chunk straight down the middle, or use a garden knife.
Depending on how large the root is, and how many buds it has, you may want to slice it again crosswise so that you have four chunks instead of two. Each division should have 1-3 buds.
(Yes, your plant will survive this. It’s very hardy!)
Replant the chunks with the stalk (bud) sides up, douse them with water, and watch them pop up and sprout new stalks in the spring.
- When planting crowns, bare roots, or divisions, plant directly into a 20-by-20-inch container.
- Keep your plants moist but not waterlogged until they die back in the fall.
- Provide at least six hours of sunlight per day.
- Divide plants every three to four years for the best yields.
You can grow just about any cultivar in a container, but some varieties are smaller than others, making them better suited to growing in a smaller space.
Here are a couple of the more popular cultivars suitable for your container garden. See our guide to the best rhubarb cultivars for a full selection of what’s available.
This variety is perfect for container growing because it’s a bit smaller than other cultivars, growing just two feet wide and tall.
Plus, you can harvest it from spring all the way until late summer. And you can being to harvest ‘Glaskin’s Perpetual’ just one year after planting from seed!
Sweet, tart, and a bit less bitter than some other varieties, the reddish-green stalks will be harvest-ready when they’re 12 to 14 inches long.
Sweet and just tart enough to please most rhubarb-lovers, ‘Victoria’ is a cultivar that gardeners have favored since it became the first widely popular pie plant cultivar in the mid-1800s.
This one is well suited to container growing because it reaches just three feet wide by three feet tall at maturity. While this may sound huge, it’s smaller than other cultivars!
‘Victoria’ is the type that I’ve been growing in my containers, and it’s an excellent cultivar to start from seed.
Find seeds in a variety of packet sizes available at Eden Brothers.
If you want to get a head start on the growing season, you can also buy live plants or bare roots to start your crop, available at Burpee.
How To Grow Rhubarb In a Pot
FAQ
Does rhubarb grow well in pots?

What is the secret to growing rhubarb?
-
Sunlight:Rhubarb thrives in full sun, needing at least 6-8 hours of sunlight per day. While it can tolerate some shade, it’s best to avoid shady areas near large trees or shrubs.
-
Soil:Rhubarb prefers well-drained soil that is fertile and rich in organic matter. Amending the soil with compost, aged manure, or other rich organic matter is crucial. Sandy or clay soils can be improved by incorporating large quantities of organic matter.
-
Spacing:Plant rhubarb crowns 3-6 feet apart to allow ample room for the plants to spread.
Can you grow rhubarb in a 5 gallon bucket?
You will need to give it some extra protection over the winter. Plant in a container with drainage holes that holds at least 5 gallons of well-drained soil.
What should you not plant next to rhubarb?
- Nightshade and Cabbage Families: These plants can compete with rhubarb for nutrients and space, potentially hindering its growth.
- Legumes: Legumes can attract the tarnished plant bug, which can damage rhubarb.
- Dock Weeds: These weeds can attract the rhubarb curculio, a beetle that damages rhubarb stalks.