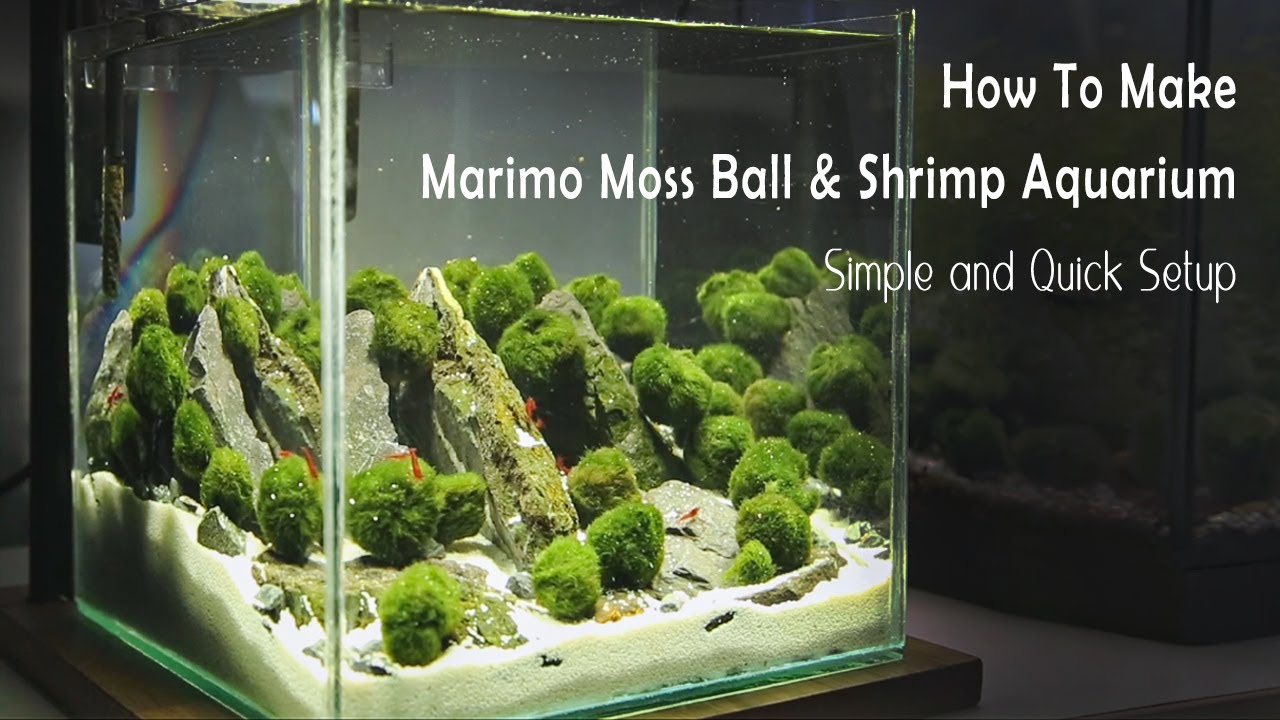
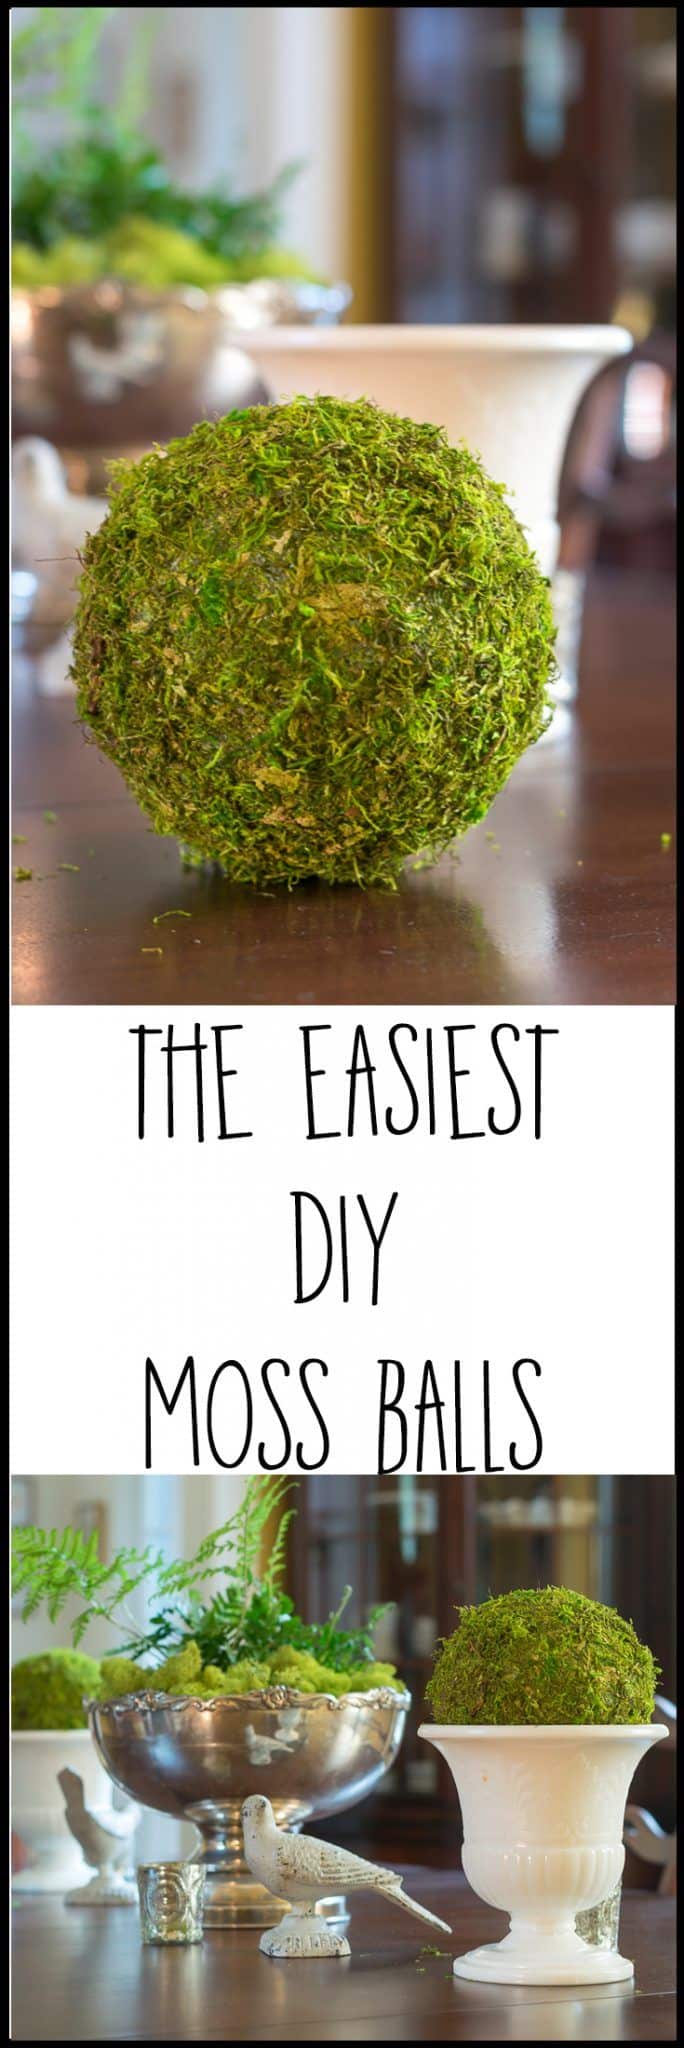
How absolutely adorable are these decorative DIY moss balls? If you’ve ever tried to purchase these premade, you know just how costly they can be. Luckily, I’ve found a very inexpensive way to turn your own cute little spherical shapes into moss balls.
Have you ever admired those extra large moss balls that resemble topiary balls often displayed outdoors? These mini versions are the perfect indoor accents!
Moss balls are the superb decorative object to incorporate into your current home decor. This natural art form matches most colors schemes and blends beautifully into modern, farmhouse, or grandmillennial style homes.
Green moss has such an organic texture that if your room is feeling a bit dull this is sure to liven the place up. Although these tend to be a spring time element, I think they look great year round and can easily be styled with each season.
In addition, I wanted a DIY craft that wouldn’t take up an entire day, or even more than an hour. I made these awesome moss balls in about thirty minutes! I also didn’t have to spend very much on materials which is a huge win. It truly is a very inexpensive DIY project to explore.
They are now happily living in my dining room and add a much needed touch of greenery.
While most tutorials use foam balls, I didn’t! You are welcome to use them though in place of rattan balls and this step-by-step should still work just fine.
You know those rattan decorative balls from Ikea that everyone has? Well I had them too. And was frankly sick of them. I knew I needed to find a great idea for giving these new life.
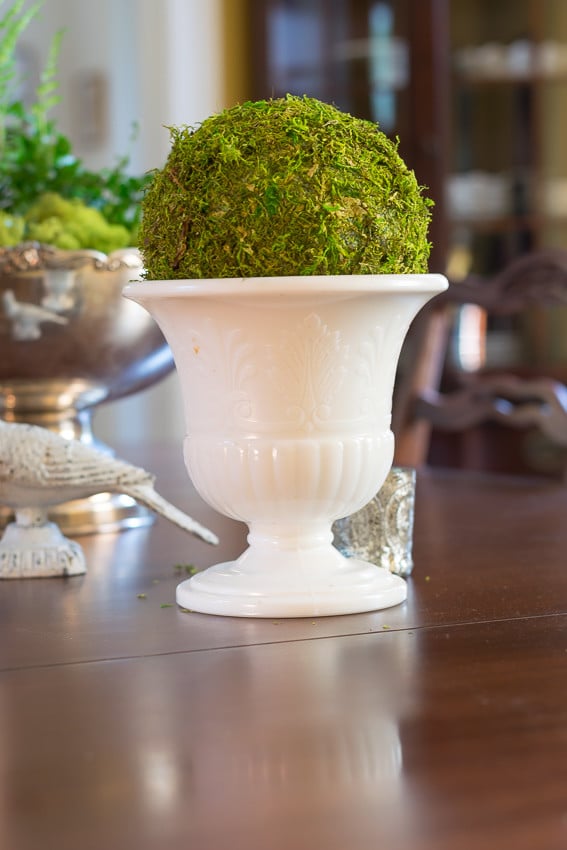
Enter, beautiful moss balls! I knew I could put them to good use and employ them as the base for these moss balls because they already have a natural color that wouldn’t need to be camouflaged. It’s also fun that they are different sizes for some added dimension.
I’d encourage you to source your home for objects with a round shape that you could use as the base for your moss balls. You might surprise yourself with what you find! If you can’t come up with anything of a sphere shape to repurpose, try shopping your local craft stores or Hobby Lobby for affordable decorative craft balls that you can use.
Moss balls, also known as kokedama, are a fun and creative way to add a natural element to your home decor These miniature gardens wrapped in moss are an ancient Japanese art form that have recently surged in popularity
Making your own moss ball is easy, inexpensive, and highly satisfying. With just a few simple materials you can craft a living piece of art for your home.
In this comprehensive guide, we’ll walk through every step of DIY moss ball making. You’ll learn how to:
- Select the right plant
- Make the soil base
- Add your plant
- Wrap with moss
- Secure the moss
- Insert a support stick
- Display your finished moss ball
Let’s get started!
What is a Moss Ball?
A moss ball consists of a plant’s roots encased in a ball of soil or growing medium, all wrapped up in a covering of live moss. The moss thrives in the humid microclimate next to the soil and helps retain moisture.
While mosses naturally grow in mats or clumps, forming them into a sphere takes some finesse. This charming art form began in Japan centuries ago. Moss balls are also referred to as kokedama, combining the Japanese words for “moss” (koke) and “ball” (dama).
Materials Needed
To make your own moss ball at home, you will need:
- Small indoor plant like an African violet, orchid, or fern
- Sheet moss or Spanish moss
- Sphagnum peat moss
- Bonsai soil or potting mix
- Floral stem wire and wire cutters
- Long wooden pick
- Scissors
- Bowl of water
- Mist spray bottle (optional)
Step 1: Choose a Plant
Select a small houseplant that will thrive in the humid environment inside a moss ball. Good options include:
- Air plants
- African violets
- Mini orchids
- Small ferns
- Peperomia
- Nerve plants
- Creeping fig
- Prayer plants
Avoid succulents and cacti which require excellent drainage. Also steer clear of plants prone to rotting like African violets.
Step 2: Make the Soil Base
Combine equal parts peat moss and bonsai soil or potting mix in a bowl. Slowly add water while mixing with your hands until you achieve a firm yet malleable clay-like consistency.
Form the mixture into a ball approximately the size of a small orange or grapefruit.
Step 3: Add the Plant
Carefully remove the plant from its pot and shake off any old clinging soil from the roots. Make a hole in your soil ball and gently place the plant’s roots inside.
Push soil around the root mass, leaving just the top of the plant exposed above the surface.
Step 4: Wrap in Moss
Briefly soak sheet moss or Spanish moss in water until pliable. Place the moss on a flat work surface. Put the soil ball in the center.
Lift the edges of the moss up and around the soil ball. Wrap moss over the soil, enclosing it completely so no soil shows through.
Mist with water to help the moss adhere if needed.
Step 5: Secure the Moss
Use floral wire to wrap around the moss-covered soil ball. Start at the top and wind downwards, making at least 2 crisscrossing passes over the surface.
Twist the ends of the wire together once the ball is fully wrapped. Trim off any excess wire.
Step 6: Add Support
Insert a long wooden pick down through the center of the ball for stability. Angle it diagonally if hanging the moss ball.
Step 7: Display Your Moss Ball
Show off your handmade moss ball in a wood bowl, hanging from fishing line, atop a piece of driftwood, or displayed in a clear vase or jar.
Keep moss balls out of direct sunlight to prevent drying out. Mist occasionally to boost humidity.
Caring for Your Moss Ball
Caring for your moss ball is easy with just a few simple maintenance tips:
-
Water by soaking the entire moss ball in room temperature water when it feels lightweight and dry. Let soak for 10 minutes then allow excess water to drain off before returning to its spot.
-
Mist occasionally between waterings.
-
Fertilize weakly once per month.
-
Repack in fresh moss annually as the old moss dies off.
-
Repot in a larger moss ball or pot if the plant outgrows its space.
Tips for Making Perfect Moss Balls
Follow these tricks for crafting gorgeous moss balls every time:
-
Choose compact, slow growing plants that like humidity.
-
Use clay-heavy bonsai soil mixed with peat for moisture retention.
-
Wrap moss extremely thoroughly over the ball, leaving no gaps.
-
Floral wire gives a seamless hold and clean look.
-
Support larger moss balls with a pick or piece of driftwood.
-
Keep new moss balls in a stable spot for 1-2 weeks before watering.
-
Check moss balls daily at first and water at first sign of dryness.
-
Display out of direct sun and away from heat sources.
Get Creative with Moss Balls
Once you master the basics, get creative with designing your own custom moss balls:
-
Make mini moss ball terrariums or bottle gardens.
-
Craft moss bonsai trees for a living work of art.
-
Group moss balls together for a fabulous centerpiece.
-
Hang moss balls at varied heights from fishing line.
-
Nestle moss balls into a tray of river rocks or pebbles.
-
Show off moss balls in glass bowls, jars, or cloches.
-
Give made-to-order moss balls as gifts for other plant lovers.
The possibilities are endless when you make your own moss balls. It’s a calming activity and they add life to any space. With proper care, these living artworks can thrive for many years.
How to make a moss ball?
HOWEVER…I really wasn’t digging the idea of trying to cover a round object (ball) with a square sheet of moss…what I really wanted was a ‘moss spray’ to spray a foam ball. Since that wasn’t happening, I noodled what I think is the next best thing…pureed moss!
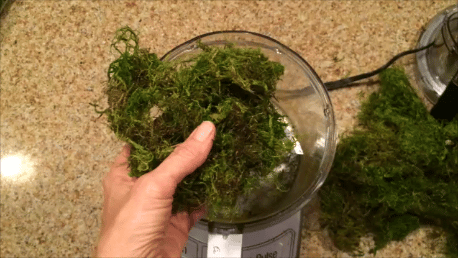
Say What? Yup…I put sheet moss in my food processor and pureed it. Let me say that I love my food processor…not only do I use it for food, but I’ve crushed eggshells for my garden in my processor, and now I’ve pureed moss in my food processor.
For those who are squeamish about pureeing food after I’ve pureed moss…clearly, I ran it through the dishwasher before I put food in it.
Materials to Make Moss Balls
Some of these are affiliate links and I will earn a small commission off of the sale of these products, but the price you are charged is not affected. You can see my full disclosure policy here.
It really didn’t take much moss puree to cover the 6″ ball…just 2 ‘clumps’…I know that’s not really measurable, but just add it in small amounts until you have enough to cover your ball.

After I pureed the moss, I set it aside and sprayed my foam ball with spray adhesive. I put the ball on a skewer and went OUTSIDE to spray the adhesive…you really don’t want to do that indoors.
Then I dumped the moss in a plastic grocery bag (you want something you can toss in the trash after you are done) and rolled the adhesive-covered ball through the moss.
If you have some bare spots, hit those spots again with your spray adhesive and roll them again.
This video will walk you through the process of making your very own decorative DIY moss balls…with some jaunty music to boot!
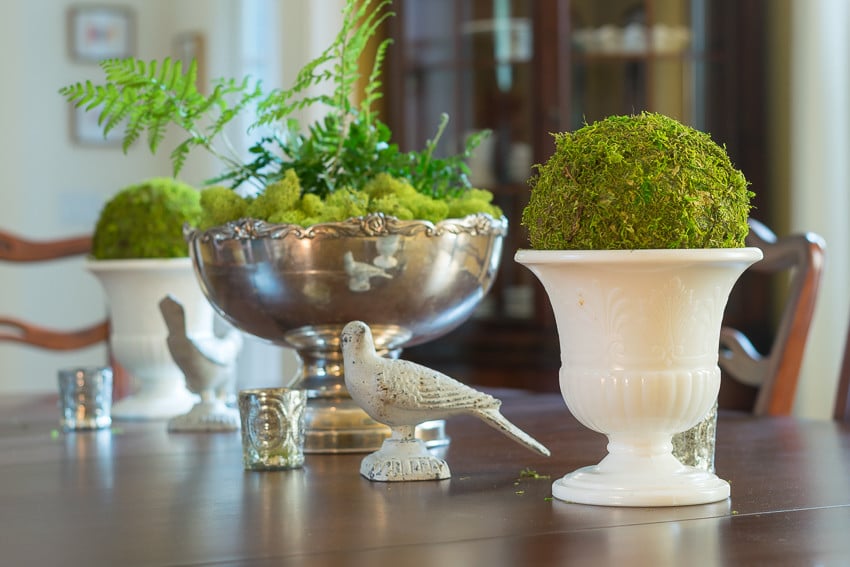
The fern I planted earlier this Spring is doing well, so these little DIY moss balls in their urns complement it well. I’m optimistic that my table’s spring decor will last several months longer.

And even though we’re still working on Peep’s table manners (read…’ get off the table’), I don’t think she can do much damage to these decorative DIY moss balls in the interim…not to say she won’t try.
I know they aren’t a new thing, but I was quite tickled that I could make moss balls so easily when I couldn’t find what I needed in my local stores.
Bookmark this page or pin the following to refer back to this post on how to make moss balls in the future.
How to Make Kokedama | tutorial and care, live moss ball houseplant
FAQ
How do you make a moss ball at home?
More videos on YouTube Place the sphagnum moss in a bowl of water. Let is soak for a couple of minutes. Squeeze the sphagnum moss together into a ball and wrap the cream coloured wool (yarn) around the sphagnum moss. Some will fall out of your fingers but just keep wrapping until it stops falling out.
Why are Marimo moss balls banned in the US?
Are Marimo moss balls illegal? No, Marimo moss balls are legal in most places! Only contaminated moss balls were banned due to invasive species concerns. To ensure compliance, always buy from trusted suppliers that follow environmental regulations.
What do you need for a moss ball?
Moss Ball Pets thrive in any clear container with cool, fresh water—be it a simple glass jar, a decorative vase, or even a fish tank. Placing them on a desk, a windowsill with indirect sunlight, or a cozy corner creates a calming and aesthetic vibe.
How long do moss balls live?
As the algae grows in these lakes, the movement of the waves causes them to gradually form into spheres of soft, green algae with a fuzzy, velvet-like texture. Marimo balls are regarded as good luck charms in Japan, and since they have been known to live to 200 years or longer, they are often kept as family heirlooms.