Mapping your vegetable garden before planting helps you see how many seedlings you need, where they will be planted, and how you can keep each bed producing all through the growing season.
Late winter is the perfect time to plan your vegetable garden. After enduring snowstorms and cold temperatures for months, I begin wondering whether spring will ever come at all.
Thoughts of warmer days and fresh garden harvests encourage me to the next step in planning a vegetable garden: Mapping the Garden Beds.
After organizing your seed box, paging through the catalogs thinking about what to grow, and making a seed wish list, the following step is to figure out how everything will fit into the garden.
Hey fellow garden enthusiasts! I’ve been designing and creating garden beds for over a decade now, and let me tell you – planning is everything! Today, I’m gonna share my tried-and-true method for planning a garden bed that’ll make your neighbors jealous (in a good way, of course! )
Why Should You Care About Planning?
Look I get it. You’re probably super excited to dig in and start planting right away. But trust me – taking time to plan will save you from headaches later. I learned this the hard way when I first started and had to redo my entire garden because I didn’t plan properly. Oops!
Step 1: Location, Location, Location!
First things first – you gotta pick the perfect spot. Here’s what to look for:
- Sunlight: Most plants need at least 6-8 hours of direct sunlight daily
- Water Access: Make sure you can easily reach it with your hose
- Soil Quality: Avoid areas with heavy clay or super sandy soil
- Drainage: Pick a spot where water doesn’t pool after rain
Pro tip If you’re stuck with less-than-ideal conditions, don’t worry! You can always build raised beds or improve the soil. We’ll get to that later
Step 2: Size and Shape Matters
Let me share some sizing guidelines that have worked great for me:
- Width: Keep it under 4 feet so you can reach the middle without stepping in the bed
- Length: Start with 10-12 feet for beginners
- Shape Options:
- Rectangle: Classic and efficient
- Oval: Looks natural and flows well
- Kidney-shaped: Adds visual interest
- Circle: Great for focal points
Step 3: Design Your Layout
Time to get creative! Here’s how I approach layout design:
Layer Your Plants
-
Back Layer (Tallest Plants)
- Ornamental grasses
- Tall perennials
- Small flowering shrubs
-
Middle Layer
- Medium-height perennials
- Seasonal flowers
- Ornamental plants
-
Front Layer
- Ground covers
- Short flowers
- Creeping plants
Step 4: Choose Your Plants
Here’s my beginner-friendly plant recommendations:
Easy-to-Grow Flowers
- Sunflowers
- Zinnias
- Cosmos
- Marigolds
- Daylilies
Tips for Plant Selection
- Start with 5-10 different species (trust me, it’s enough!)
- Mix plants with different blooming times
- Consider foliage colors and textures
- Think about maintenance requirements
Step 5: Prepare Your Bed
Now for the fun part – actually creating your bed!
Materials You’ll Need
- Garden shovel
- Compost
- Mulch
- Weed barrier (optional)
- Garden staples
- Quality topsoil
Steps to Prepare
- Remove existing grass/weeds
- Test your soil (seriously, don’t skip this!)
- Add organic amendments
- Install weed barrier if using
- Add plants
- Apply mulch
Pro Tips from My Experience
- Start Small: A 10’x10′ bed is plenty for beginners
- Use the 3-3-3 Rule: 3-foot wide beds with 3-foot paths between them
- Add a Focal Point: Maybe a cute birdbath or a small statue
- Consider Maintenance: Leave enough space between plants for growth
Common Mistakes to Avoid
Trust me, I’ve made these mistakes so you don’t have to:
- Overcrowding plants (they grow bigger than you think!)
- Ignoring sun requirements
- Forgetting about water access
- Making beds too wide to reach the middle
- Not preparing the soil properly
Seasonal Planning Tips
Spring:
- Best time to start new beds
- Add soil amendments
- Plant perennials
Summer:
- Add annual flowers
- Maintain mulch layer
- Regular watering
Fall:
- Plant spring bulbs
- Add more organic matter
- Plan for next year
Final Thoughts
Remember, your first garden bed doesn’t have to be perfect! Mine sure wasn’t! Start small, learn as you go, and don’t be afraid to make mistakes. The best part about gardening is that there’s always next season to try something new.
Need help planning your specific garden bed? Drop a comment below – I’d love to help you create your dream garden! Happy planting, y’all!
FAQs
Q: How deep should my garden bed be?
A: At least 6-8 inches for most plants, 12+ inches for vegetables and larger perennials.
Q: When’s the best time to start planning?
A: Winter! Use those cold months to dream and scheme. Start physical work in early spring.
Q: Do I really need a weed barrier?
A: It’s optional! Some gardeners love ’em, others skip ’em. I personally prefer good mulch instead.
Remember, gardening should be fun! Don’t stress too much about getting everything perfect – just get out there and start growing!
Things to consider when planning the garden beds
Before sowing a single seed, it is helpful to sketch a map of the garden so you know how many seedlings you will need, where they will be planted, and how you can keep each bed producing all through the growing season.
Don’t be tempted to overcrowd your garden. Each plant requires a certain amount of space to grow healthy and produce an abundant harvest. Plants that are too close together will compete for nutrients, moisture, and airflow.
Overcrowded plants will actually produce less and become more susceptible to pests and diseases. Follow the recommended plant spacing specified on the seed packages.
It is beneficial to rotate plant families from one garden bed to another each growing season. Vegetables that are in the same family use similar nutrients and are vulnerable to the same pests and diseases. Planting different crop families from year to year helps to avoid depleting the soil and prevents crop specific pests and diseases from building up from one season to the next. In my garden, I focus on five vegetable plant families for rotation planning purposes:
- Allium Family: chive, garlic, leeks, onions, and shallots.
- Solanaceae Family: eggplant, peppers, potatoes, tomatillo and tomatoes.
- Brassica Family: broccoli, cabbage, cauliflower, collards, kale, kohlrabi, mustard greens, radish, rutabaga, spinach, and turnip.
- Cucurbit Family: cucumbers, gourds, melons, pumpkin, and squash.
- Legume Family: beans and peas.
The plants in each family are grouped together and planted in the same beds, so I can easily move them to a different bed the following year. Other vegetables such as lettuce, corn, carrots, and herbs are worked in where there is room, but I try not to plant them in the same spots two years in a row.
- Learn More: Benefits of Crop Rotation for Your Vegetable Garden
Tall trellised plants such as peas, pole beans, and indeterminate tomatoes are limited to the north end of the garden beds, so they don’t shade other plants.
- Learn More: 9 Creative DIY Trellis Ideas
Even in my Maine Zone 5 garden, I can grow up to three crops in the same garden space if schedule carefully. Quick growing crops such as spinach, lettuce, and other various greens can be planted in spring. Once the warmer weather arrives, spring greens usually turn bitter and bolt. These can be removed, fed to the chickens, and the space used to grow bush beans. Once the bush beans are finished producing, a fall crop of spinach, lettuce, and other cool-season crops are planted.
- Learn More: 3 Succession Planting Tips to Maximize Your Harvest
The inventory of the preserved garden bounty from the previous year also factors into the amount of plants in the plan. I don’t weigh my harvests, but do keep notes on the number of plants grown from year to year. At the end of winter, I inventory what is left in storage and decide if I need to increase or decrease the number of plants grown to provide us with enough preserved food until the following years garden begins to produce.
- Learn More: 9 Crops to Grow for Winter Food Storage
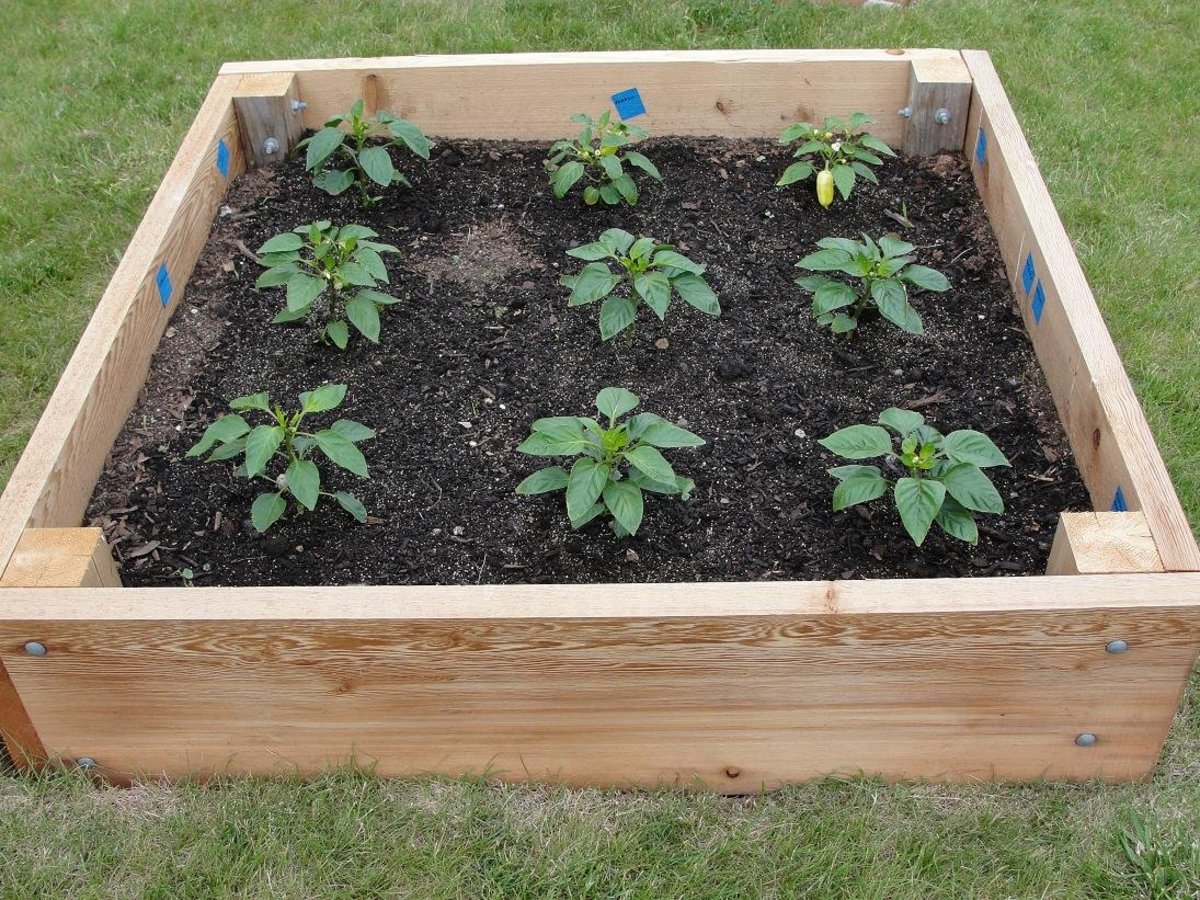
Step 3: Start with High Value Crops
Start plotting your garden with the crops you consider important. For example, tomatoes, peppers, onions, and garlic are very high value in our garden. These are plotted first on my garden map to ensure there is plenty of room to grow enough of these crops for preserving.
Remember to account for crop rotation and avoid planting the same plant families in the area they grew last year.