Removing a plant from its pot without damaging the roots can seem daunting, but with the right technique, it’s easily done.
Repotting gives plants fresh soil and room for roots to spread out and grow. It’s an essential gardening task. Plants often outgrow their containers and become root bound. The tangled roots choke and prevent proper water and air circulation. Repotting into larger pots solves this.
Sometimes repotting is needed to put plants in more attractive or appropriate pots. Whatever the reason, it should be done carefully to avoid root injury. With some simple preparation and the proper method, you can remove even the most stubborn plant from its pot with minimal trauma.
Why Repotting is Important
Here are the main reasons repotting is vital:
-
Prevents root binding – As plants grow, roots often tangle and circle the interior of pots. This strangulates the roots and limits growth. Repotting gives roots room to expand.
-
Refreshes soil – Over time, soil becomes compressed and lacking in nutrients. New fresh soil revitalizes plants.
-
Changes pot size or style – Repotting lets you put plants in different, more suitable containers.
-
Solves drainage issues – Stagnant, soggy soil from poor drainage stunts plants. New soil and pots improve drainage.
-
Promotes growth – Spread out, healthy roots in fresh soil equates to vigorous plant growth
Repotting should be done periodically to maintain actively growing thriving plants.
How to Prepare for Repotting
Proper preparation is crucial for easy, damage-free removal from a pot:
-
Water – Moist (not soggy) soil readily releases from container walls. Water 1-2 days before repotting.
-
Trim protruding roots – Use pruners to cut back any roots emerging from drainage holes. This prevents snags when removing the root ball.
-
Have new pot ready – Repot quickly after removal to prevent roots drying out. Partially fill the new container with fresh soil mix.
-
Spread newspaper – Working over newspaper catches drips and soil spills, saving clean up time.
Techniques to Remove Plants from Pots
With prep work complete, it’s time to coax the plant out undamaged. Here are proven techniques:
1. Turn and Tap Method
This gentle leverage method works great for freeing small to medium sized root balls from their pots:
-
Turn the pot upside down, cradling the soil and plant in your palm to support it.
-
Position the pot’s rim over a hard surface like a countertop or table edge.
-
Firmly tap the bottom of the pot against the edge.
-
After a few brisk raps, the root ball should release for easy removal.
-
Catch the root ball gently as it drops down.
-
Slide the pot off and you’re done!
2. Compress and Twist Technique
For plastic pots with some flexibility, compressing and twisting works wonders:
-
Lay the pot on its side.
-
Squeeze the pot’s sides at several points around its circumference.
-
As you compress each section, twist the pot back and forth to loosen the root ball.
-
Work your way around the entire pot, compressing and twisting until the plant is freed.
3. Slice with a Knife Method
If other methods fail, try slicing around the root ball with a knife:
-
Use a sharp knife, inserting the tip between the soil and the pot’s inner wall.
-
Carefully slice downwards around the pot’s perimeter, severing any roots clinging to the container.
-
After slicing through trouble spots, gently twist and pull the pot to remove it.
4. Soak Pot Method
Extremely root bound or dry, stressed plants may need prolonged hydration before extracting:
-
Water the plant well, then place the entire pot in a larger bowl or sink filled with water.
-
Allow it to soak for 20-30 minutes, thoroughly rehydrating the root ball.
-
Remove the pot and try the tapping or twisting techniques. The soaked soil should release.
5. Break Pot Method
In rare cases of completely unmovable plants, breaking the pot may be needed:
-
For plastic pots, cut down opposite sides with sturdy scissors or shears.
-
For clay pots, place on a hard surface and crack with a hammer.
-
Breaking open the container allows easy access to the root ball.
After Removal – Post Repotting Care
Once removed from its old home, promptly repot the plant to prevent root drying:
-
Nestle the root ball into the prepared pot, positioning the plant at its original soil depth. Roots and lower stem shouldn’t be buried too deeply.
-
Begin backfilling around the root ball with fresh, nutrient-rich potting mix.
-
Use your fingers to gently loosen any circling, tangled roots at the sides and bottom, spreading them outward into the new soil.
-
Add potting mix until reaching about 1/2 inch below the pot’s rim. Press down gently to settle the soil.
-
Water thoroughly until it drains freely from the pot’s bottom. This moistens the new soil, eliminating air pockets.
-
Place in proper lighting. Avoid direct sun immediately after repotting to prevent stressing disturbed roots.
With a little time and TLC, the plant will thrive in its roomy new home. Repotted correctly, plants grow vigorously and live long, healthy lives.
Common Problems and Solutions
While repotting is simple in concept, it can go awry:
-
Dry, compacted soil – Makes removal difficult. Always water before repotting.
-
Tangled roots – Years of circling in too-small pots causes stubborn root mats. Soak and gently loosen roots.
-
Broken roots – Pulling too forcefully damages roots. Handle root ball gently.
-
Cracked pots – Trying to pry off pots stresses and cracks them. Use leverage techniques instead.
-
Lost soil – Loose potting mix crumbles away without the pot’s support. Repot over newspaper.
-
Stressed plants – Root disturbance shocks plants. Provide shade after repotting as new roots establish.
With care and patience, these problems can be avoided, resulting in healthy, thriving plants that will grow vigorously in their new containers.
Frequently Asked Questions
Repotting raises many questions for plant parents. Here are answers to some common ones:
How often should plants be repotted?
-
Annuals – When moving from nursery pots into your garden
-
Perennials & houseplants – Every 1-2 years as they outgrow their pots
When is the best time to repot a plant?
Early spring, when new growth begins but before the main growing season starts.
Can I transplant a flowering plant?
It’s best to wait until after flowering completes to minimize stress on the plant.
How do I remove a large, heavy root ball?
Use bigger pots with less root binding. Rotate, compressing different sides of the pot.
What if roots are wrapped around the pot’s base?
Before removing, reach through drainage holes with pruners and cut any circling roots.
Can old potting mix be reused when repotting?
Old mix should be refreshed with new soil to replenish nutrients and prevent compaction.
What if I break some roots during removal?
Prune any broken roots, plant as normal, and provide a little extra water and shade. The plant will recover.
How can I prevent problems next time I repot?
Annually loosen roots and replace a portion of soil to stop severe tangling and compaction.
Conclusion
Removing plants from containers for repotting is easy with the proper technique and care. With the right preparation, leverage tools, and post-repotting treatment, even stubborn root balls can be freed without damage. Repotted into fresh soil and appropriate containers, plants will grow vigorously and live long, rewarding lives indoors and outside. Follow these tips for many seasons of robust plants and bountiful gardens.

Step 2: How to Cover Drainage Holes in Pots
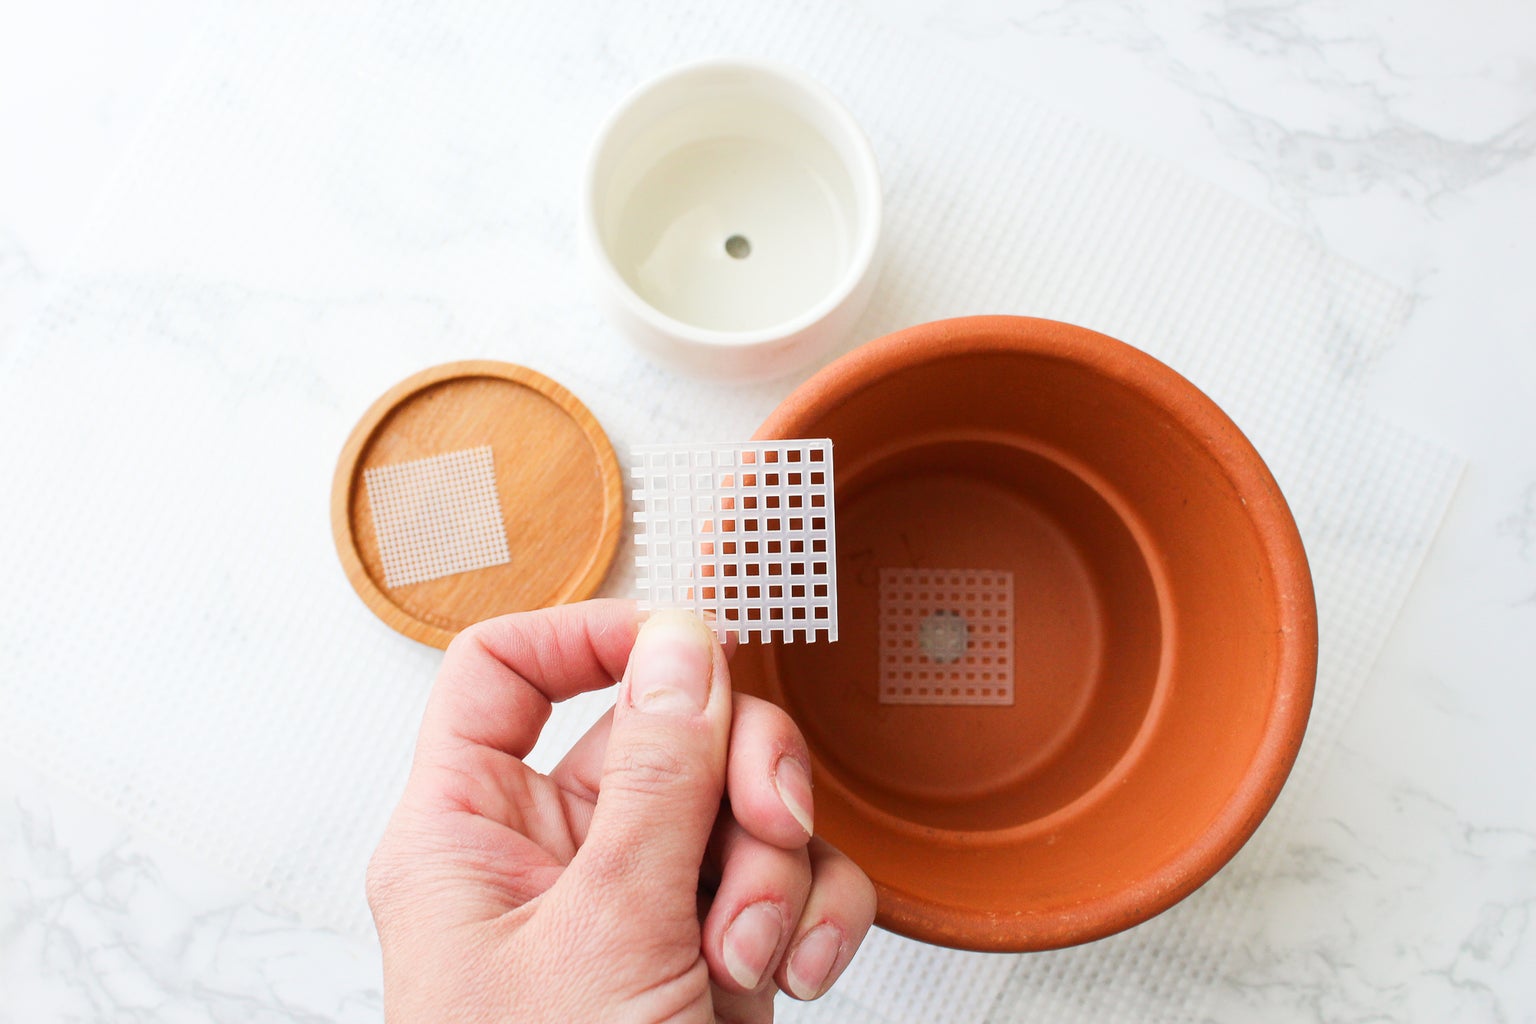
Drainage holes are incredibly important, but they can also allow a little bit of soil to seep out when watering! To avoid this, I like to use a piece of plastic mesh in the bottom of the pot. (Sometimes also called plastic canvas) Its easy, super cheap, and doesnt take up any space in the pot.
I tend to use just enough to cover the drainage hole, but you can also cut the mesh to fit the bottom of the pot snugly. I find that the weight of the soil is enough to keep a small piece in place! Dont have any plastic mesh around? Try one of these other options:
- Window screening
- A thin layer of pebbles or rocks on the bottom of the pot (but remember that this takes up space and adds weight to the pot)
Ive seen folks recommend packing peanuts, coffee filters, and newspaper but I have to admit Ive never tried any of those! Packing peanuts seem like a mess, and theres no way coffee filters and newspaper would stand up to repeated waterings.
Introduction: How to Repot Container Plants
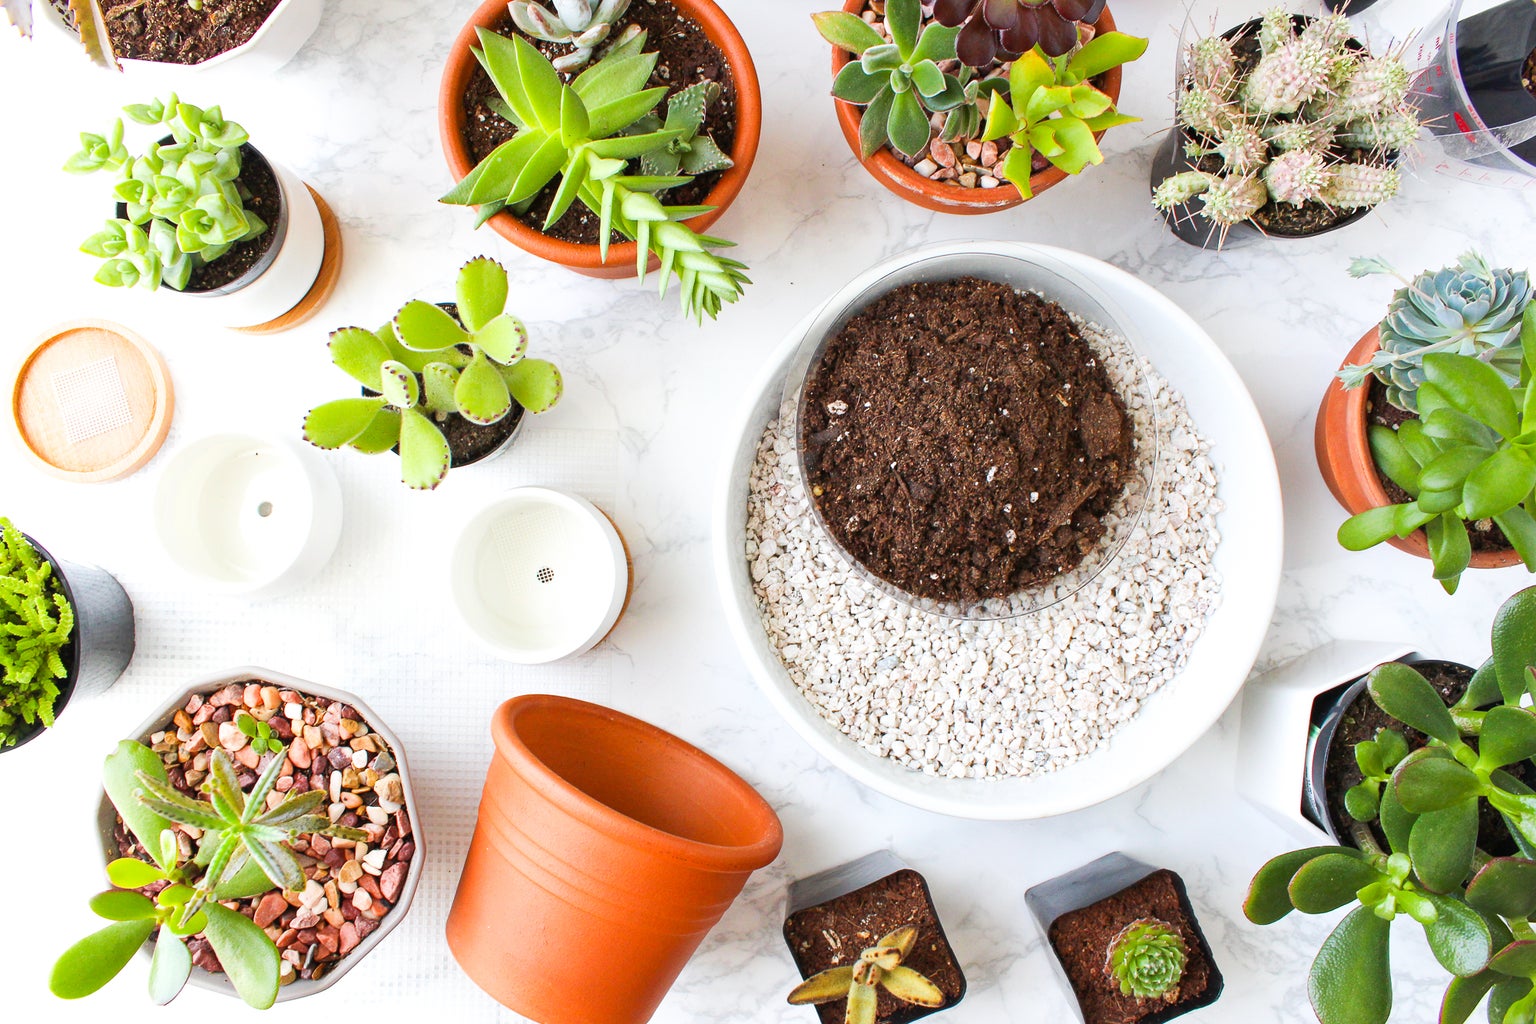
In this instructable Im going to teach you some of the basic of repotting container plants. Now that its FINALLY getting warm here in Colorado, my indoor plants have been growing like crazy so Ive been repotting them little by little every weekend.
I typically only repot my plants if theyre outgrowing their pots, if theyre sick, or if I want to refresh succulents arrangements. So far this year Ive done quite a bit of refreshing and my plants have done a lot of outgrowing their containers!
While I took most of the pictures as I was repotting succulents, these tips will work with any houseplant or container plant. Keep reading to learn all about transplanting your plants into new containers! Ill cover how to remove plants from pots, how to add soil correctly, and how to clean up your plants after theyre repotted and more. 😀