Outdoor bug zappers are a popular way to control pesky flying insects The zappers lure bugs in with ultraviolet light, then eliminate them with an electrified grid But after months of use, the bulb producing the attractive light eventually burns out and needs replacing. Replacing the bulb is a quick and easy fix to get your zapper glowing bright again.
When to Replace Your Bug Zapper Bulb
The average lifespan of a traditional incandescent bug zapper bulb is around 1000 hours. That equals about one summer season of use if running nightly Signs your bulb needs changing include
- Diminished light output or flickering
- Dead insects collecting around bulb
- Zapper no longer attracting bugs
- Bulb doesn’t illuminate at all
To keep your zapper working optimally, replace bulbs annually before peak mosquito season. Have extras on hand so you can swap immediately when one burns out.
Supplies Needed
Gather these supplies before starting:
- Replacement bug zapper bulb (match wattage and style)
- Work gloves for safety
- Safety glasses for eye protection
- Phillips or flathead screwdriver
- Step stool for high mounted models
Steps to Replace Your Bug Zapper Bulb
Follow these steps to safely change out your burnt-out zapper bulb:
- Unplug the zapper first so it’s not live when servicing.
- Locate the bulb compartment, usually at bottom or back.
- Open housing panel or access point, often secured by screws.
- Gently grasp old bulb and pull straight out from socket. Don’t twist.
- Inspect socket for damage or debris before inserting new bulb.
- Align pins on replacement bulb with socket holes and press gently until seated fully.
- Close up housing and secure protective cover back in place.
- Plug zapper power cord back in and verify new bulb illuminates.
- Turn on after sunset to test attractiveness and zap some bugs!
Take safety precautions like wearing gloves and eye protection when handling the electrified internal components. Only replace with the specified bulb style and wattage to avoid damage. Handle new bulbs carefully by the base to avoid fingerprints on the glass which can shorten lifespan.
Properly dispose of used bulbs, as they contain mercury. LED bulbs last 5-10 times longer than standard incandescent bulbs, so consider upgrading if compatible with your zapper. Record the date of bulb replacement to know when maintenance will next be needed.
Tips for Optimizing Your Bug Zapper
Besides regular bulb replacement, follow these tips to keep your zapper performing its best:
- Clean zapper grids annually using isopropyl alcohol on a cotton pad to remove dirt and debris
- Check that the protective casing is intact, no cracks or damage
- Ensure the unit is located away from competing light sources
- Try different bulb colors like blacklight or blue which may attract certain insects better
- Adjust zapper placement around your space to target problem areas
- Supplement with other deterrents like citronella candles or essential oils
- Turn off zapper when not needed to extend bulb lifespan
When to Call a Professional
If your zapper stops working properly even after replacing the bulb, it likely needs professional service. Signs of electrical issues or more serious problems include:
- Zapper trips circuit breaker or blows fuses repeatedly
- Unit sparks, emits smoke or burning smell
- You received electrical shock from touching unit
- Housing is cracked or internal parts are exposed
- Multiple bulbs fail quickly after replacement
Don’t attempt to service these types of issues yourself. Contact the manufacturer or authorized repair company to avoid injury or further equipment damage.
With a simple bulb swap, you can revive your bug zapper to keep patio and garden spaces insect-free. Schedule seasonal maintenance to replace bulbs proactively. Follow safety guidelines closely when servicing electrical components. And supplement with other deterrents for comprehensive protection from mosquitoes and other bothersome bugs!

Stinger SBK20/ Coolabah 20W Bug Zapper/ Electra Zapp 20W
- Bug Zapper Product Number #71369 (stinger 20W) #40185 (Coolabah 20W) #71505 (Electra Zapp 20W)
- Replacement Globe Product Number #71470
- Unplug your bug zapper and remove from its mounting position
- Holding your bug zapper, turn it upside down so the hood is facing away from you.
- Using a phillips head screwdriver remove the 2-3 screws located on the underside of the bug zapper.
- Remove the plastic cover sealing the bug zapper globe in place.
- Gently pull at the globe to remove it from the lamp holder.
- Replace with new u shape replacement globe cat number #71470
- Push the globe securely into the bulb holder
- Replace plastic cover on the underside of the bug zapper and secure with screws
- Plug your bug zapper into the power socket and the globe should light up.
- Following steps 1-4 check the globe is secure in the lamp holder and replace plastic cover.
- Use genuine yard guard replacement lamps in your bug zapper
- If you have followed these steps and your zapper still won’t light up, please contact us.
- Our consumer warranty is 3 months on globes

- Bug Zapper Product Number #71362
- Replacement Globe Product Number #71475
- Unplug your bug zapper and remove from its mounting position
- Holding your bug zapper, turn it upside down so the hood is facing away from you.
- Using a phillips head screwdriver remove the 2-3 screws located on the underside of the bug zapper.
- Remove the plastic cover sealing the bug zapper globe in place.
- Gently pull at the globe to remove it from the lamp holder.
- Replace with new u shape replacement globe cat number #71470
- Push the globe securely into the bulb holder
- Replace plastic cover on the underside of the bug zapper and secure with screws
- Plug your bug zapper into the power socket and the globe should light up.
- Following steps 1-4 check the globe is secure in the lamp holder and replace plastic cover.
- Use genuine yard guard replacement lamps in your bug zapper
- If you have followed these steps and your zapper still won’t light up, please contact us.
- Our consumer warranty is 3 months on globes

Which is your Bug Zapper?Click the links below to find the instructions for that particular bug zapper.
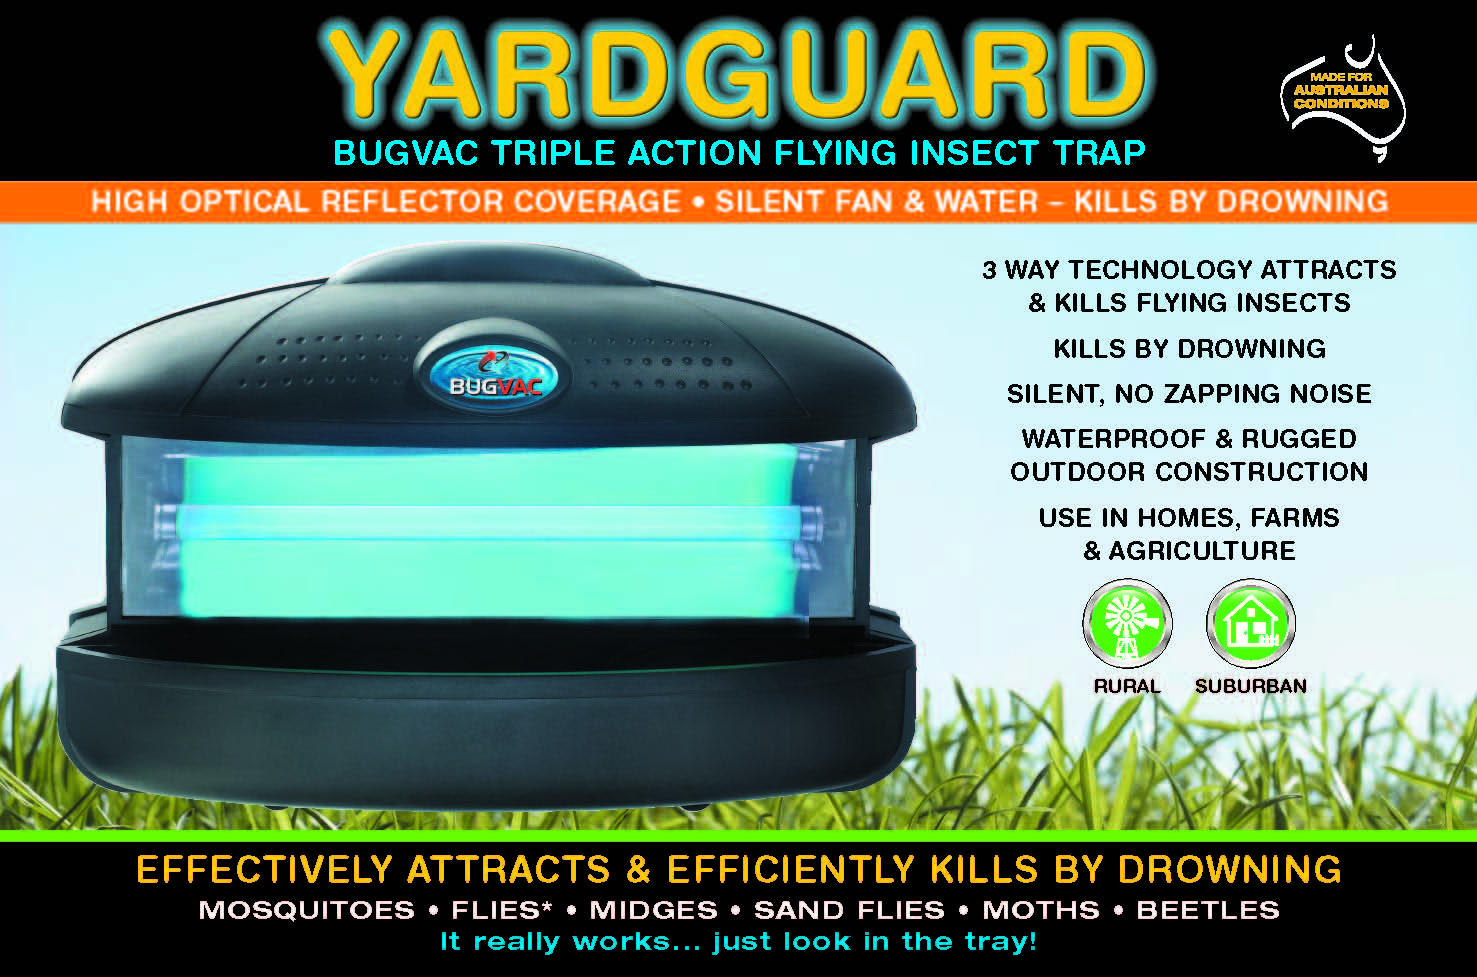
- Bug Zapper Product Number #71800
- Replacement Globe Product Number #71450
- Unplug your Bug Vac and remove from its mounting position.
- Resting your Bug Vac on a steady surface remove the water draw from the trap.
- Remove the lens by locating the gap at the base of the lens in the centre, use your fore finger and thumb to squeeze the empty drawer holder together and carefully slide a thin metal object. such as a nail file or flat blade screwdriver into the gap.
- Gently angle the object behind the lens to raise the centre and release the left tab by sliding the lens to the right. Repeat by sliding the lens to the left to release the right tab.
- Twist the globe to open the lamp holder to remove the lamp.
- Replace with new replacement globe cat number #71450.
- Twist the new globe into place to close the lamp holder.
- Replace the lens by inserting the left tab into its corresponding hole and repeat with the right tab.
- Secure the lens by pushing it downwards, you will feel it click into place.
- Replace the drawer filled with water and several drops of detergent.
- Plug your bug zapper into the power socket and the globe should light up.
- Following steps 1-5 check the globe is secure in the lamp holder and replace plastic cover.
- Use genuine yard guard replacement lamps in your bug zapper.
- If you have followed these steps and your zapper still won’t light up, please contact us.
- Our consumer warranty is 3 months on globes
DIY! How To Replace a Bug Zapper Light Bulb
FAQ
Can you replace an indicator bulb yourself?
Once you’ve located your side indicators and determined the type of bulb you need, installing the side indicator bulbs is a simple process. It will only take a few minutes, and can even be done without any tools at all.
Why don’t people use bug zappers anymore?
TIL Bug zappers fell out of common use because for every 10000 bugs it killed, only eight were found to be mosquitoes.
Do bug zapper bulbs need to be replaced?
One key component of your bug zapper is the light bulb, which attracts insects to the device. Over time, the bulb will need to be replaced in order to keep your bug zapper working effectively. However, choosing the right replacement bulb can be a bit confusing, especially if you’re not sure what to look for.
How do I replace a Bug Zapper light bulb?
In most cases, you can simply unscrew the bulb from its socket. If the bulb is broken or stuck, you may need to use pliers to carefully remove it. When it comes to choosing a replacement light bulb for your bug zapper, it’s important to select the right type.
What kind of light does a bug zapper use?
UV: Bug zappers use ultraviolet light, as pests seem to gravitate towards artificial illumination more than any other source, although some research shows it simply disorientates a number of flying insects like flies and moths. LED: LED stands for light emitting diode; it’s considered to be a more energy efficient source.