Cannas are a gardening gem for several reasons, but foremost because of their vibrant and diverse array of colors; from fiery reds to calming yellows. Moreover, Cannas boasts striking, large foliage that adds a tropical touch, creating a lush atmosphere in any space.
If youre excited to add a burst of vibrant color to your garden without the hassle, youre in the right place. In this step-by-step guide for planting Cannas, well break down the process into easy-to-follow tips. No green thumb required! From choosing the right spot to caring for your Cannas, weve got you covered. Lets turn your garden into a blooming haven with these simple and effective planting techniques. Get ready to enjoy the beauty of Cannas effortlessly!
How to Start Canna Bulbs Indoors A Step-by-Step Guide for Beginners
Starting canna bulbs indoors is a great way to get a head start on the growing season. With their large, lush leaves and bright flowers, cannas add a tropical flair to any garden. By starting the bulbs inside, you can ensure you’ll have strong, healthy plants ready to be moved outside once warmer weather arrives.
In this comprehensive guide. I’ll walk you through everything you need to know to successfully start canna bulbs indoors. including
- Choosing the Right Canna Bulb Varieties
- Selecting Containers and Potting Mix
- Planting Steps
- Caring for Canna Seedlings
- Hardening Off and Transplanting Outdoors
Follow these simple steps and tips, and you’ll be on your way to growing gorgeous cannas from bulbs indoors this season.
Choosing Canna Bulb Varieties for Indoor Starting
With their flashy, exotic blooms, cannas bring a tropical vibe to gardens. Luckily, there are many compact canna varieties perfect for containers and smaller spaces.
When choosing canna bulbs to start indoors, look for dwarf or mid-size varieties that max out under 5 feet tall. Some great compact options include:
-
Canna ‘Orange Punch’ – Grows to around 4 feet tall. Peachy-orange blooms with yellow streaks.
-
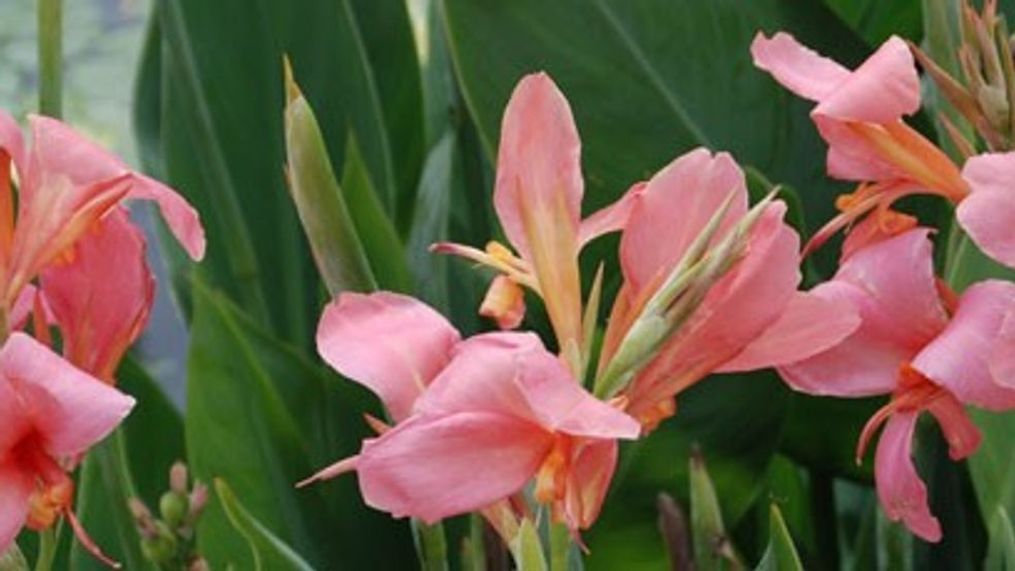
Canna ‘Salmon Pink’ – Only reaches about 3 feet tall. Soft pink flowers contrast nicely with dark green leaves.
-
Canna ‘Tropicanna Gold’ – Vibrant flowers with gold and red flecks on variegated foliage. Grows to 4 feet.
-
Canna ‘Pretoria’ – Bright orange blooms on 3 to 4 foot plants with green and cream striped leaves.
-
Canna ‘Taney’ – Scarlet-red flowers on bronze-hued foliage. Grows to around 3 feet tall.
Selecting containers and potting mix
Cannas have vigorous root systems and appreciate room to spread out. Select containers that are at least 6 inches deep with drainage holes. Clay or plastic pots both work well.
For potting mix, use a commercial seed starting mix or make your own blend:
- 2 parts potting soil
- 1 part peat moss or coco coir
- 1 part perlite or vermiculite
This blend will provide drainage and moisture retention. You can also add some worm castings or compost for nutrients.
Planting Steps
-
Fill containers with lightly moistened potting mix. Tap to settle. Place bulbs with the eye/growth buds facing up and cover with 1-2 inches of mix.
-
Water thoroughly after planting. Keep the mix evenly moist but not soggy.
-
Place containers in a warm spot (70-80°F) with bright, indirect light. South or west facing windows work well.
-
Once sprouts emerge, move to direct light. Turn containers occasionally for even growth.
Caring for Canna Seedlings
-
Water when the top inch of soil dries out, taking care not to overwater.
-
After a couple weeks, begin fertilizing every 2-3 weeks with a balanced liquid fertilizer.
-
Monitor for pests like aphids or fungus gnats. Use organic methods like insecticidal soap or neem oil to treat any issues.
-
When seedlings have 3-4 leaves, transplant into 4-6 inch pots. Handle carefully by the leaves, not the stems.
-
Maintain temperatures above 60°F. Cooler temperatures can slow growth.
Hardening Off and Transplanting Outdoors
-
Begin hardening off seedlings about 2 weeks before your last expected frost. Set containers outside in shade for a few hours, gradually increasing time over a week.
-
Transplant into garden beds after the danger of frost has passed. Select a site with full sun. Space plants 18-24 inches apart.
-
Water thoroughly after transplanting and provide 1-2 inches of mulch to retain moisture.
-
Stake tall varieties if needed. Wait to fertilize again until plants are established, about 4 weeks after transplanting.
With the proper care and timing, starting cannas indoors is very rewarding. In just a couple months, you can have vigorous, healthy canna plants ready to provide exotic flowers and tropical flair to your outdoor garden all season long.
Planting dried-out Canna bulbs
Reviving dried-out Canna bulbs is a simple process to breathe life back into your garden. Begin by soaking the bulbs in lukewarm water for a few hours, allowing them to rehydrate. Plant them in well-draining soil, ensuring the bulbs are covered with about two inches of soil. Provide adequate sunlight, as Cannas thrive in sunlight-rich environments. Regular watering is key, keeping the soil consistently moist but not waterlogged. Consider adding a balanced fertilizer to boost growth.
Please don’t mistake dried-out or dormant bulbs for non-viable bulbs. Non-viable bulbs can be soft, mushy, rotten, or/ and have mold.

Receiving and handling Canna bulbs: essential steps
When you receive your Canna bulbs, handle them with care for a flourishing garden. Begin by inspecting each bulb for firmness and signs of damage. Prioritize planting soon after delivery for optimal growth. Choose a well-draining soil and a sunny location, as Cannas thrive in sunlight. Plant the bulbs horizontally with the eyes facing up, and cover them with soil. Water regularly but avoid waterlogging. As Cannas are sensitive to frost, ensure a frost-free environment.
Dividing and Potting Stored Cannas
FAQ
How to wake up canna bulbs indoors?
Water the pot, place it into a tray that doesn’t have any drainage holes, and place the tray in a sunny window or under grow lights; I put mine next to our sliding door. That sunlight and warmth is going to help your bulbs sprout and grow.
Do I soak canna bulbs before planting?
Canna Lily seeds should be soaked prior to planting. Cannas will produce an abundance of seeds that are small black pellets but easy to handle. Canna Lily seeds have a very hard outer shell and should be soaked in water for 12-24 hours in order to improve germination by softening the seed coat.
How to start canna tubers indoors?
Start canna rhizomes indoors for earlier bloom in the garden. Plant them in a pot about a month before the last spring frost. Lay the rhizome on its side and cover with soil. Move the pot to a warm sunny spot indoors to sprout and grow.
How to get canna bulbs to sprout?
Cover the rhizome with one to two inches of soil. Cannas are slow to sprout and do not require much water until you begin seeing signs of growth. Sometimes is takes as many as three weeks for cannas to sprout. Once sprouted, water cannas at least once a week by slowly soaking the area around the roots.