Of course, I grow common sage for culinary and medicinal purposes. My Russian sage works to attract pollinators for my fruits.
We link to vendors to help you find relevant products. If you buy from one of our links, we may earn a commission.
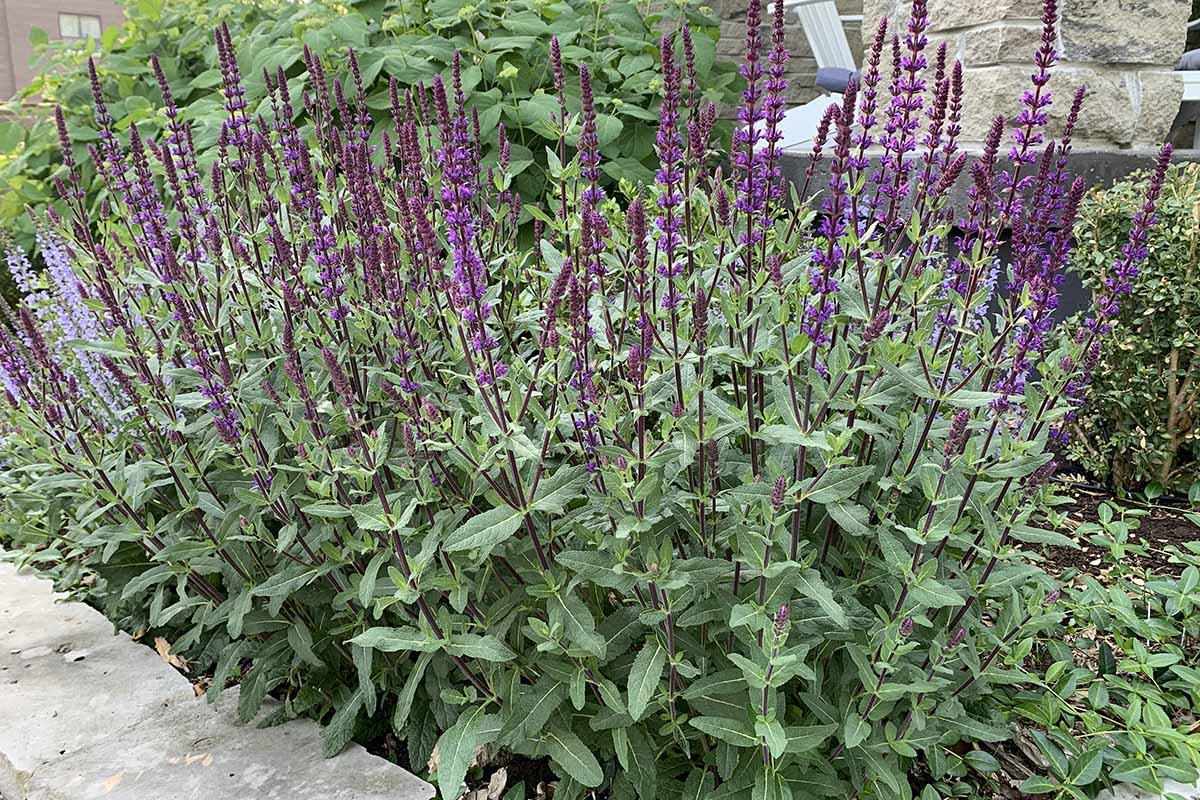
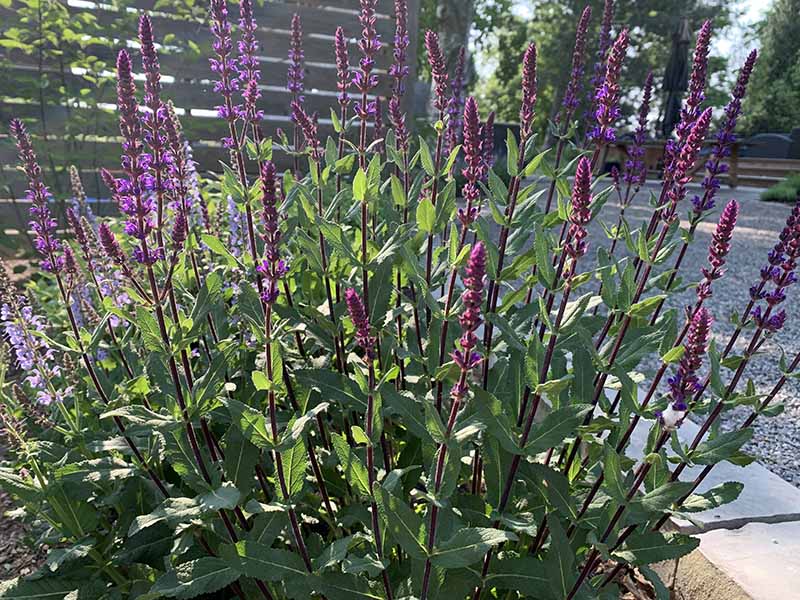
And although my Salvia nemorosa, or woodland sage, shares some of these functional purposes, I choose to grow it purely for pleasure.
Its feather-like foliage releases earthy aromas as my legs brush by. The violet spikes appear sharp and fierce, yet delicate at the same time – like a vulnerable Valkyrie.
Something about salvia tugs at my heart, causing a little lump to form in my throat that I can only describe as a primal urge to perform magic. So, I’ll admit – when it’s time to divide my salvia, I become giddy with excitement.
If you’re wondering if you can divide your own plants, the answer is yes. And there are a few good reasons to do so.
You can control the size of an overgrown plant or rejuvenate a tired-looking one. Or propagate babies from an especially precious variety to populate other corners of your garden or share with friends. I’ve got my book of spells (my plant journal) open to the page that explains everything you need to know about splitting and transplanting salvia. This is the wisdom I’ll share:
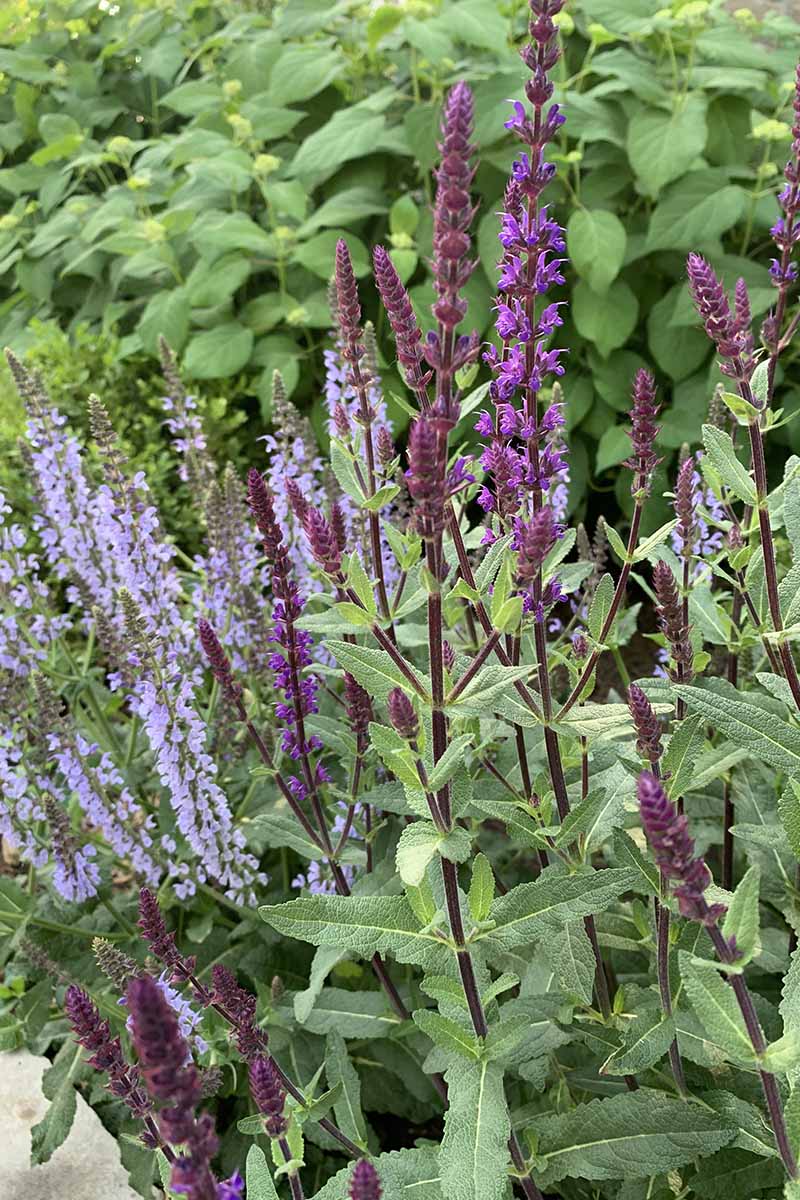
Salvias are popular flowering perennials that provide vibrant color to gardens with their spiky blooms in shades of purple, blue, pink, red and white. Many gardeners grow salvias for their long bloom time and ability to attract pollinators like bees, butterflies and hummingbirds.
If your salvias have become overgrown or you want to propagate new plants from an existing salvia, transplanting them in the fall is an ideal time Here is a complete guide to successfully transplanting salvias in the fall.
When to Transplant Salvias
The optimal time to transplant salvias is during the fall when the plants start going dormant Transplanting in early to mid fall allows the salvias time to establish roots before winter dormancy It also gives them a head start for vigorous growth when they re-emerge in spring,
September and October are the best months for transplanting salvias in most zones. Avoid transplanting during summer heat or once winter frosts arrive. For best results, choose a cool, cloudy day to reduce transplant shock on the plants.
How to Prepare for Transplanting
Proper planning and preparation will lead to better success when transplanting:
-
Decide where new transplants will go and dig holes beforehand. Holes should be larger than the root ball.
-
Gather needed supplies like shovels, knives, pots, potting mix, etc. Disinfect tools to prevent disease spread.
-
Transplant on an overcast, cool day when possible to avoid heat stress on roots.
-
Water plants deeply 1-2 days before to moisten soil and make removal easier.
How to Transplant Established Salvias
Follow these steps to transplant established salvias with minimal shock:
-
Dig around roots and under plant to lift clump out of ground. Shake off excess soil.
-
Prune any damaged roots. Trim long roots so root ball is even.
-
Immediately place root ball in pre-dug hole. Root crown should sit just above soil level.
-
Fill hole with native soil, pressing gently to remove air pockets. Water thoroughly after planting.
Dividing Overgrown Salvias
Large salvias can be divided in fall by splitting the root ball into smaller sections:
-
Dig up entire plant, loosening root ball and pruning any damaged roots.
-
Find natural dividing points and split root ball into smaller sections using a sharp knife or shovel.
-
Each division should have several healthy stems and established roots.
-
Plant divisions immediately into prepared holes. Water well and care for as new transplants.
Transplanting Divisions into Pots
Divided sections can also be transplanted into pots for a season before moving to the garden:
-
After dividing plant, pot up smaller sections in containers with potting mix.
-
Grow in pots through summer, caring for them by watering, fertilizing and moving into optimal light.
-
In fall, transplant container-grown divisions into permanent garden spaces. They will establish quickly.
Caring for Salvias after Transplanting
Proper aftercare will help transplants establish roots before winter:
-
Water thoroughly after transplanting and continue deep watering for 1-2 weeks.
-
Fertilize with a balanced organic fertilizer to stimulate new growth after transplant shock.
-
Monitor for pests/diseases and treat promptly. Stressed plants can be more susceptible.
-
Add a layer of mulch around transplants to retain moisture and insulate roots from winter cold.
With proper timing and care, transplanting salvias in the fall can expand your garden spaces planted with these pollinator-friendly perennials. Prepare pots and planting holes in advance and provide attentive aftercare for best results.

When to Divide Salvia
To keep your salvia looking healthy and vibrant, plan to divide it every two to four years, depending on the variety.
The best time of year to divide is in the spring or fall when the plant is dormant. This helps it to focus more energy on growing new roots and leaf tissue. The worst time to divide is while salvia is flowering or when it’s really hot and dry outside, as this will cause unnecessary stress to your plant.
Here in Zone 5b, I’ve split and transplanted in both the spring and fall with success. But a smart plan for most of you is going to be to aim for early spring. This means you should start by taking good care of your plants through the summer.
Remove faded bloom spikes and water consistently to keep it healthy, prepping it for the best chance of successful division when you see the first signs of new growth the following year. Spring is always a busy and chaotic time for me with garden clean-up and prep work, so I make notes for things like this – in my book of spells, of course!
If you keep a gardening journal or calendar, add it to your spring to-do list so you don’t forget about your good intentions with your salvia.
And if you don’t own one already, check out our roundup of the best gardening journals to add one to your bookshelf!
Plan ahead to ensure a successful division and transplant. Here are some tasks to think about: Gather your tools and supplies. You’ll need a shovel and a sharp cutting tool in case the root ball is dense.
Sometimes I use my trusty Barebones Ultimate Hori Hori, which you can find at Amazon. Or, read more about the best hori hori knives here.
If you’re planning to transplant into pots or containers, make sure you have them on hand, along with some potting soil for container-growing.
If you’re transplanting into your gardens, think about where you want to put the new divisions.
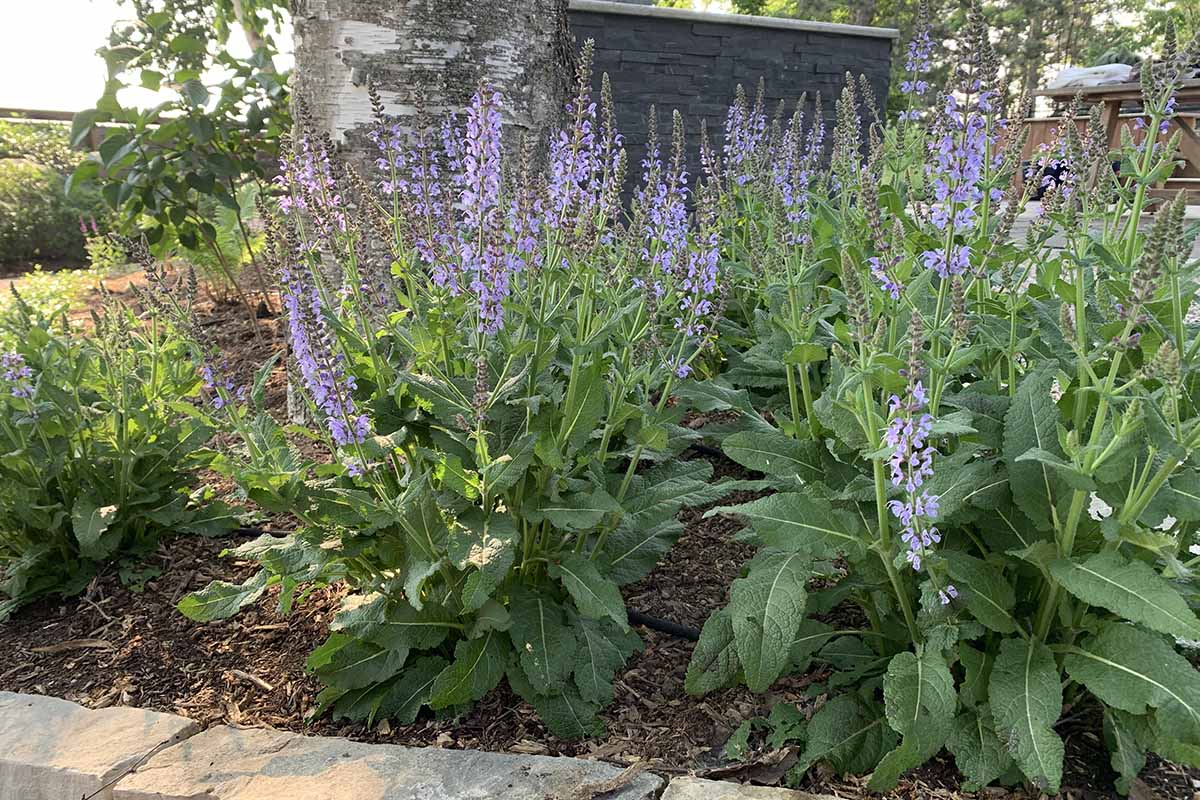
My salvias welcome visitors at the entrance to my gardens, along paths, and at the bases of my birch trees.
They add fun pops of color and release their earthy scent when their foliage is disturbed by legs brushing past. Get creative and plan for new, unexpected spots!
Once you know where you want to plant your new divisions, dig and prep the holes. This minimizes the length of time roots spend out of the soil.
Estimate the size of your divisions, and dig each new hole about twice the size of the root balls. Water the clump to be divided and the surrounding soil the day before you get to work, especially if the ground is dry. If there are a few days of rain in the forecast, this is the perfect time to divide and transplant.
Working on a cloudy, overcast day is the best because you won’t have the hot sun bearing down on exposed roots, drying them out.
Dividing Your Salvia Plant
Depending on the size of your plant, you can divide your salvia into several small baby plants or split it into two or three medium-sized plants.
Salvia is usually cooperative either way, so decide how many clumps you’ll finish with.
If you’ve got all your supplies and you’re ready to go, follow these steps:
- Use your shovel to dig around and get underneath the roots.
- Lift the plant out of the ground with your shovel or fork.
- Loosen the soil on the root ball and shake some of it away to get a good look at the roots. You might see natural places to make your divisions.
- If you can pull or tease the roots apart with your hands, do it. If the root ball is dense, cut the roots with a sharp knife or your shovel/spade. I use my hori hori knife for this step.
- Each division, or new plant section, should have several good shoots and a portion of the root system attached. Keep the divisions shaded and moist until they’re replanted.
Whether into a pot or the ground, it’s best to immediately replant the divisions.
If you split your plant into many small pieces, it might be a good idea to put them into little pots and tend them through the summer, then transplant them in the ground in the fall.
This will keep the roots protected and safe while they develop for a season under your careful watch. You can move them in and out of the sun and water as necessary, giving you more control.
If you split larger chunks, you can safely transplant them directly into their new locations or give some away.
Salvias prefer average soil with good drainage.
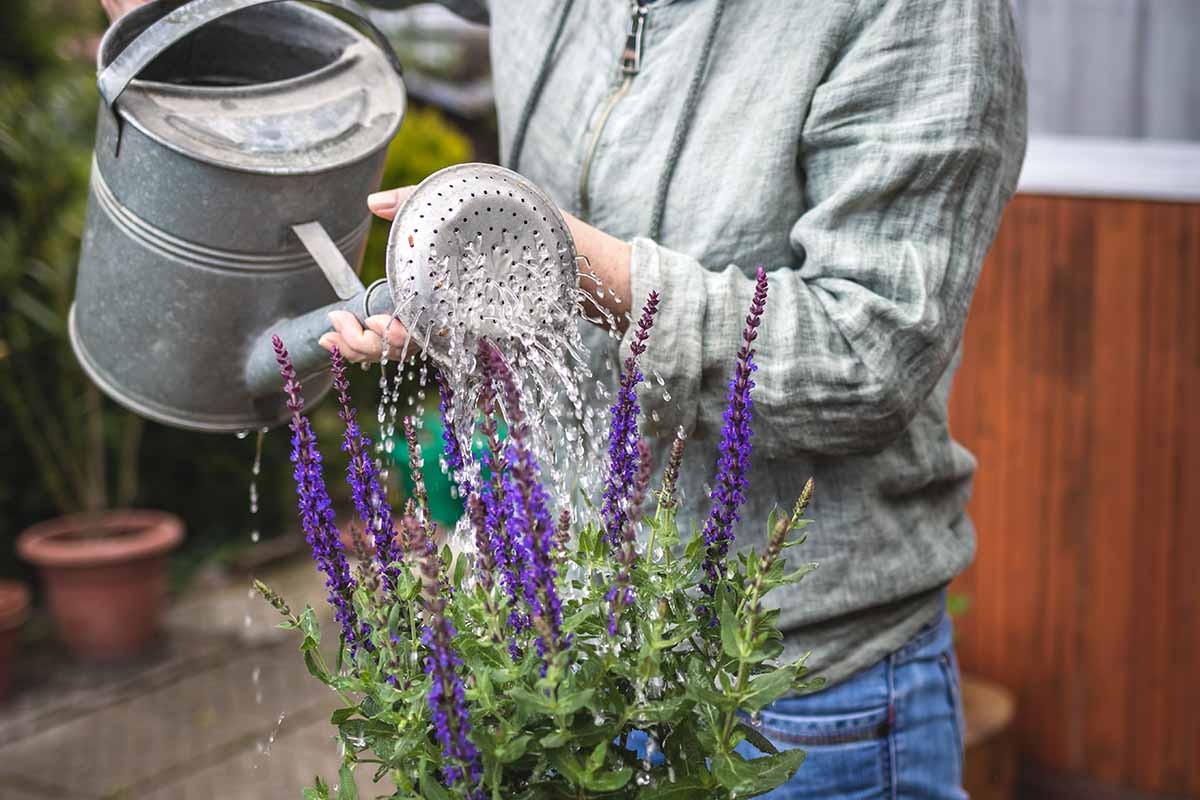
Heavy clay soil can slow root growth and contribute to root rot problems, so in this case feel free to add some compost to the soil in the planting hole to help your divisions settle into their new homes. Water in your transplants. Give them a good initial soak and continue daily for about a week if you don’t receive sufficient rain.
Keep the freshly planted divisions watered on a regular schedule through spring and summer.
Remember that most new divisions won’t bloom quite as well until the next season. If you notice some stunted behavior, don’t fret! Your plants will be glorious next year.
These are some general tips for caring for your salvias that can be especially valuable if you’ve just divided your plants.
During the summer, remove faded bloom spikes to encourage continuous flowering.
If plants begin to flop or look generally unsightly in the middle of summer, try cutting back to the basal foliage. This may trigger new flower stem growth from the base of the plant.
After the last blooms of the season are spent, don’t cut the stems all the way down to the ground. Cut the flowers off to tidy the plant, but leave at least four to five inches of stem intact.
In preparation for winter, place a thin layer of mulch over your salvia to prevent injury from harsh freezes.
A half inch of wood chips or straw is plenty – just enough to protect from extreme conditions. Remove the mulch in early spring to wake the plant up.
How to Split or Divide Salvia
FAQ
Do salvias transplant well?

Yes, salvias generally transplant well. Most salvia varieties are quite resilient and can be successfully moved to new locations, whether in the same garden or a different one.
How late in the fall can you transplant?
“Apply about three to four inches of mulch around perennials when transplanting in the fall,” he adds. “This helps hold the moisture and keeps the ground warmer, promoting root growth well into the late fall. Transplant three to four weeks before the ground freezes.
Should salvias be cut back in the fall?
It’s best to give salvias their big pruning in fall or spring. Depending on how long your growing season is, they’ll need at least one more lighter pruning. Think of it as deadheading.
Do salvias like full sun or shade?