Growing your own herbs, vegetables, or flowers can be an incredibly rewarding hobby. However, not everyone has the yard space or ideal climate to have a traditional garden. This is where grow boxes come in handy! A DIY grow box allows you to create a controlled indoor environment perfect for starting seedlings or growing small plants. With a bit of effort, you can build your own customized grow box to fit your space and needs.
What is a Grow Box?
A grow box also called a grow cabinet or indoor grow tent, is an enclosed structure made of wood, plastic or metal that creates an optimal microclimate for plants. Grow boxes allow control over factors like temperature humidity, and light exposure which can be tailored to specific plants. They are great for urban gardeners with limited space as well as anyone who wants to grow plants year-round. Grow boxes are commonly used for
- Germinating seeds and growing seedlings that can later be transplanted outdoors in spring.
- Growing leafy greens, herbs, tomatoes, peppers, and other vegetables.
- Flowering houseplants that require specific conditions to thrive.
- Propagating cuttings from existing plants.
Benefits of Using a DIY Grow Box
Building your own grow box has many advantages over purchasing a pre-made one
-
Cost savings – DIY builds are much cheaper than commercial grow boxes.
-
Customization – You can build it to any size and specifications you need.
-
High quality materials – You control the quality of the framing, lighting, and other components.
-
Learn new skills – Designing and building a grow box is a great way to learn carpentry, electrical, and gardening skills.
-
Adaptability – It’s easy to modify a DIY grow box to add features or fix issues.
-
Satisfaction – Growing your own plants in a homebuilt system is hugely rewarding!
As long as you have some basic DIY abilities and the right materials, you can create a productive grow box tailored specifically for your plants and space.
Design Considerations for a DIY Grow Box
If you’re ready to build your own indoor garden, here are some key factors to consider in the design:
Size
Consider how much space you have available and the type/number of plants you want to grow. A small 2’x2′ box is good for starter seedlings while a 4’x8′ box can handle full-grown vegetable plants. Make sure to leave adequate workspace around the box.
Materials
Use rigid, durable materials like wood or PVC plastic to construct the box frame. Avoid thin plastic sheeting or cardboard that can easily collapse. Waterproof and cleanable surfaces are best.
Ventilation
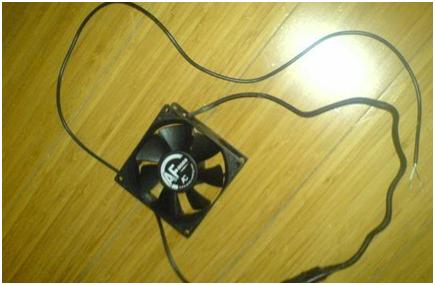
Proper airflow from vents and fans prevents overheating and removes ethylene gas that can damage plants. Install intake and exhaust fans for good circulation.
Lighting
Select full spectrum LED or fluorescent grow lights that provide adequate brightness for your plant species. Position lights 6″-12″ above the canopy. Use a timer to control the photoperiod.
Environment Controls
Temperature, humidity, and pH all impact plant growth. Consider a heating mat, humidifier/dehumidifier, and monitoring devices to maintain optimal conditions.
Accessibility
Include doors or removable panels to access plants for pruning, harvesting, and maintenance. Stepladders help reach tall plants.
Step-by-Step Instructions for Building a DIY Grow Box
Once you’ve worked out the size and features you want for your grow box, follow these steps to build your own:
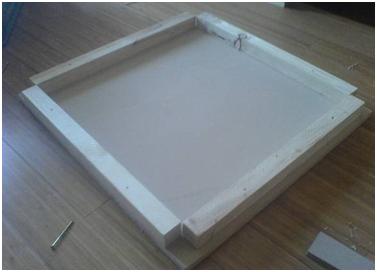
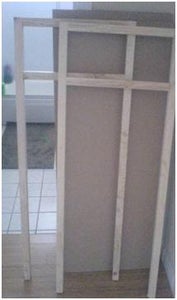
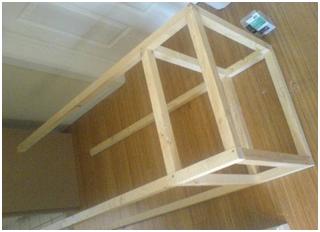
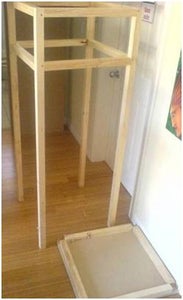
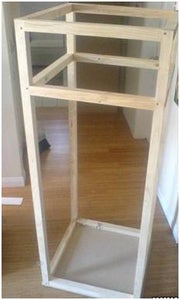
1. Assemble the Frame
Construct a rectangular frame from 1″x2″ or 2″x2″ wood or square PVC tubes. Screw or glue the pieces together at the corners. Make sure the frame is square by measuring the diagonals – they should be equal.
2. Add Paneling
Cut panels from plywood, plastic corrugated sheets, or pegboard to cover the sides, floors, doors, and roof frame. Drill pilot holes and attach panels with screws. Caulk cracks or gaps if needed.
3. Install Lights
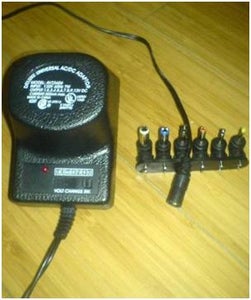
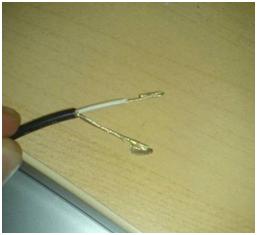
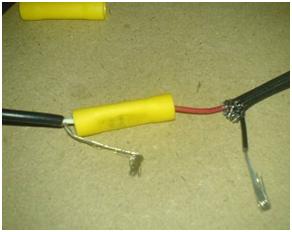
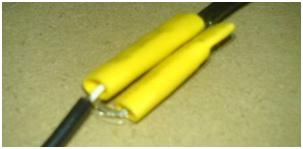
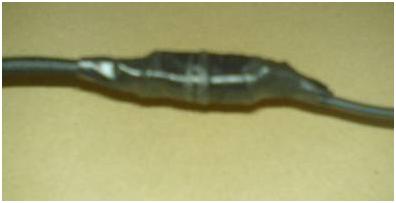
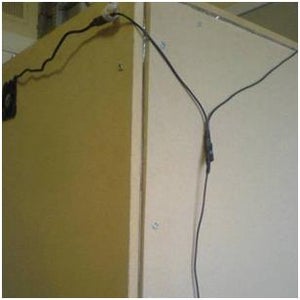
Screw hooks into the upper frame to hang grow light fixtures by adjustable chains. Run wiring through flexible conduit and install timers, switches, and outlets as needed.
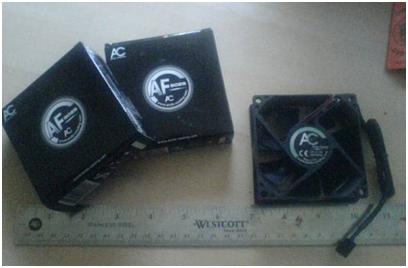
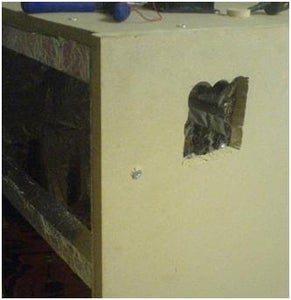
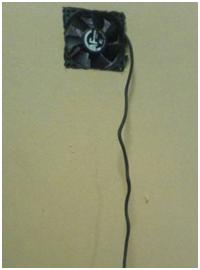
4. Add Ventilation
Cut out openings for intake and exhaust fans or vents. Mount fans using screws or zip ties. Cover fan inlets with insect mesh to keep out pests.
5. Build Doors
Cut openings for access doors on one or more sides. Mount hinges and attach doors using piano hinges, gate hinges, or standard door hinges. Add latches, handles, or magnets to secure.
6. Install Shelving (Optional)
If needed, build adjustable shelving units that fit snugly inside the box to multiply the growing area. Use boards, wire grids, or slotted angles.
7. Seal and Finish Exterior
Seal any cracks and paint the exterior with waterproof latex paint. White paint helps reflect light. Add molding for a finished look.
8. Add Environmental Controls
Install thermostats, humidistats, pH monitors, or other environmental controls like fans, heaters and humidifiers to dial in optimal growing conditions.
9. Setup Irrigation System
Run tubing or driplines with emitters to deliver water and fertilizer. Use an automatic timer or irrigation controller for hands-off operation.
And that’s it – your DIY grow box is complete! Once built, fill it with nutrient-rich soil, set up lighting cycles, and start planting seeds or transplants. Maintaining ideal conditions will lead to healthy, robust plants. Customizing and experimenting with your homebuilt grow box is half the fun. Soon you’ll be harvesting fresh fruits, vegetables, and flowers in your own indoor garden!
Helpful Tips for Using Your Grow Box
-
Start seeds or cuttings in 3-4” pots then transplant into larger containers as plants grow. This prevents overcrowding of young plants.
-
Train vining plants like tomatoes up vertical strings secured to the ceiling to maximize vertical space.
-
For the first few weeks, run grow lights 18-20 hours per day until plants are established. Then decrease to 14-16 hours.
-
Check moisture levels daily. Use drip irrigation or mist nozzles to evenly water plants a few times per week.
-
Provide air circulation with oscillating fans to strengthen stems. Rotate plants periodically for even growth.
-
Monitor for signs of disease, molds, pests like aphids or fungus gnats. Isolate and treat any infected plants promptly.
-
During the fruiting stage, tap or shake plants gently to promote pollination. You can also use a small brush or cotton swab to manually pollinate.
-
Install reflective material like aluminum foil or Mylar film on walls to maximize light efficiency and distribution.
With a properly constructed grow box and attentive plant care, you can experience the joys of gardening even when space or climate is not on your side. Don’t be afraid to experiment and tweak your setup over time. Part of the fun is dialing in the perfect environment tailored specifically to your plants and growing style. Happy cultivating!
Step 1: Basic Frame

Step 3: Ventilation in the Light Chamber

Make Your Own Grow Box | Simple Tutorial
FAQ
How to construct a DIY grow box?
- Step 1: Basic Frame. …
- Step 2: Inclosing the Grow Box. …
- Step 3: Ventilation in the Light Chamber. …
- Step 4: Light in the Light Chamber. …
- Step 5: Air Filter and Ventilation for the Grow Chamber. …
- Step 6: Lighting in the Grow Chamber. …
- Step 7: Puting It All Together.
What does a grow box need?
Light, Heat, Water, and Ventilation
Plants have some pretty basic needs to grow: light, air, soil, and water. Before you sow your first seed, your grow room needs to be set up to provide those basic needs that lead to a successful crop. As you are growing indoors, soil will come a bit later in the process.
What is a simple growth box?
A grow box is a partially or completely enclosed system for raising plants indoors or in small areas. Grow boxes are used for a number of reasons, including the lack of available outdoor space or the desire to grow vegetables, herbs or flowers during cold weather months.
How deep does a grow box need to be?
Carrots, radishes and peppers thrive with 12 inches or more. Medium-rooting vegetables like kale, cucumbers, and zucchini love at least 18 inches. A 2-foot bed is ideal for these types of vegetables, as well as fruits that grow on bushes like blueberries, strawberries, and raspberries.May 23, 2022